Well, I don’t really know what to say about today’s recipe except this: wow. Just wow.
Wow for how pretty it is. Wow for how good it tasted. Wow for how impressed with myself at pulling off a cake like this. And last but certainly not least: wow for how NOT complicated it was. And that’s coming from someone who NEVER makes layer cakes. With a little planning, this cake came together over the course of two days without a ton of effort. I spaced it that way on purpose. If I can do it, you definitely can.
I should start at the beginning: Tessa Huff‘s incredible cake making/decorating book was gifted to me for Mother’s Day, along with a turntable cake stand. I am not a baker. Meaning, I can make scones and cookies and brownies with the best of them, but cakes? No way. I’ve only made a handful of them in my life and, quite frankly, find them insanely intimidating. I mean, when you see what people can do with a little cake and icing these days, it’s hard not to be intimidated.
But, you guys, I’m about as stubborn as they come. And when I want to try something, you better believe it’s going to happen one way or another. The results always being what I expected? Well, that part is always a gamble. Cake assembly/decoration is one of those things I don’t really have a knack for, and this has resulted in some pretty pitiful cakes on my part.
One of my biggest flaws is this: if I am not naturally good at something (or at least able to learn the skill/task relatively quickly), I want nothing to do with it. This has been true ever since I was a little girl and explains why I gave up so many childhood hobbies and activities. Those that I have stuck by over the years are the ones for which I’ve managed to hone my skills. Cooking. Reading/writing. Yoga. Drawing. Painting. I had some natural skill for these things when I first started out, and thus, I continue them as I grow older.
But cake assembly/decoration was never an area in which I felt particularly skilled. My cakes, if more than one layer high, always seemed lopsided and sloppy, despite my best efforts. I always thought things TASTED delicious, but the way they looked? We’ll just say never judge a cake by the frosting job.
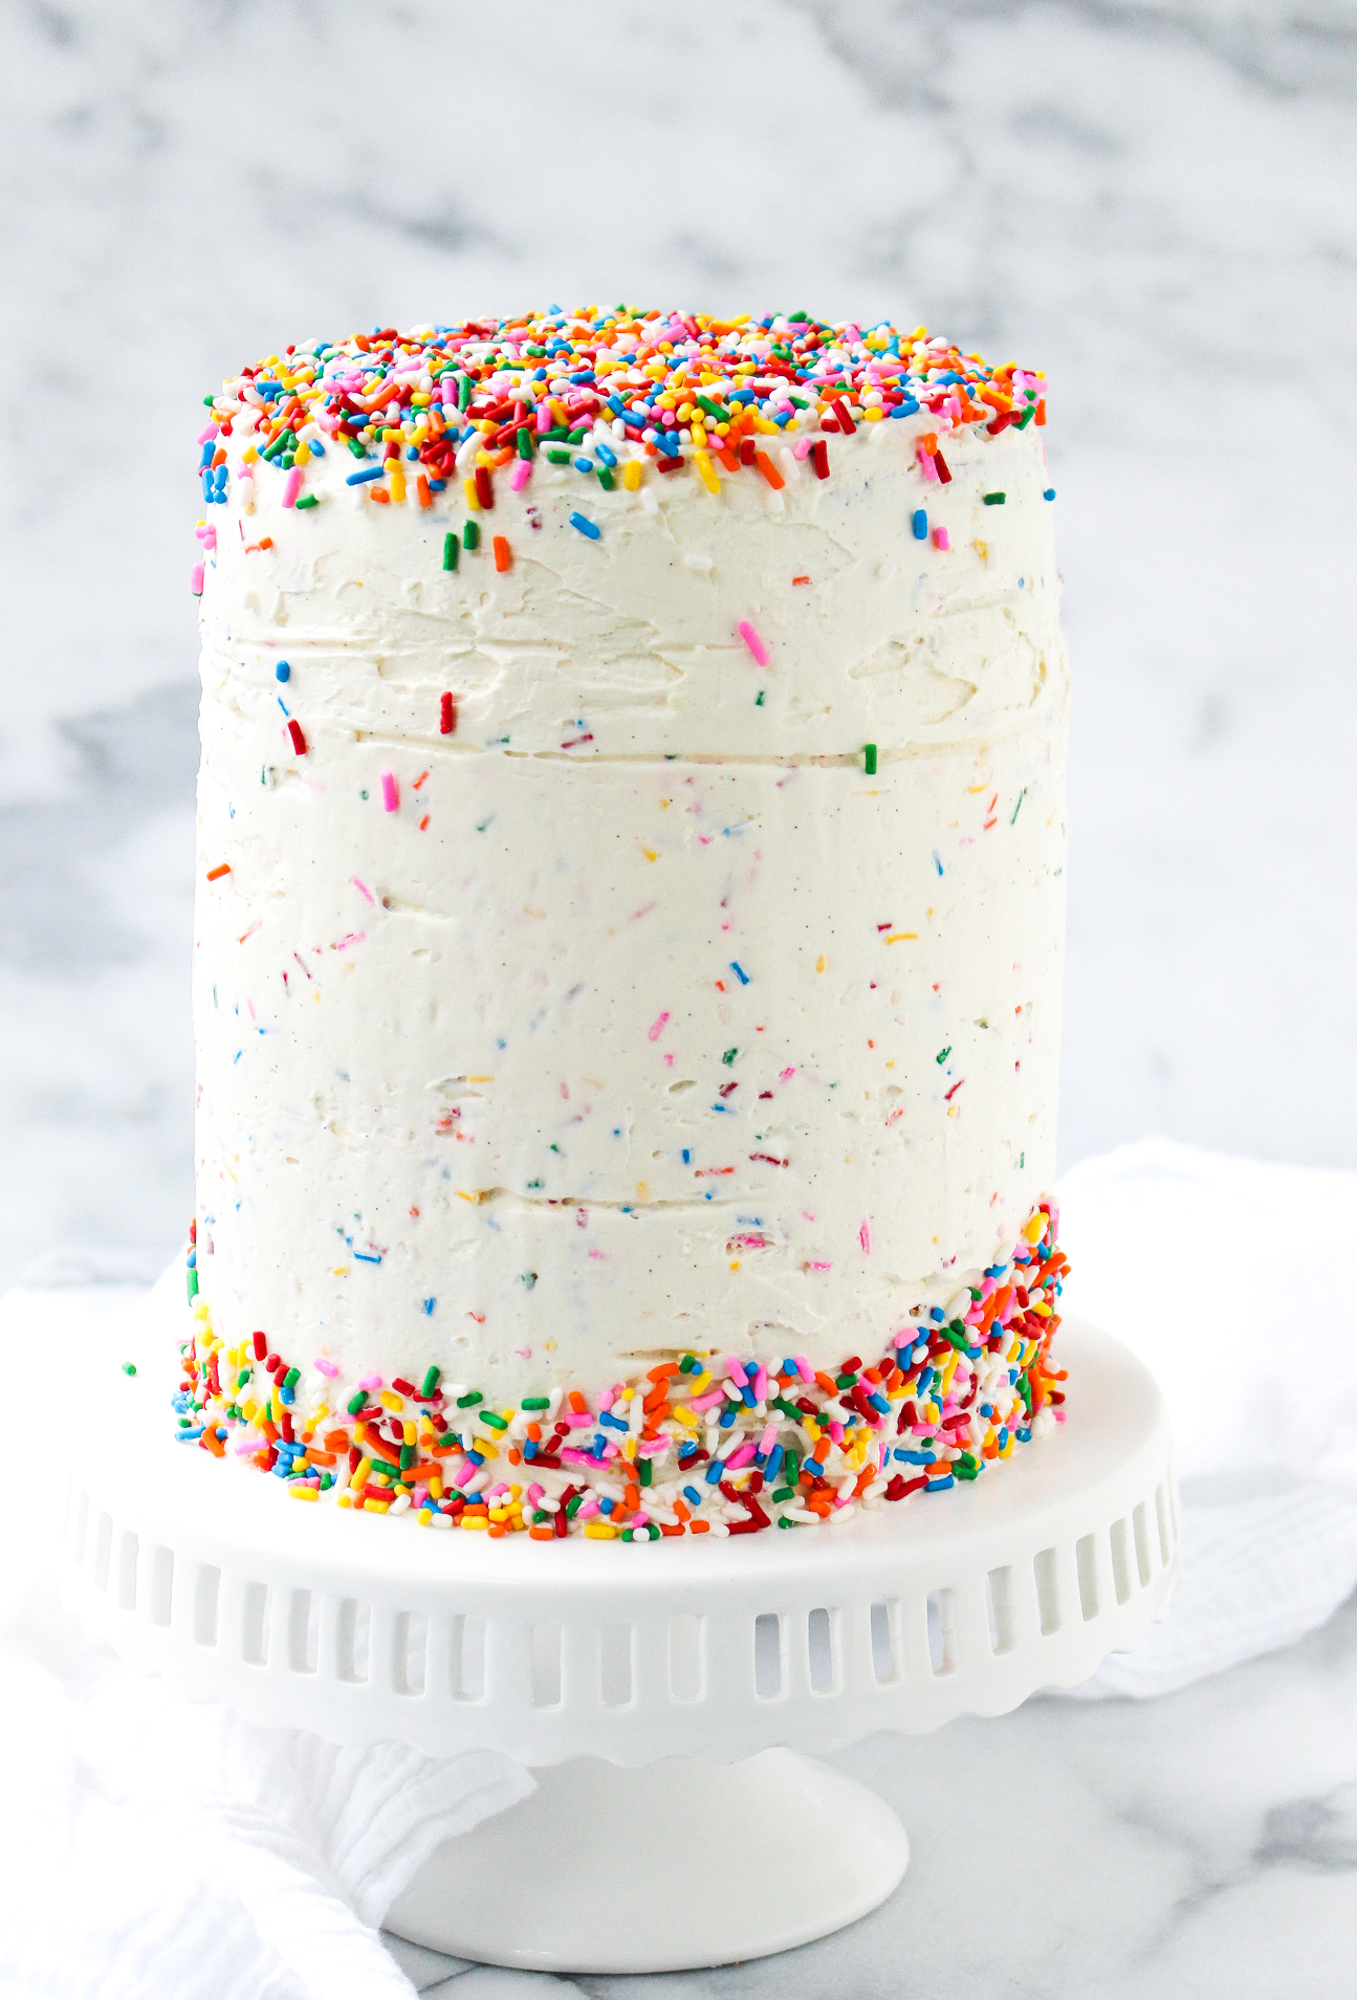
Until now! Take a look at what I accomplished!
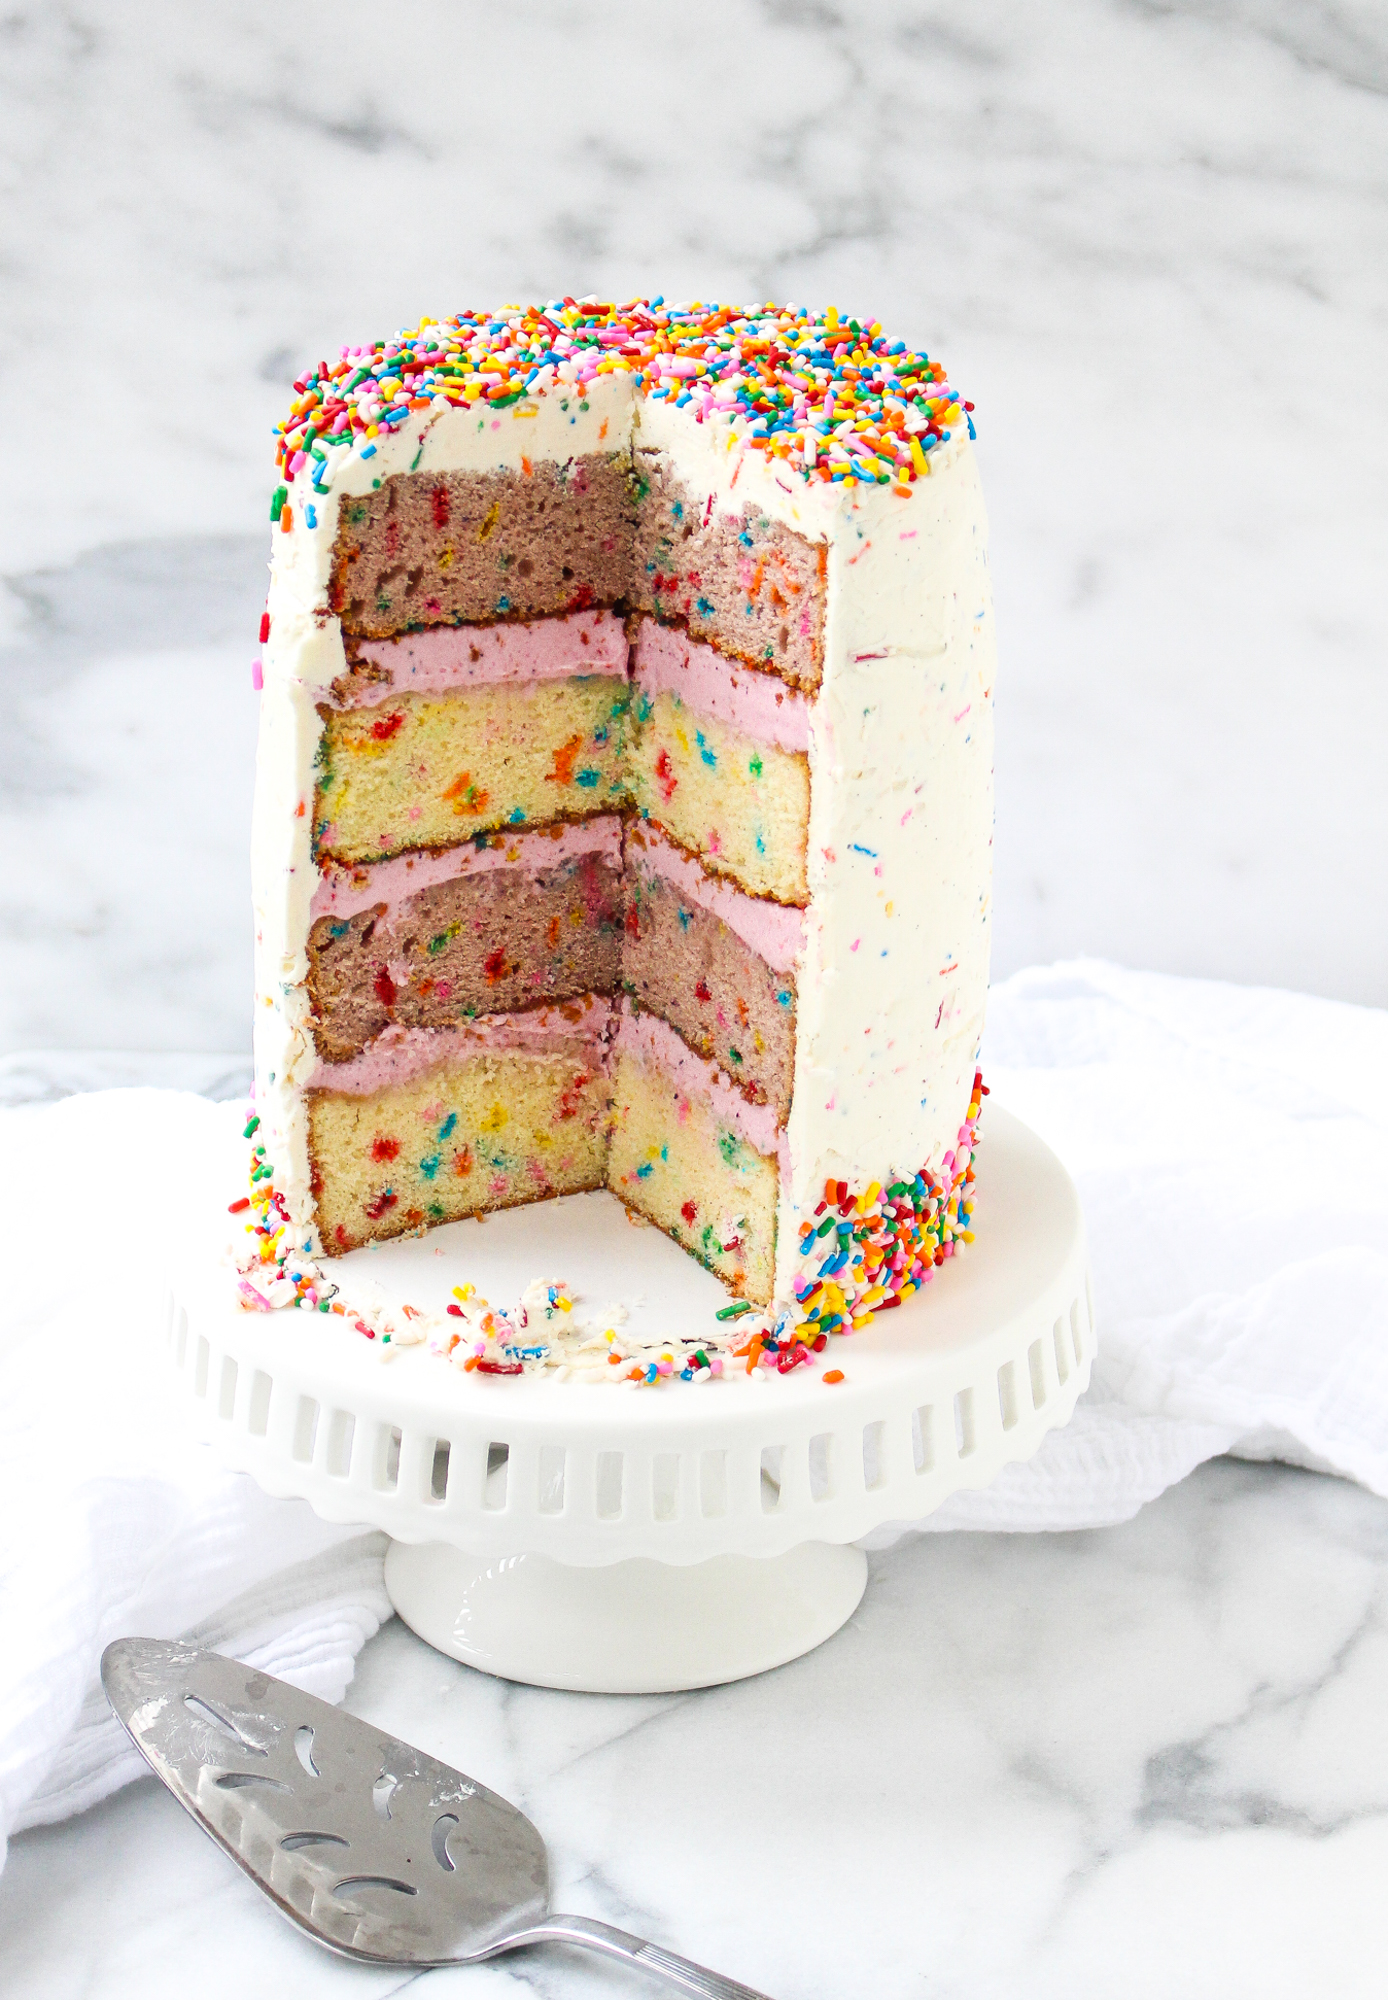
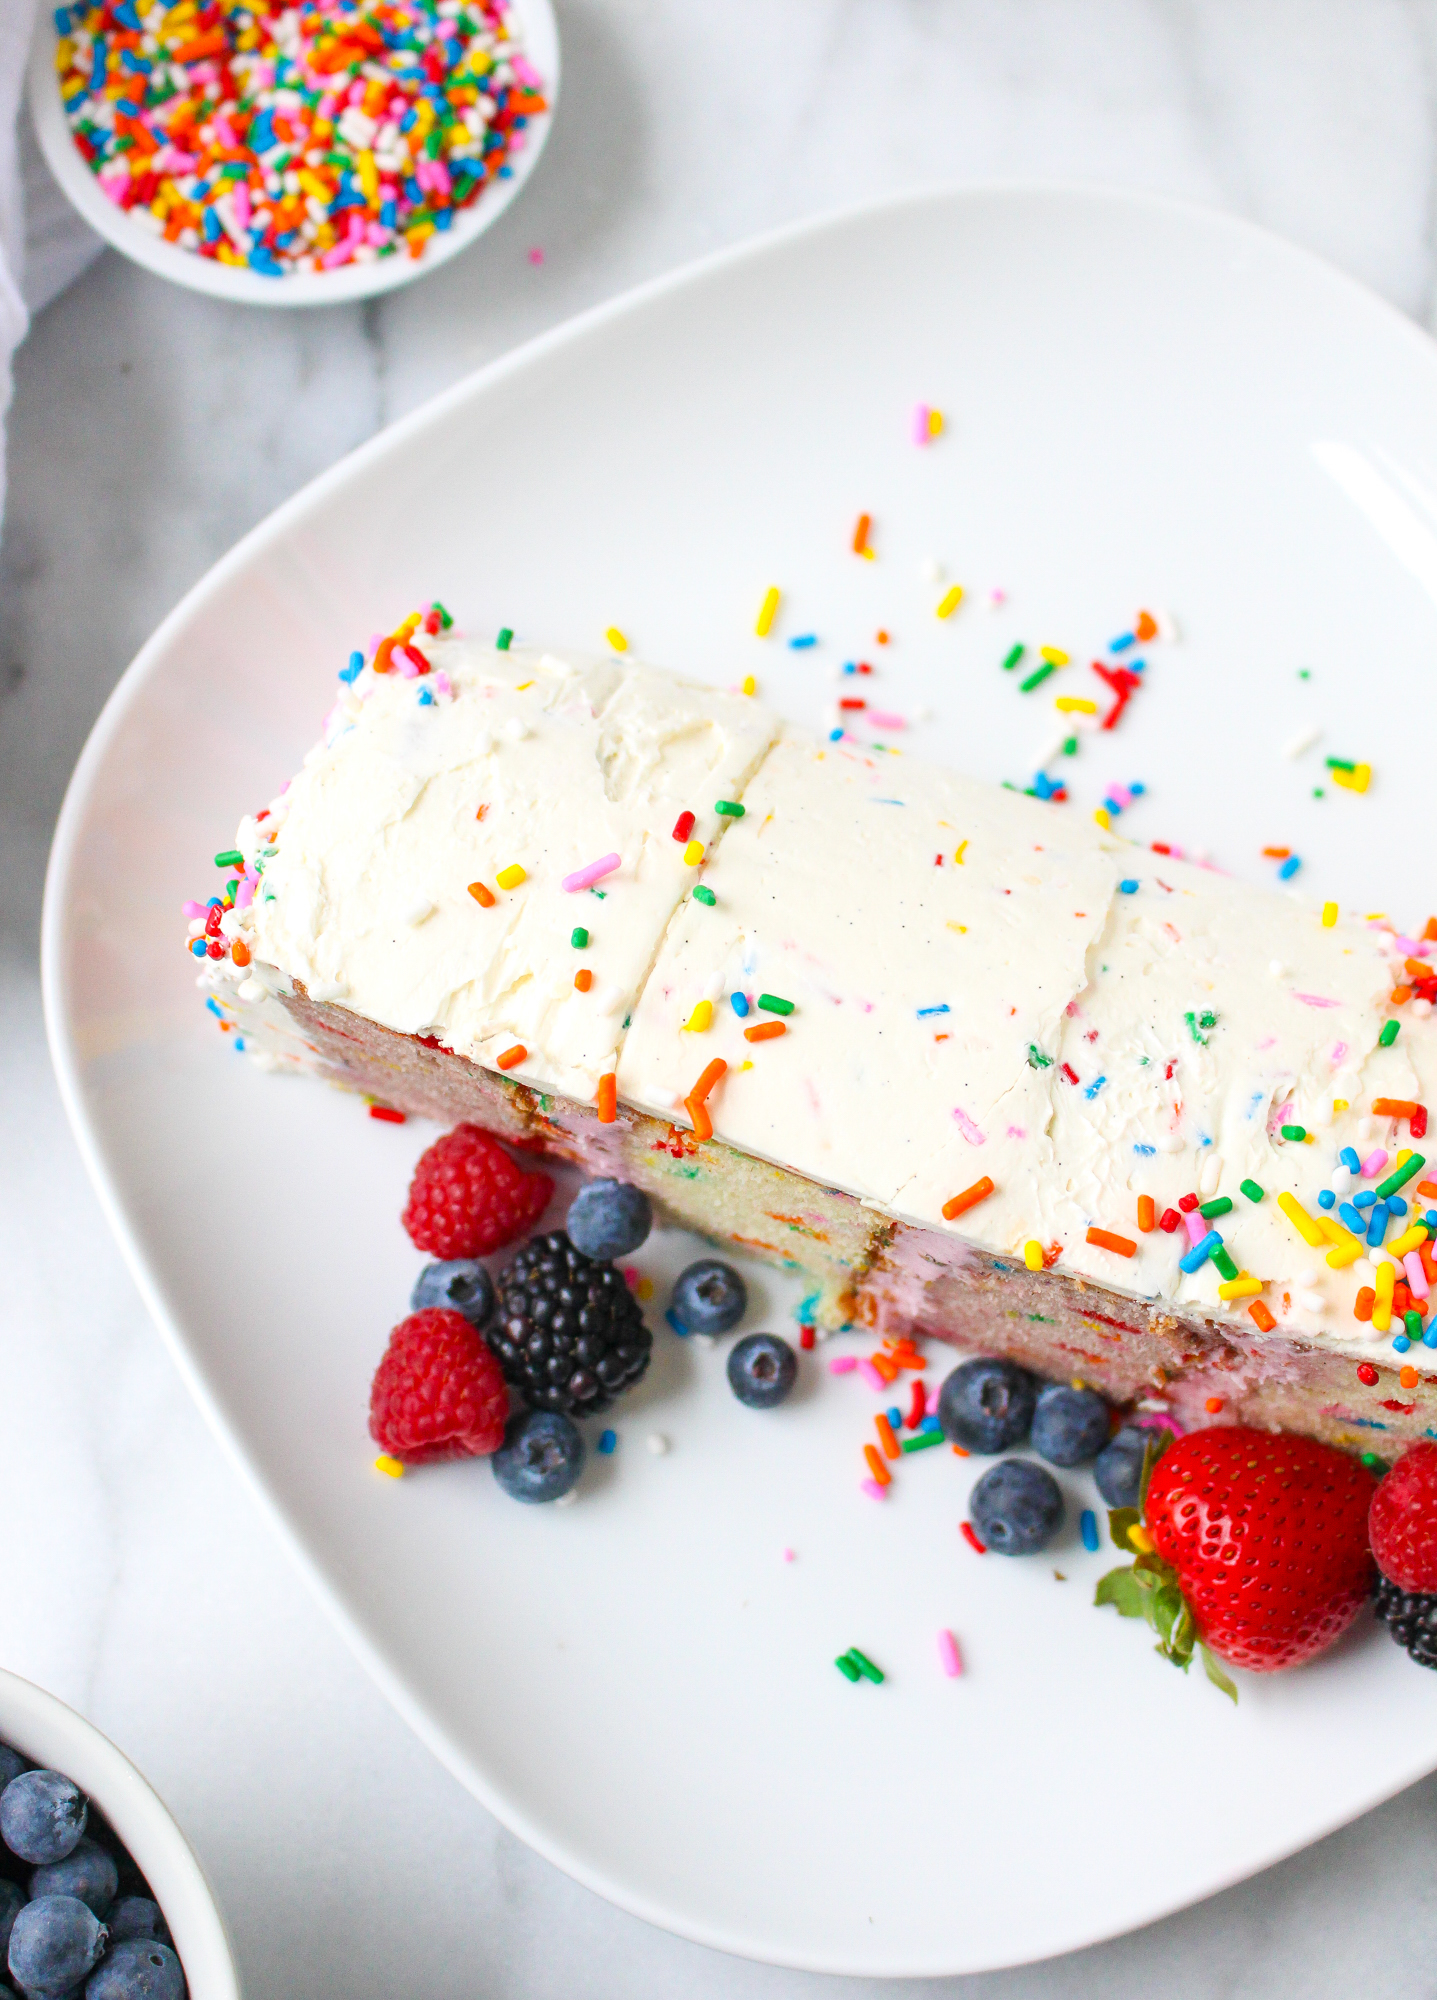
While this four-layer cake made up of vanilla and berry cake layers, a mixed berry cream cheese filling, and a vanilla buttercream is anything but perfect, I am still mighty proud of how well it came out. Not only did it taste AMAZING, but the textures of all the components were spot on. And I have Tessa to thank for that.
The reason for this cake? Well, this weekend is not only Father’s Day, but both my mom and littlest sister have birthdays as well. This weekend historically has been a three-way hybrid celebration and almost always involves cake. And ice cream for my dad. This year is no different! And was the inspiration for my cake baking!
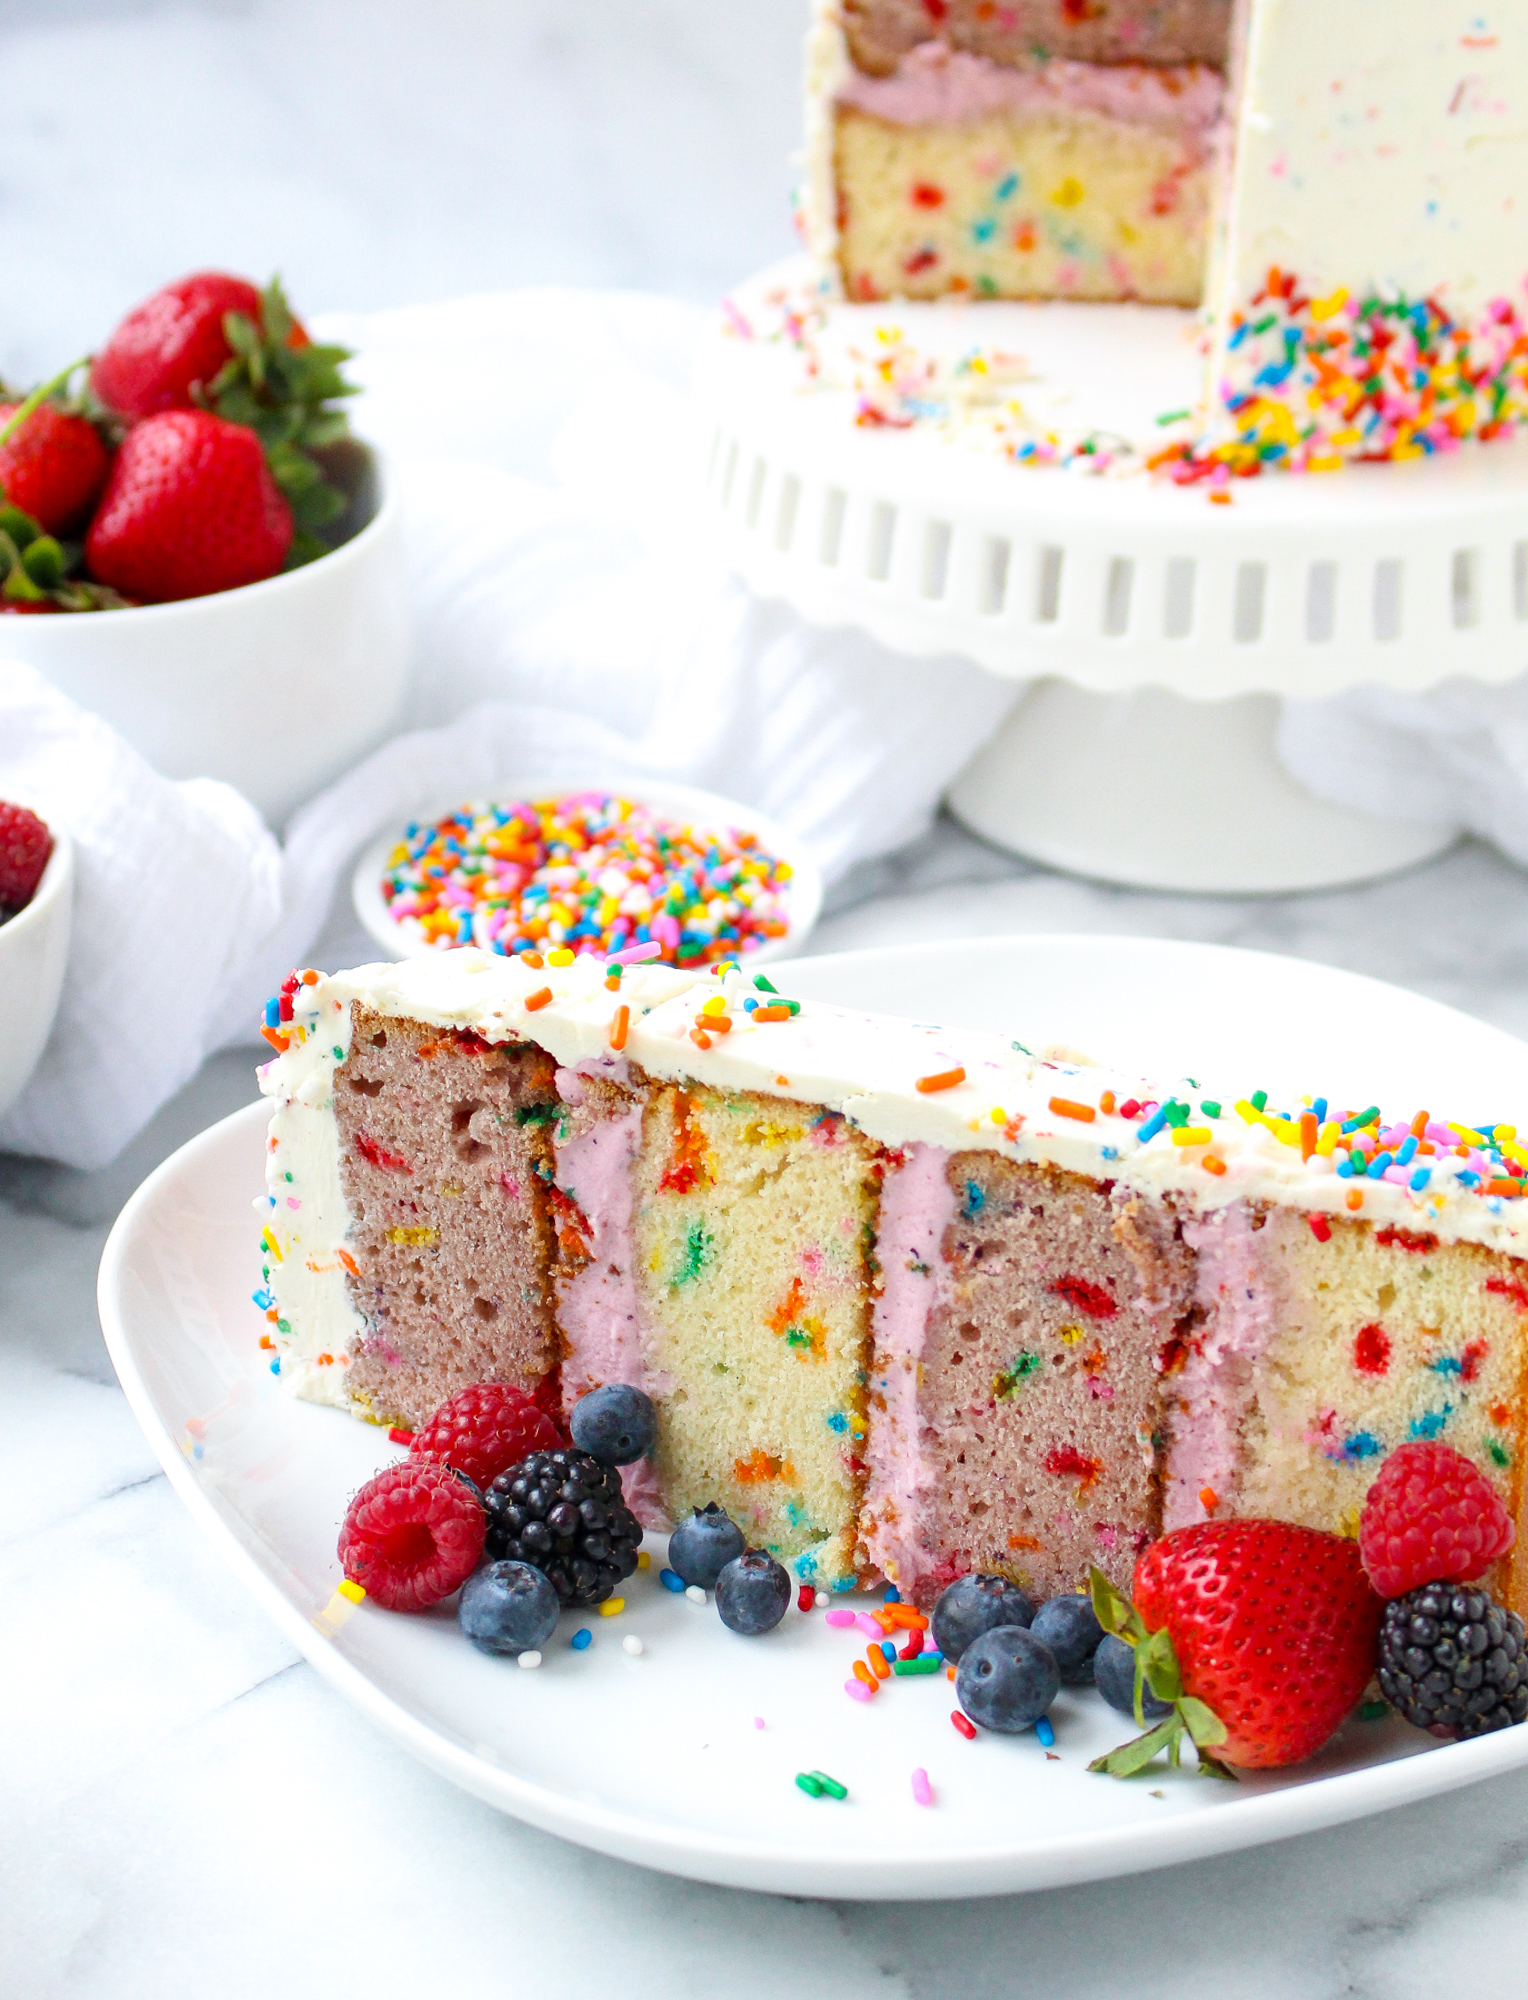
I wanted to make a cake that would please all involved: my dad, Dan, my sister, and my mom. And while my parents may not opt for something dripping in rainbow sprinkles, they both can get way on board with vanilla and berry flavors. Really, this cake has something for everyone. Both the vanilla and berry cake layers are super moist and flavorful, and the berry cream cheese filling is to die for. The real stunner for me, though, is the vanilla bean buttercream.

I had never made Swiss buttercream before this cake, and I have to say, I think I prefer it! It’s lighter and not as cloyingly sweet as many cake frostings can be. It also made frosting the cake a breeze; it went on so smooth and easy. While the technique is a little fussier than regular ol’ butter creaming together with powdered sugar, Tessa’s explanation of how to accomplish it is as clear and accessible as everything else she puts in the book. Again, if I can do it, so can you! For sure.
So, with that, I’ll say happy Father’s Day to all the dads out there! And happy (early) birthday to my mom and sister, Catherine. I hope this cake is worthy!

Mixed Berry Confetti Layer Cake
- Yield: 6-8 large servings (could probably serve 10-12 with more modest slices) 1x
Ingredients
For the Mixed Berry Puree:
- 2 cups mixed berries (I used a mix of fresh strawberries, blueberries, and raspberries)
- 1–2 tablespoons sugar (depends on how sweet your berries are)
- Pinch of fine salt
For the Vanilla Cake Layers:
- 1½ cups plus 2 tablespoons cake flour
- 1½ teaspoons baking powder
- Pinch of fine salt
- 1 stick unsalted butter, softened
- 1 cup sugar
- 2 teaspoons vanilla bean paste
- 3 large egg yolks
- ¾ cup whole milk
- ¼ cup rainbow sprinkles
For the Mixed Berry Cake Layers:
- 1½ cups plus 2 tablespoons cake flour
- 1½ teaspoons baking powder
- Pinch of fine salt
- 1 stick unsalted butter, softened
- 1 cup sugar
- 2 teaspoons vanilla bean paste
- 3 large egg yolks
- 2 tablespoons whole milk
- ¾ cup of the mixed berry puree
- ¼ cup rainbow sprinkles
For the Berry Filling:
- 4 oz cream cheese, softened
- 1 stick of unsalted butter, softened
- 3 cups powdered sugar
- ¼ cup of the mixed berry puree
For the Vanilla Buttercream:
- ½ cup egg whites
- 1 cup sugar
- 3 sticks of unsalted butter, softened
- 1½ teaspoons vanilla bean paste
- 4 oz cream cheese, softened
- 1 cup rainbow sprinkles
For Assembly:
- Additional rainbow sprinkles
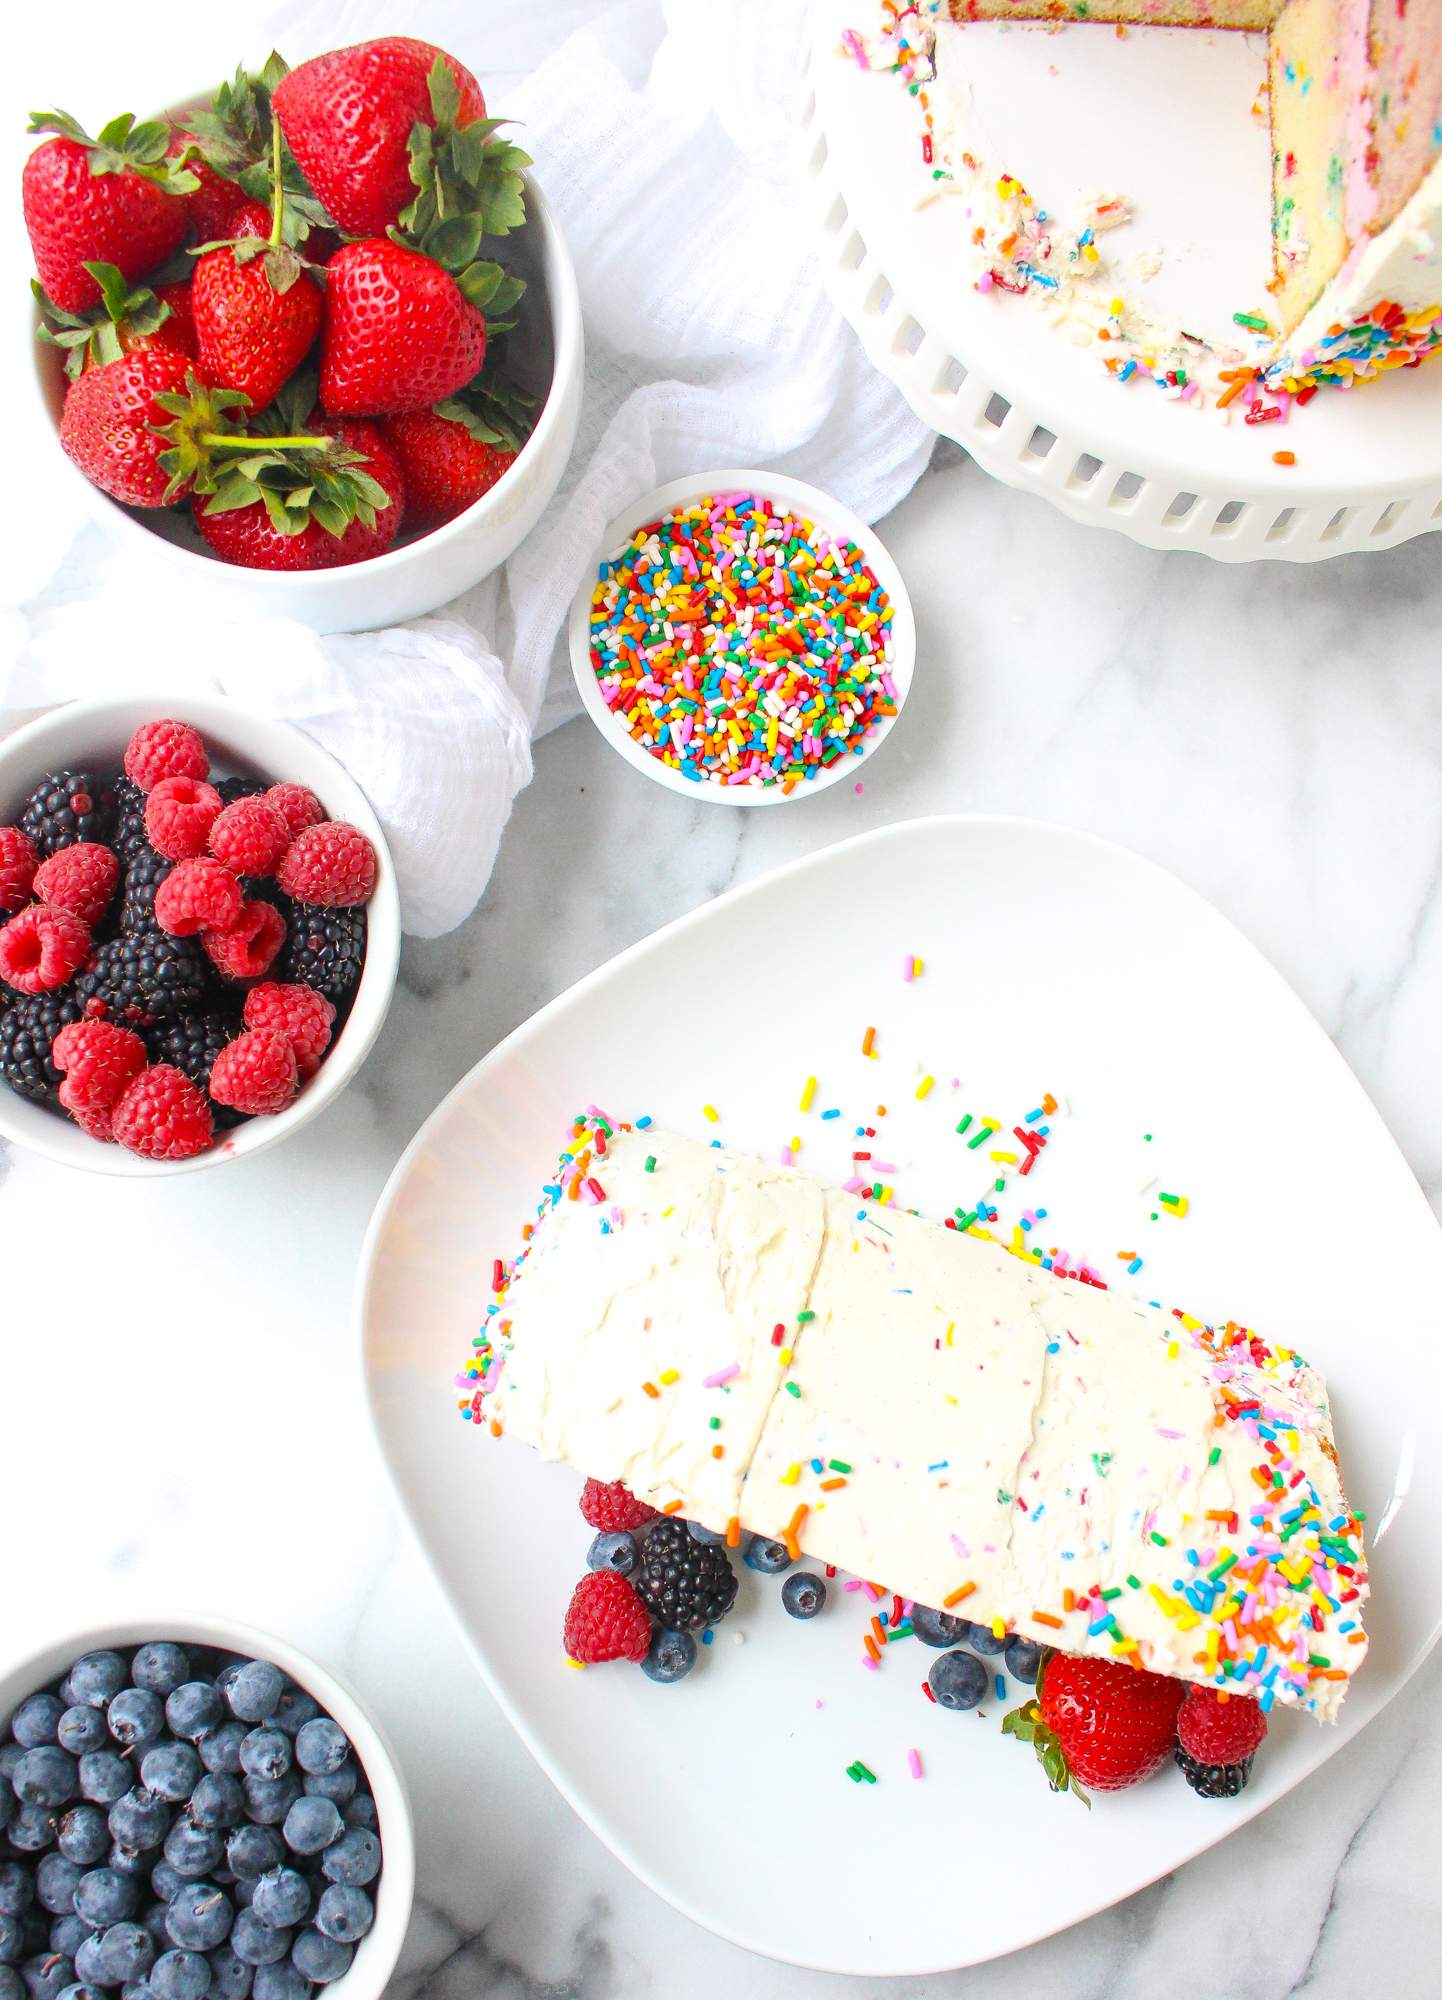
- Fresh berries, hulled and halved/quartered, as needed
Instructions
For the Mixed Berry Puree:
- Place the fresh berries, sugar, and salt in the bowl of a food processor and pulse until smooth. Strain the mixture through a fine mesh strainer to remove any seeds. Set aside.
For the Vanilla Cake Layers:
- Preheat the oven to 350°F. Grease and flour four six-inch round cake pans (set aside two of the cake pans for the berry cakes).
- Sift together the cake flour, baking powder, and salt. Set aside.
- In the bowl of stand mixer, beat the butter for 2 minutes or until fluffy and pale yellow. Add the sugar and continue to beat for another few minutes.
- Add the egg yolks, one at a time, mixing well after each addition. Whisk in the vanilla.
- Add the flour mixture in two batches, alternating with the milk, being sure to mix until the dry ingredients are just incorporated. Fold in the sprinkles by hand.
- Divide the batter evenly between two of the cake pans. Bake for 25-30 minutes, or until a toothpick inserted in the center of the cakes comes out clean. Cool in the pans for 10-15 minutes before removing them from the pans. Allow them to finish cooling on wire racks.
For the Mixed Berry Cake Layers:
- Sift together the cake flour, baking powder, and salt. Set aside.
- In the bowl of stand mixer, beat the butter for 2 minutes or until fluffy and pale yellow. Add the sugar and continue to beat for another 3- minutes.
- Add the egg yolks, one at a time, mixing well after each addition. Whisk in the vanilla and the berry puree.
- Add the flour mixture in two batches, alternating with the milk, being sure to mix until the dry ingredients are just incorporated. Fold in the sprinkles by hand.
- Divide the batter evenly between the two remaining cake pans. Bake for 25-30 minutes, or until a toothpick inserted in the center of the cakes comes out clean. Cool in the pans for 10-15 minutes before removing them from the pans. Allow them to finish cooling on wire racks.
For the Berry Filling:
- While the cakes are baking/cooling, beat the cream cheese and butter together in the stand mixer. Beat until fluffy and smooth. Gradually add the powdered sugar, beating it in on low speed. Whisk in the berry puree and beat until combined. Add a little more powdered sugar, as needed, to thicken the mixture. Beat until it is smooth and creamy. Transfer to a bowl and set aside. Wipe out the mixer bowl.
For the Vanilla Buttercream:
- Place the egg whites and sugar in the bowl of the stand mixer and beat until combined. Fill a medium saucepan with an inch or two of water and place it over medium-high heat. Once the water comes to a simmer, place the mixing bowl on top of the pot to create a double boiler (the bottom of the bowl should not touch the water).
- Whisking almost constantly, heat the egg whites and sugar until a candy thermometer reads 160°F. Carefully transfer the bowl to the stand mixer and beat on high speed for 8-10 minutes, or until stiff peaks form.
- Swap the whisk attachment out for the paddle attachment and add the butter, a few tablespoons at a time, to the mixture. Do the same with the cream cheese. Beat until the mixture is silky smooth, about 5 minutes. Beat in the vanilla. Fold in the sprinkles until incorporated.
To Assemble:
- Once the cakes have cooled completely, arrange one of the vanilla cake layers on a cake board/plate and place on a rotating cake stand (a cake stand is not necessary but it does make the frosting/decorating a lot easier).
- Spread ⅓ of the berry filling on the cake, smoothing it out in an even layer with an offset spatula.
- Top the vanilla cake with one of the berry cakes. Repeat with the berry filling. Repeat with the remaining cake layers/filling.
- Using a clean offset spatula, begin frosting the cake with the vanilla buttercream by dolloping it on the top layer of the assembled layer cake and gently working a thin layer down the sides. Don’t worry too much about this first layer of frosting being too neat; it is the crumb coat and will be covered up by the final layer of frosting.
- Carefully transfer the frosted cake to the fridge and allow it to set for 10-15 minutes.
- Remove the chilled cake from the fridge and apply another layer of the frosting, smoothing it out as you go.
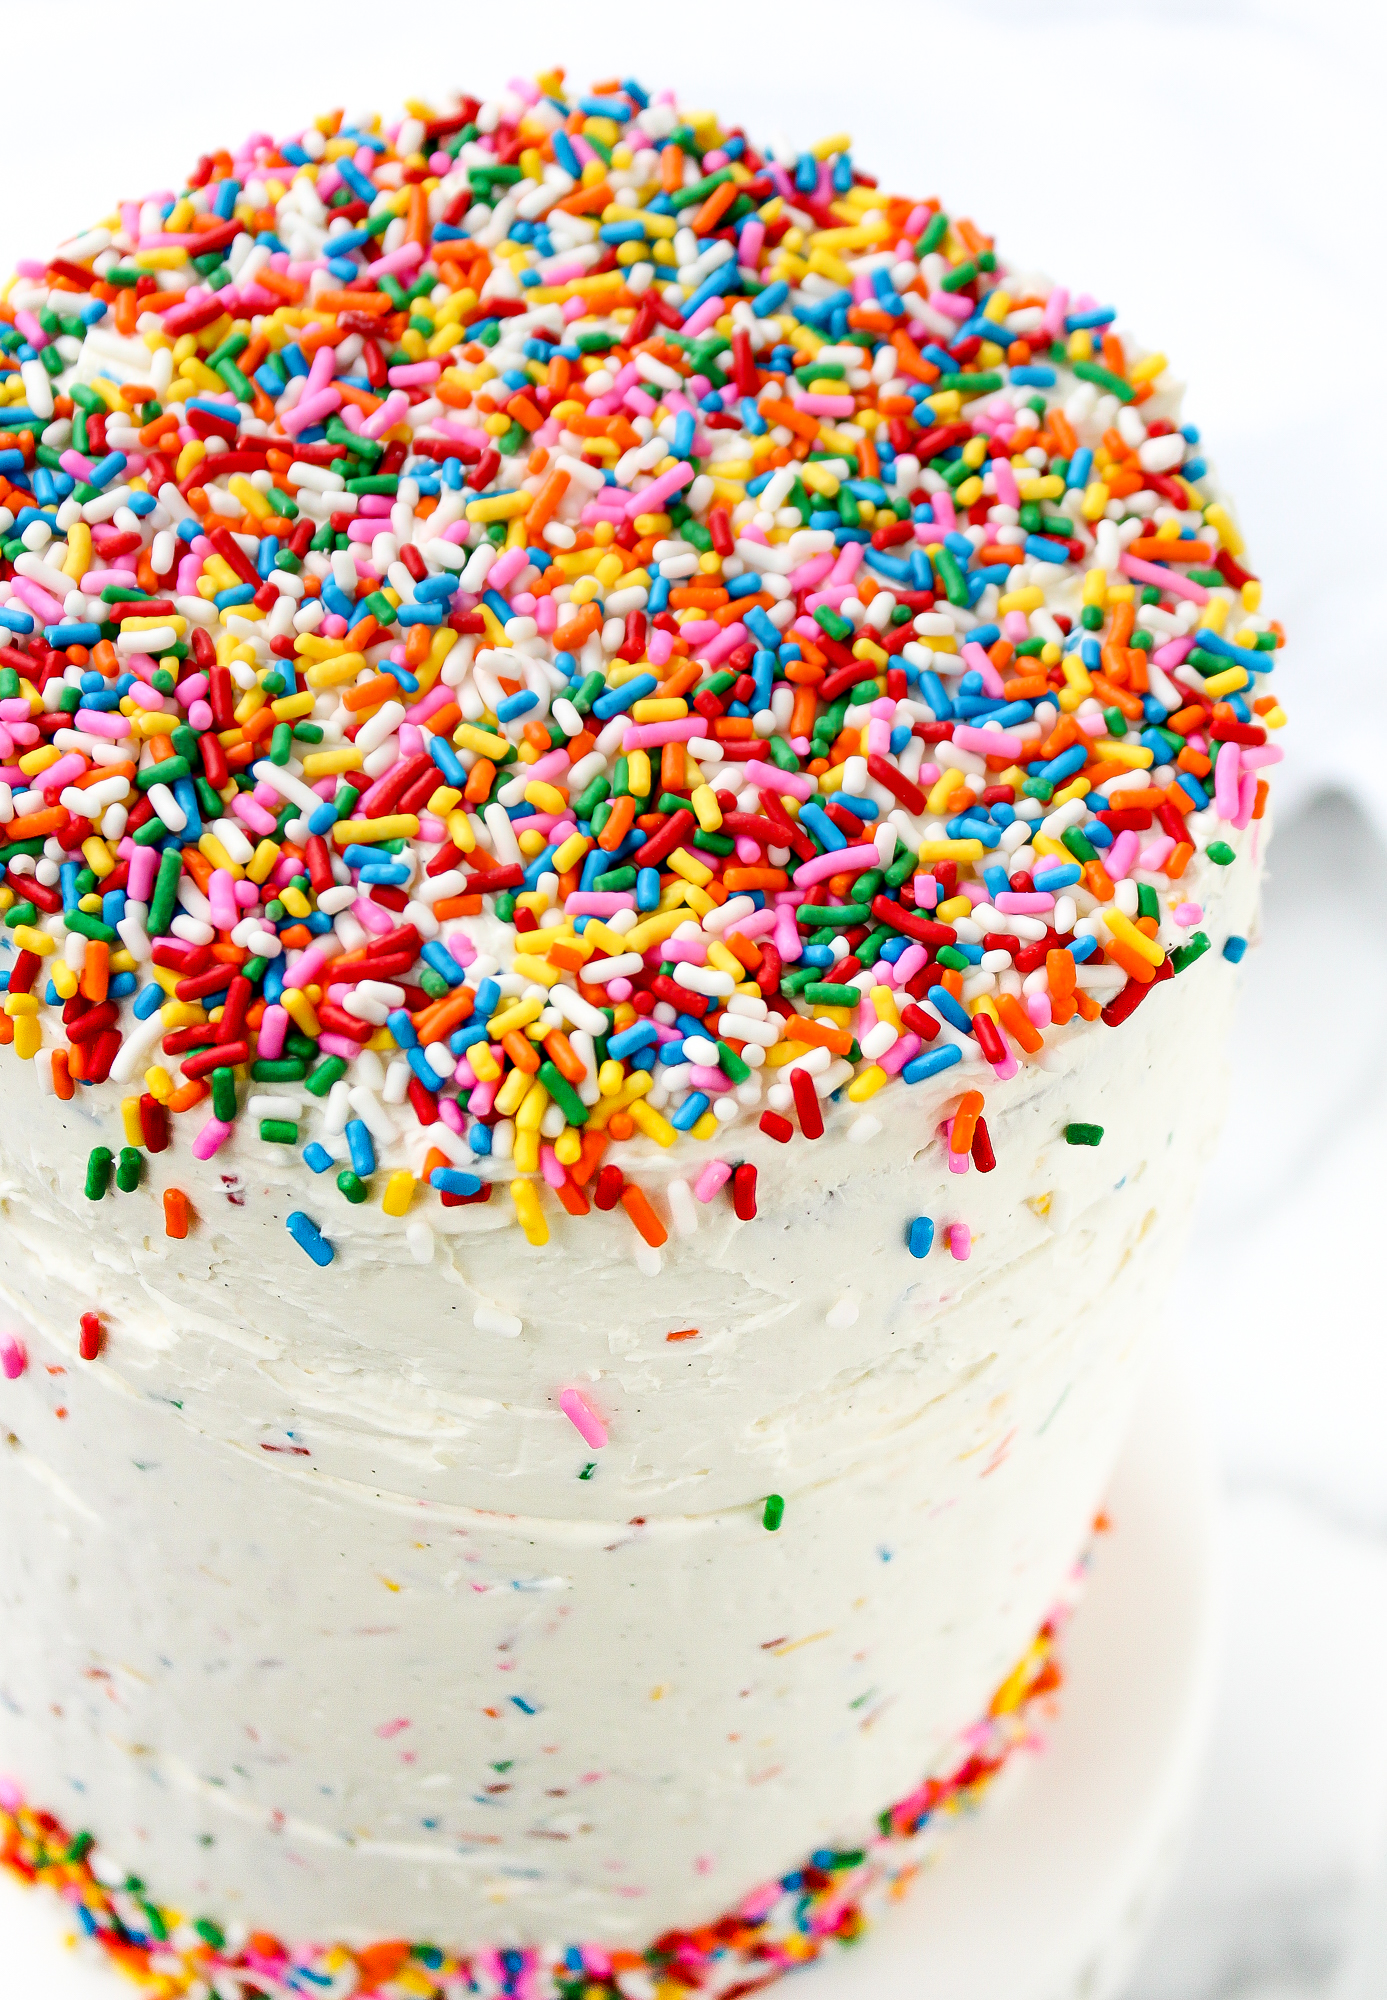
- If desired, place any leftover buttercream in a piping bag and pipe any decorative border you see fit. Decorate with fresh berries and/or sprinkles. I went with a more simplistic approach and decorated with extra sprinkles only. Totally your call.
- Store the cake in the fridge for up to four days. Allow it to come to room temperature about 15 minutes before you plan on serving it. Serve with additional sprinkles and/or fresh berries.
NOTES:
- As someone who does not consider herself a seasoned baker, especially when it comes to fancy layer cakes, I found this easier to make and assemble in stages. I baked the cakes and made the fillings on one day and assembled everything the following day. You could easily spread this out over a few days, as needed, as long as you keep your unfrosted cake layers well wrapped in the fridge.
Adapted from the “Strawberry Confetti Cake” in Tessa Huff’s incredible book: “Layered.” I cannot recommend this book enough. It makes beautiful cake artistry more accessible to the untrained home cook! Take it from me!
(Oh, and Tessa did not ask me to say any of this. This is coming completely from my own experience.)
Wow, this cake is magnificent! I tend to shy away from making layer cakes as well, so I’m encouraged by your success. I love the sprinkles within the cake and the berry cream cheese frosting sounds especially scrumptious. Well done!
Thanks so much! Believe me, I mean it when I say if I can do it, anyone can. I truly suck with this sort of thing. The book is so, so helpful!
My 10 year old made this and it was delightful! She did so many new techniques and the instructions were so clear. My favorite part was the berry filling but it was all so good together,
I’m so glad to hear this, Dana! I love this cake and I’m so happy you guys did too!