
Let’s send August out on a high note, shall we?
While I cannot wait for fall (it’s my favorite time of year), I am clinging to summery things like sunshine, fresh corn and tomatoes, all the watermelon, and ICE CREAM.
Ice cream, of course, can and should be enjoyed during all seasons of the year, but it holds a special nostalgic place in my heart when it comes to summer.

Growing up, it was ALWAYS our special treat in the summer. My dad is an ice cream addict, and so we always had it in the house for special after-dinner treats.
I specifically remember sitting in my Popples nightgown (remember, Popples!?), fresh out of the bath with wet hair, and sitting outside on our porch with a big bowl of ice cream, which had been procured specially by my father. Watching the lightening bugs and listening to the simple sounds of summer evenings and soaking up every last bite of that sweet ice cream.
These are the things I associate with ice cream in the summer. Very tender, simple memories.
So, with school starting for Kieran this week and the start of September being tomorrow, one last ice cream hurrah is in order! And then…we move onto all things apple, pumpkin, and spiced. Get ready.
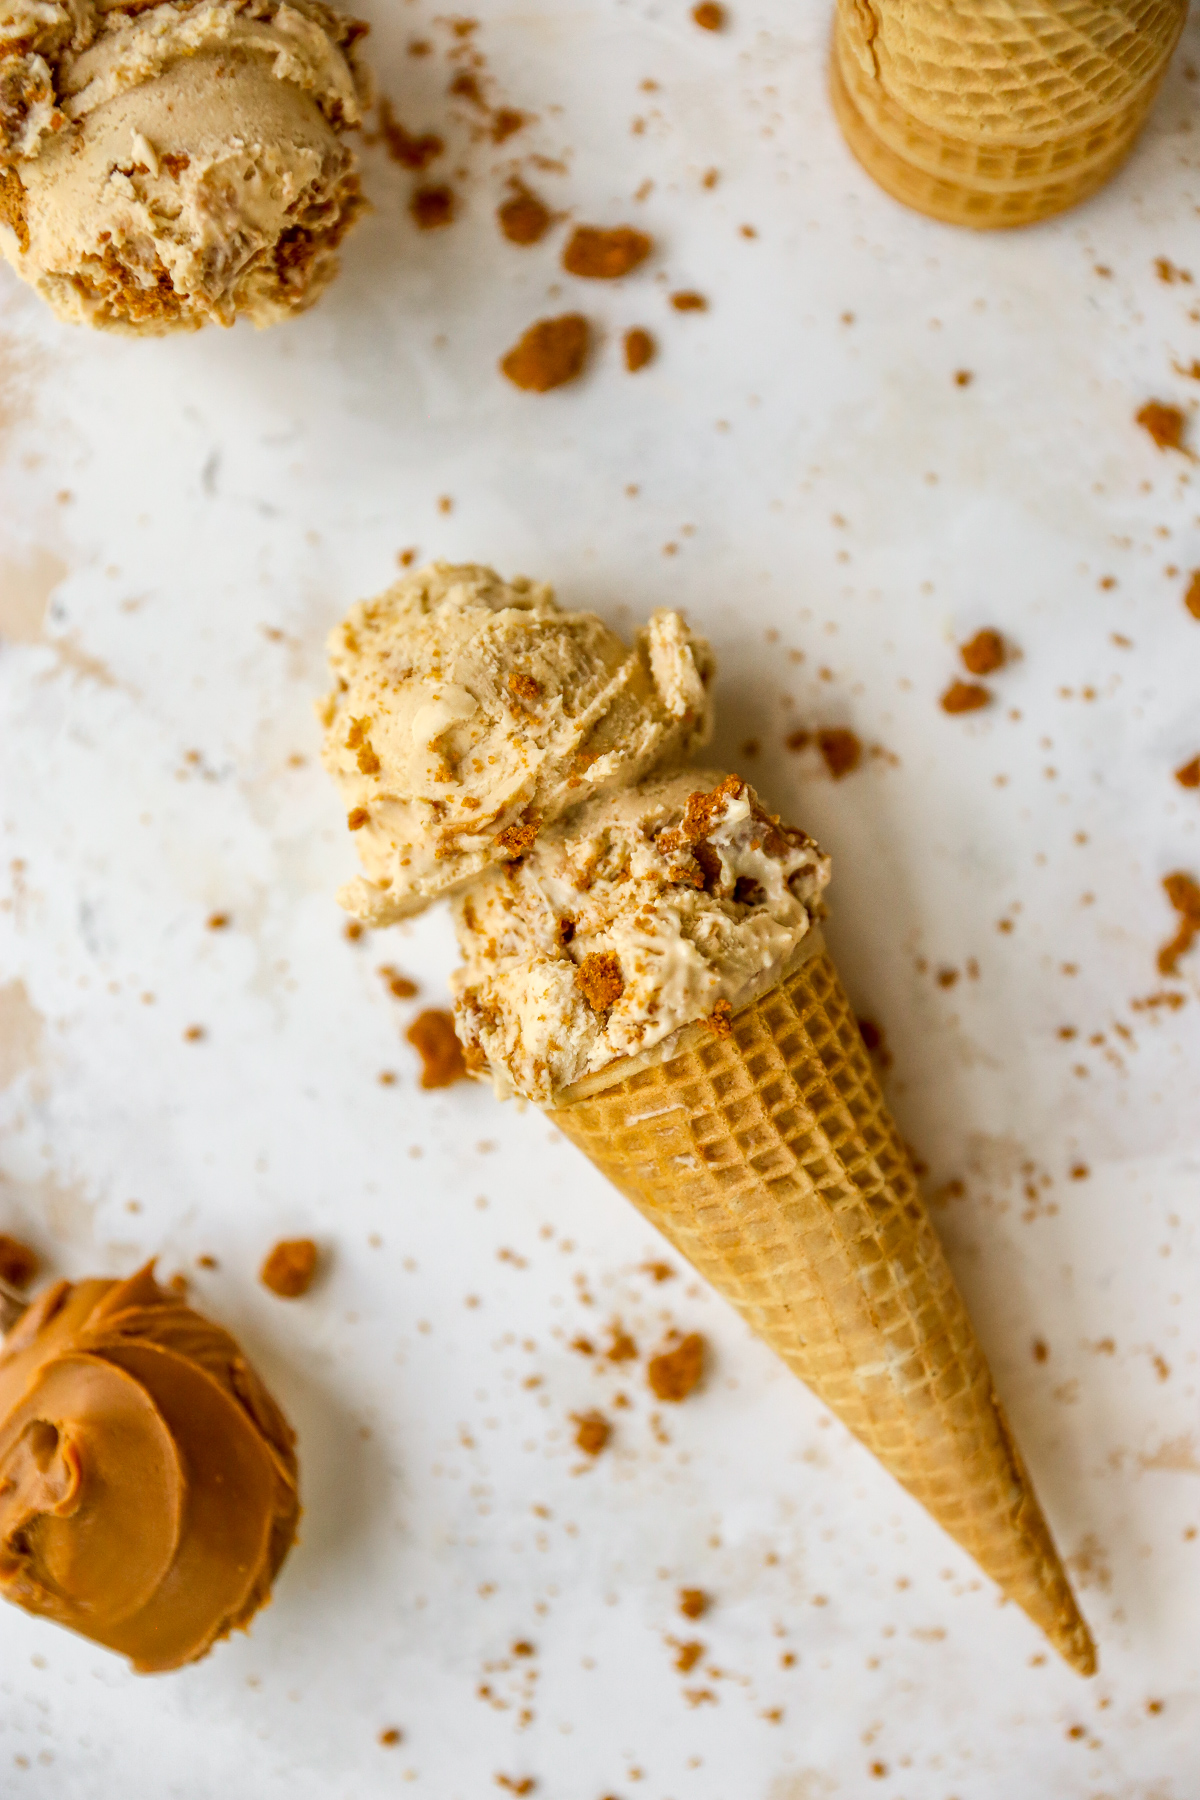
This ice cream is flavored with one of my favorite things on earth: cookie butter. Also known as Biscoff spread. I love using Biscoff or the Trader Joe’s cookie butter. Both are DELISH. I often just eat a little scoop straight off a spoon. It’s one of my greatest indulgences.

So, naturally, I wanted to create an ice cream that tasted like the amazingness that is cookie butter. AND I wanted to make it no churn, so that it comes together quickly, easily, and with no special equipment.
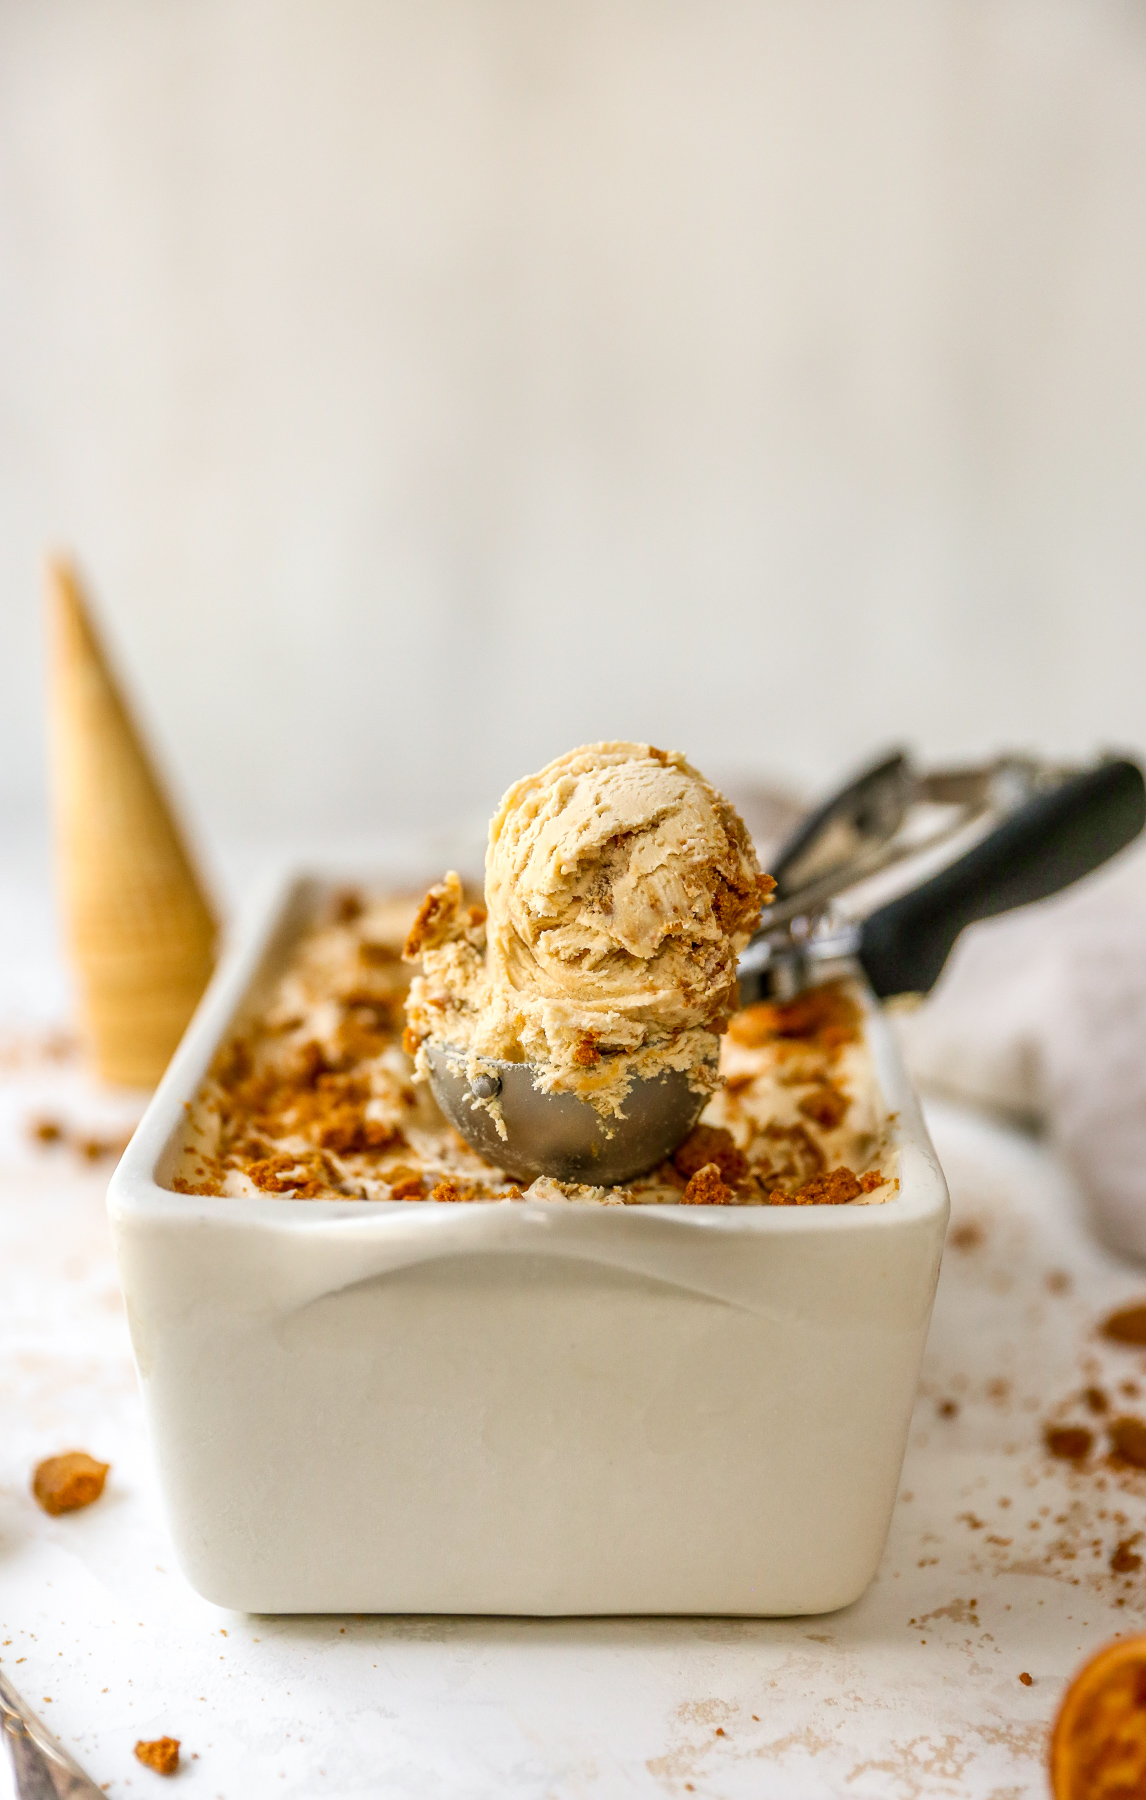
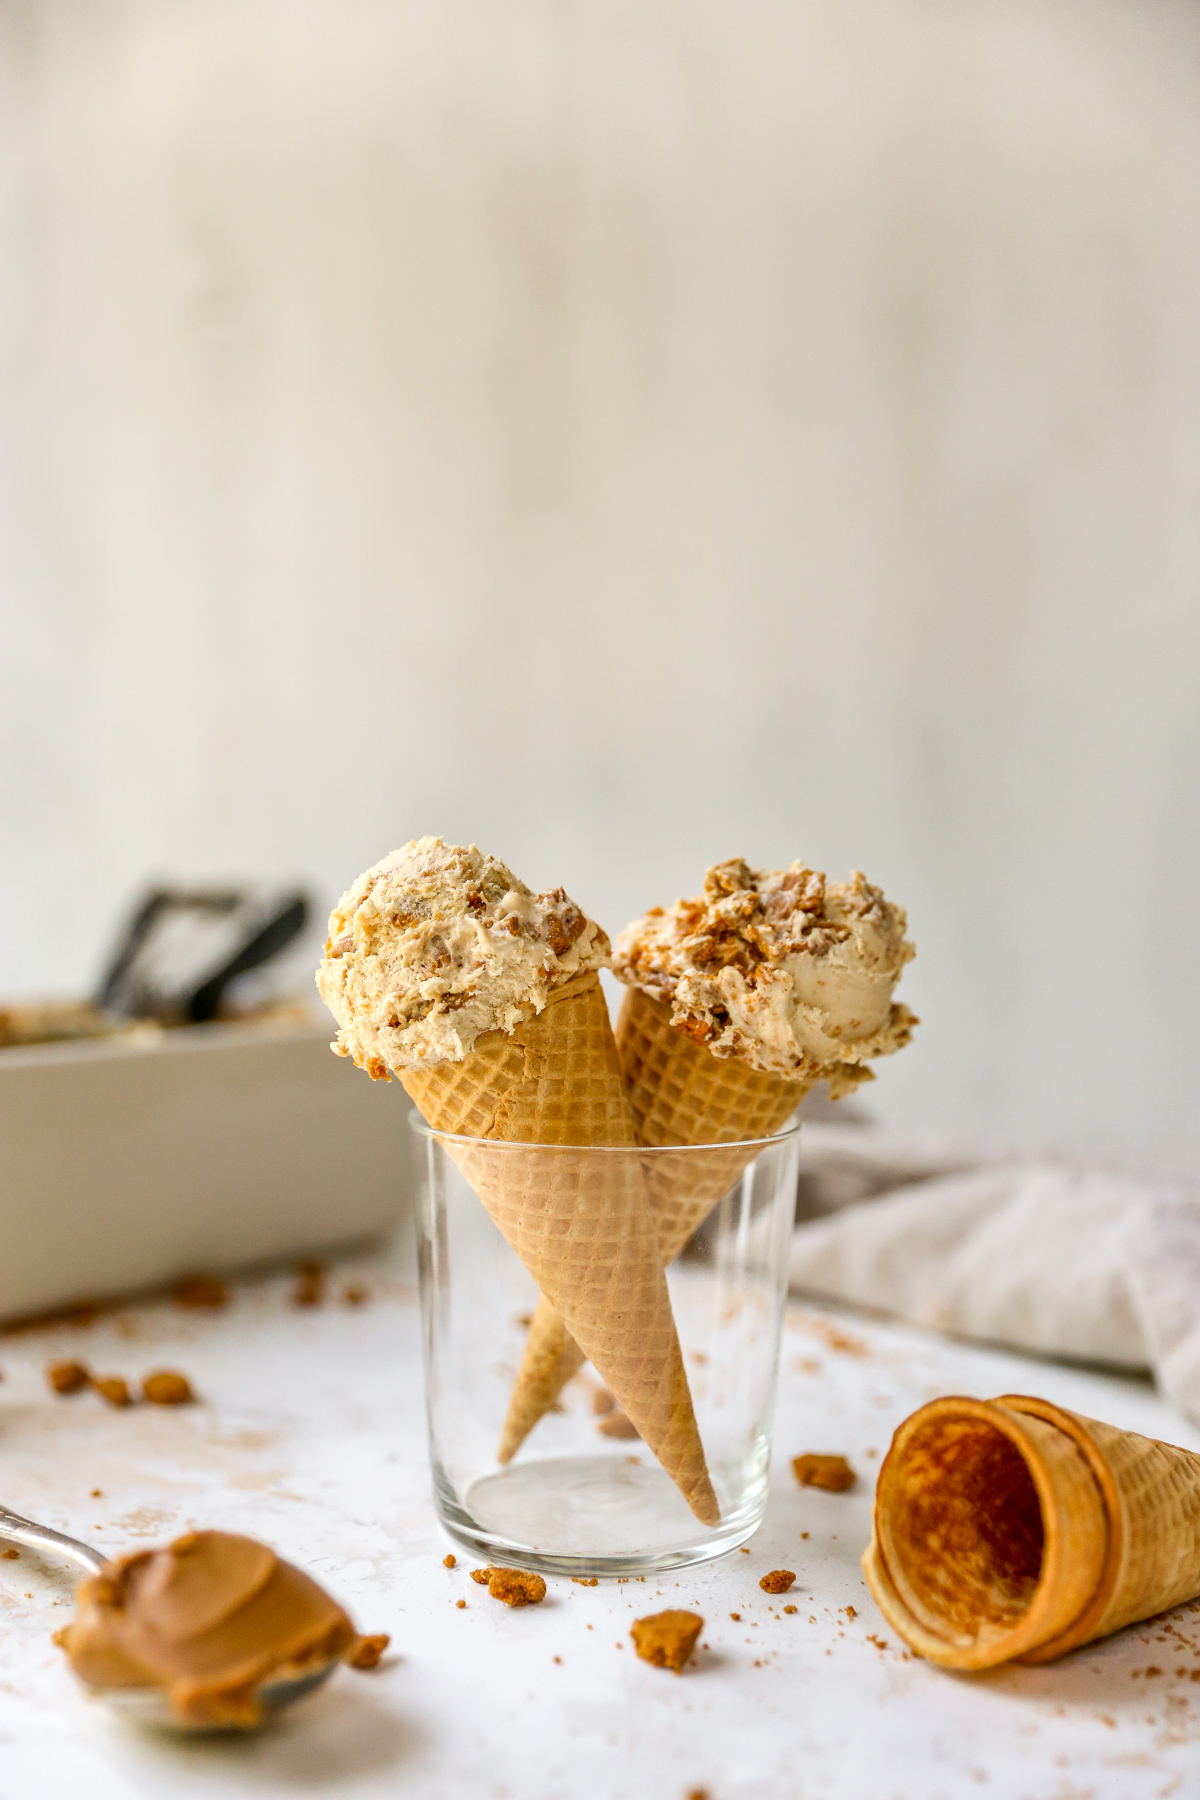
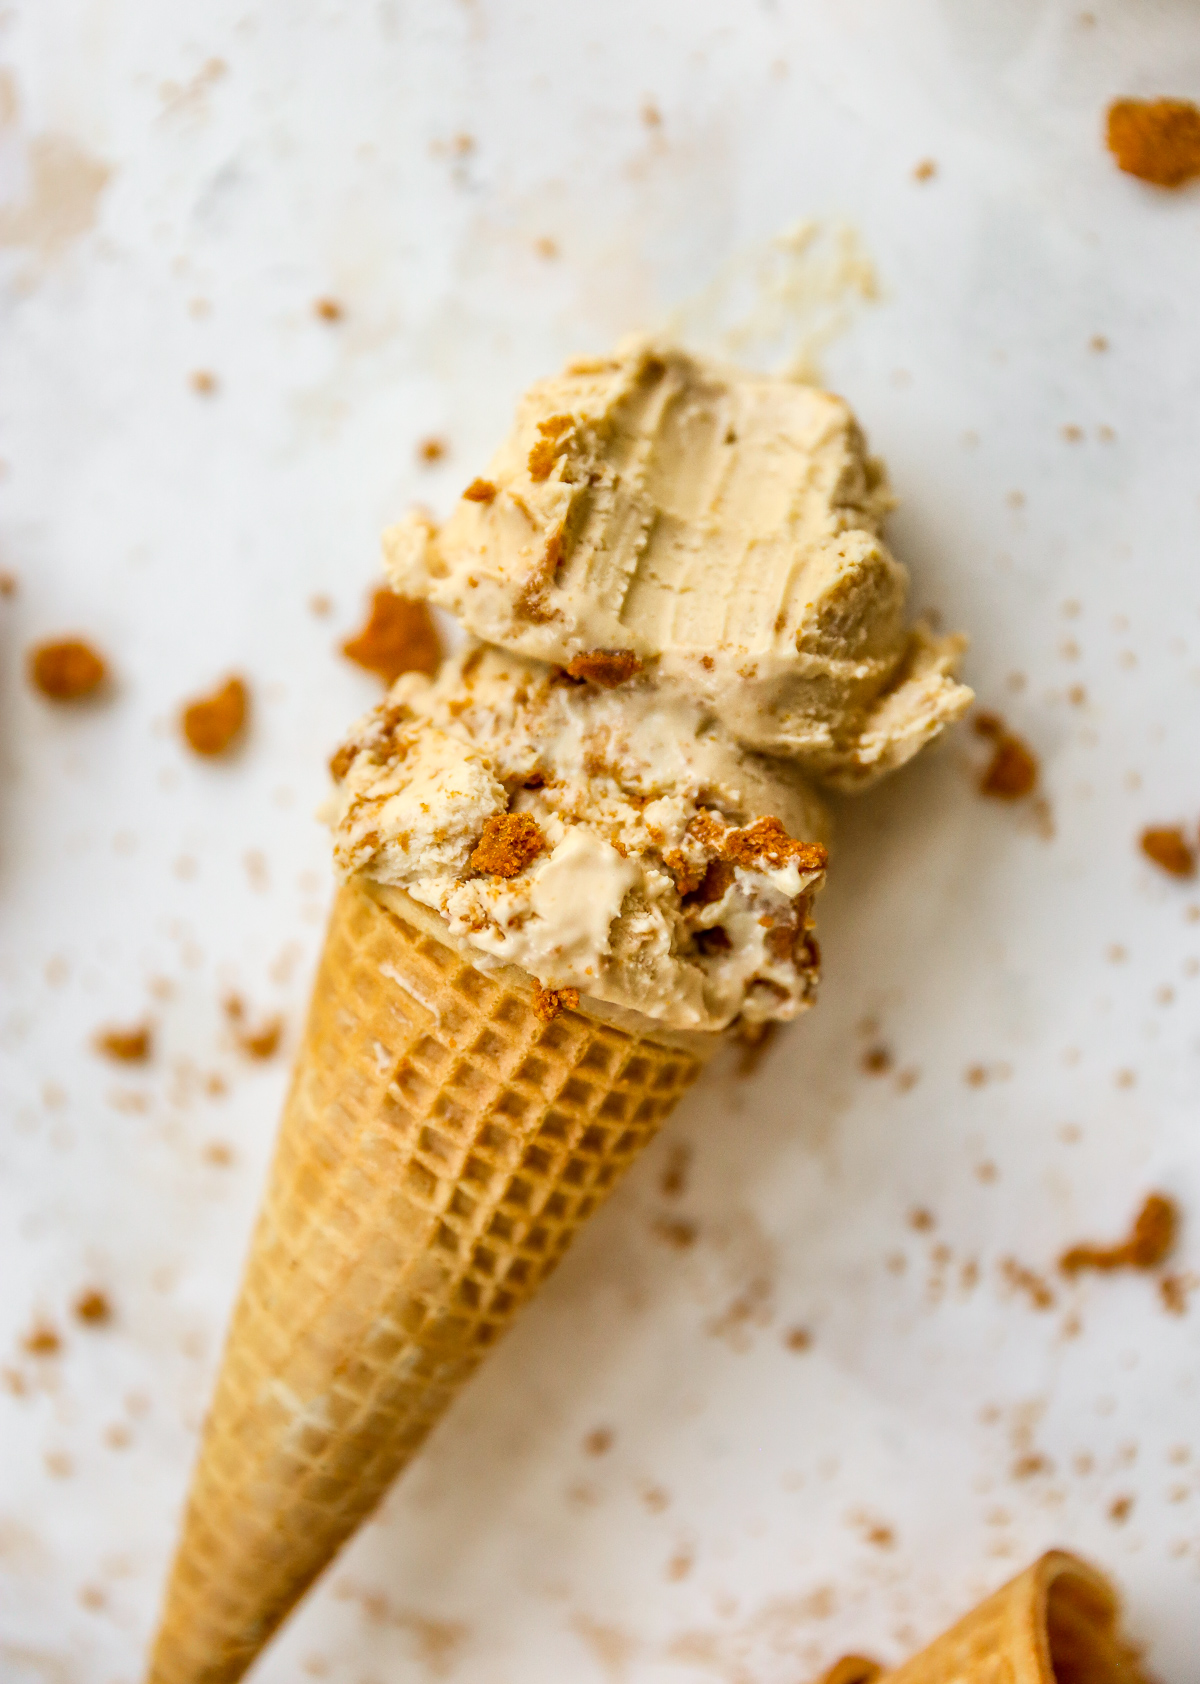
This no-churn ice cream has cookie butter in the base, swirls of cookie butter throughout, AND crushed up Biscoff cookies running through it.
It. Is. Magical.
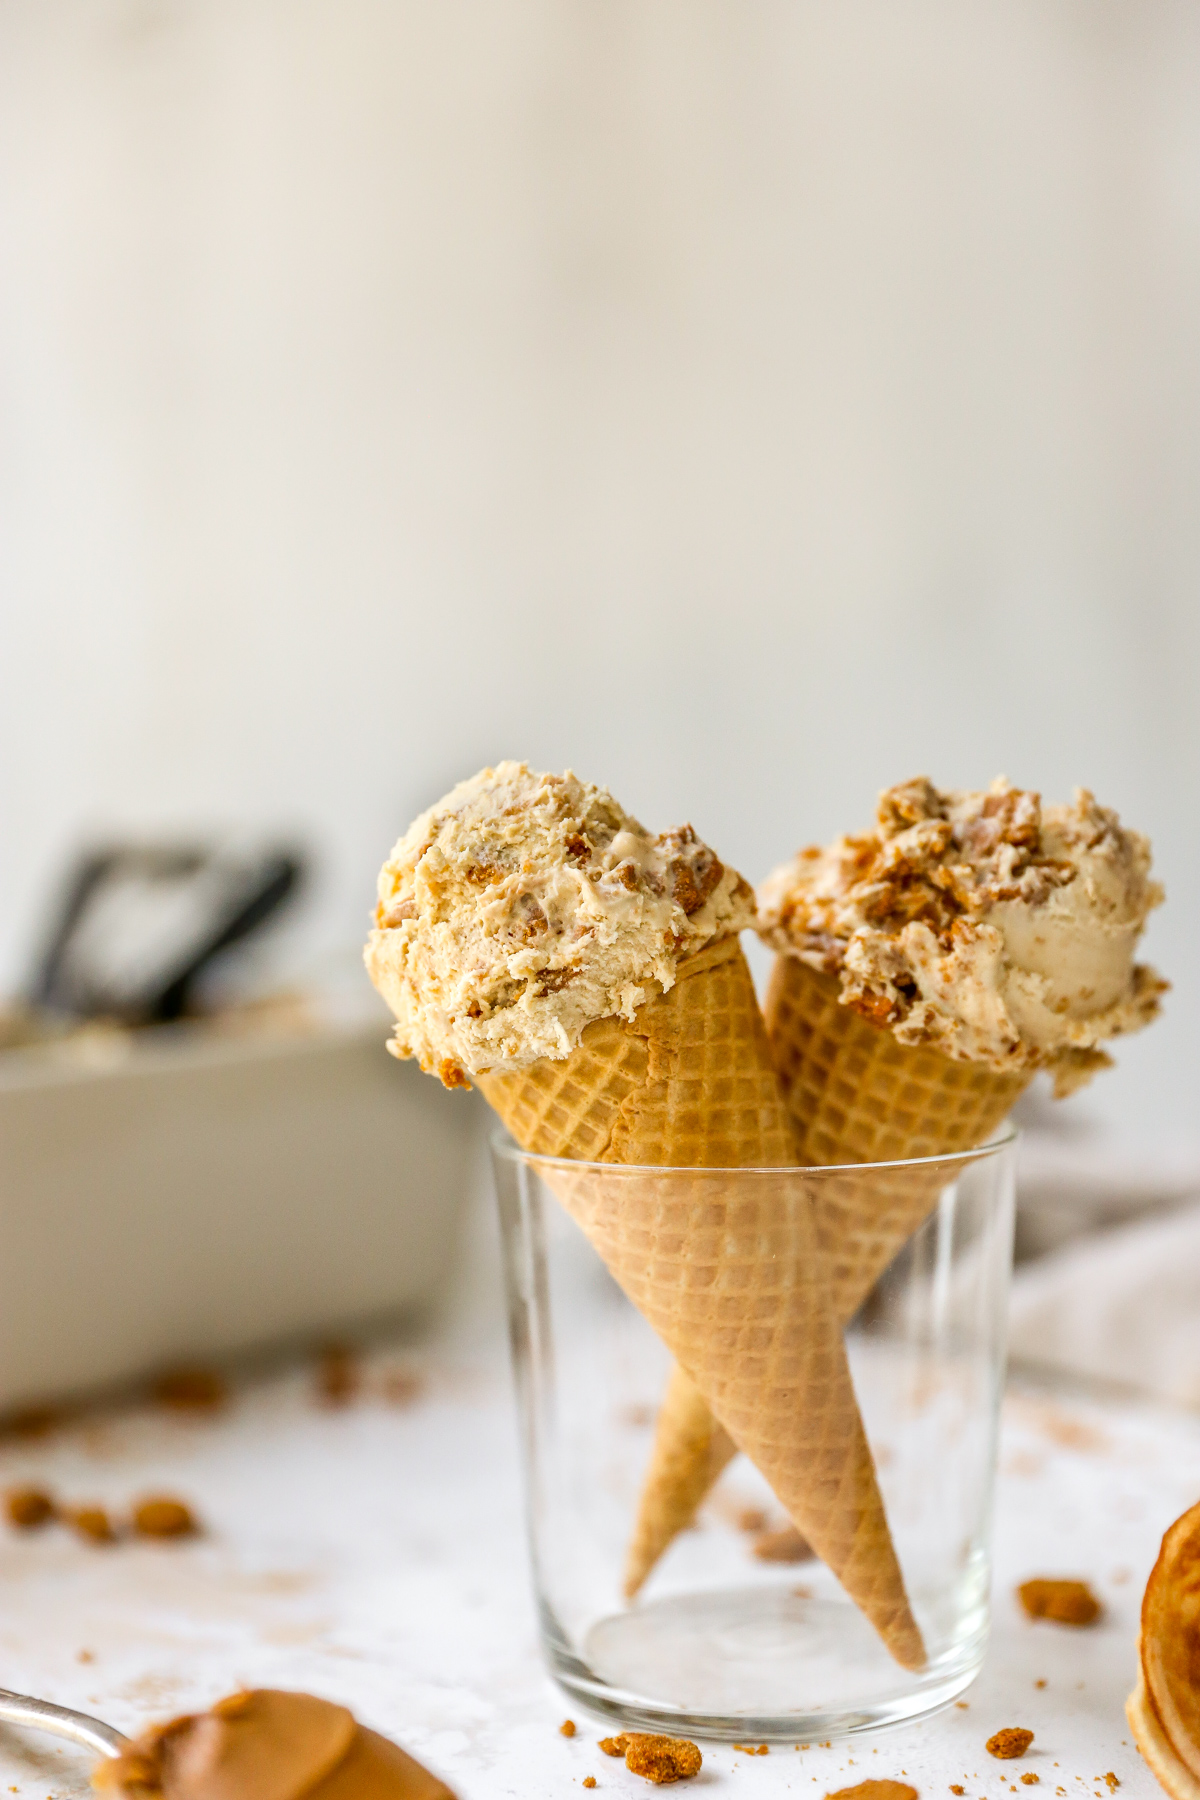
Once frozen, this tastes exactly how I wanted. Like vanilla ice cream and cookie butter made a baby.
It’s a little bit spiced and warm from the cookies and cookie butter, sweet and creamy, and completely, unapologetically decadent.
My 7-year-old Popple-clad self would have loved this.
If you love cookie butter, this one is for you!

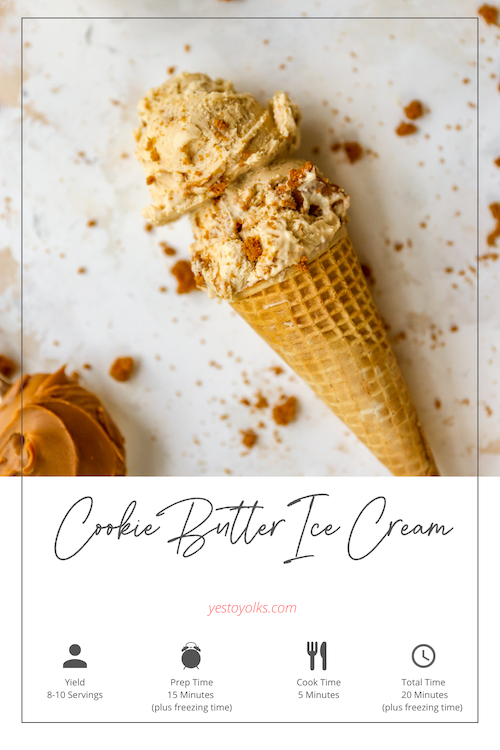
No-Churn Cookie Butter Ice Cream
- Total Time: 20 minutes (plus freezing time)
- Yield: 8–10 servings 1x
Description
This No-Churn Cookie Butter Ice Cream is for all cookie butter lovers! The base if flavored with the spiced, sweet concoction, features swirls of cookie butter throughout, AND crushed Biscoff cookies. It is downright delightful! And it’s a no-churn recipe, which means that it comes together quickly, easily, and without any special equipment!
Ingredients
- 2 cups heavy whipping cream, cold
- ⅓ cup plus another ¼ cup cookie butter (use your favorite – I love Biscoff or the Trader Joe’s brand)
- 8 oz sweetened condensed milk (roughly ⅔ of a standard 14-oz can)
- ½ teaspoon kosher salt
- 2 teaspoons vanilla extract
- 1 cup crushed Biscoff cookies
Instructions
- Place the cream in the bowl of a stand mixer (alternatively, you can use a hand mixer or beat it by hand). Beat on high until stiff peaks form, about 3 minutes.
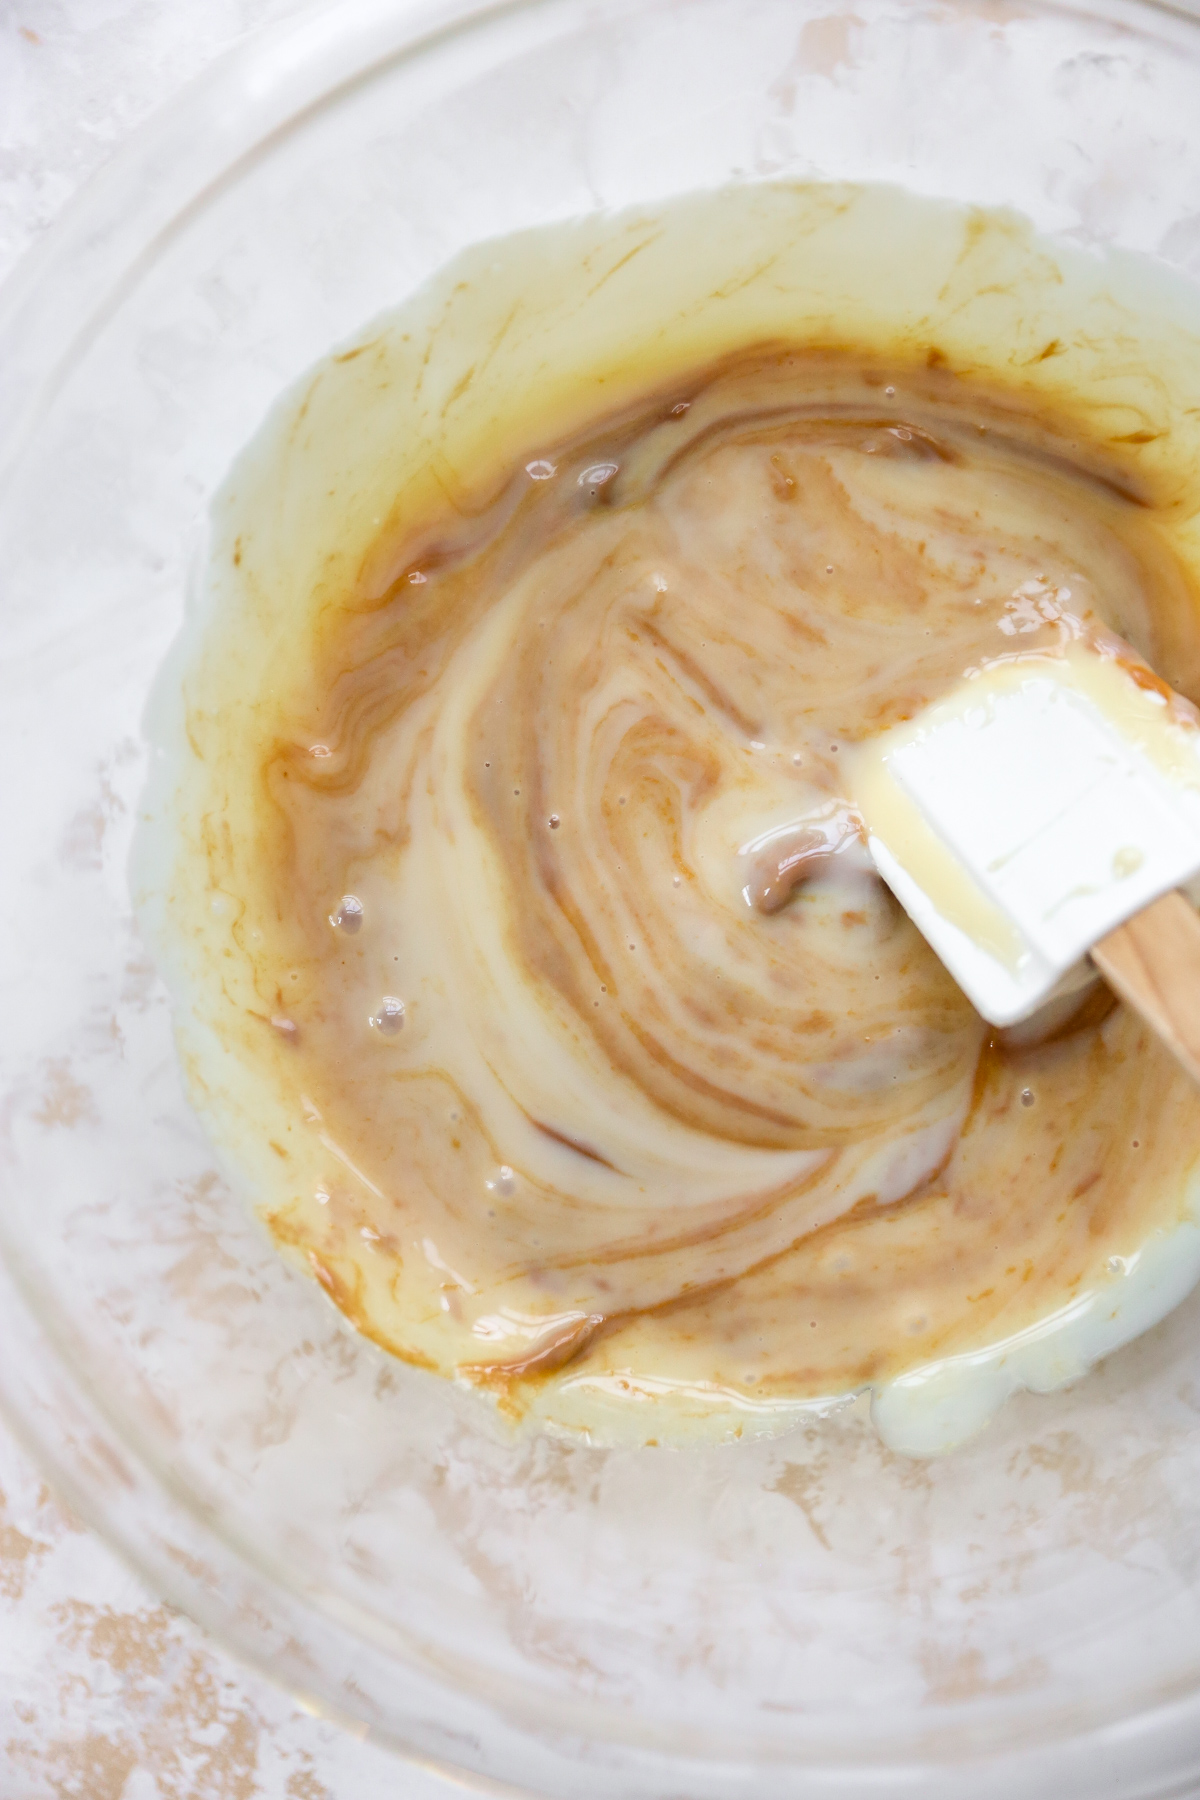
- Meanwhile, in a large mixing bowl, whisk together the ⅓ cup of cookie butter and sweetened condensed milk until smooth and creamy. Stir in the salt and vanilla.
- Once the cream is whipped, fold roughly ⅓ of it into the cookie butter base, gently mixing and folding to lighten the mixture without deflating the cream.
- Continue with the remaining cream, adding it in two batches, continuing to mix and gently fold until the mixture is well combined.
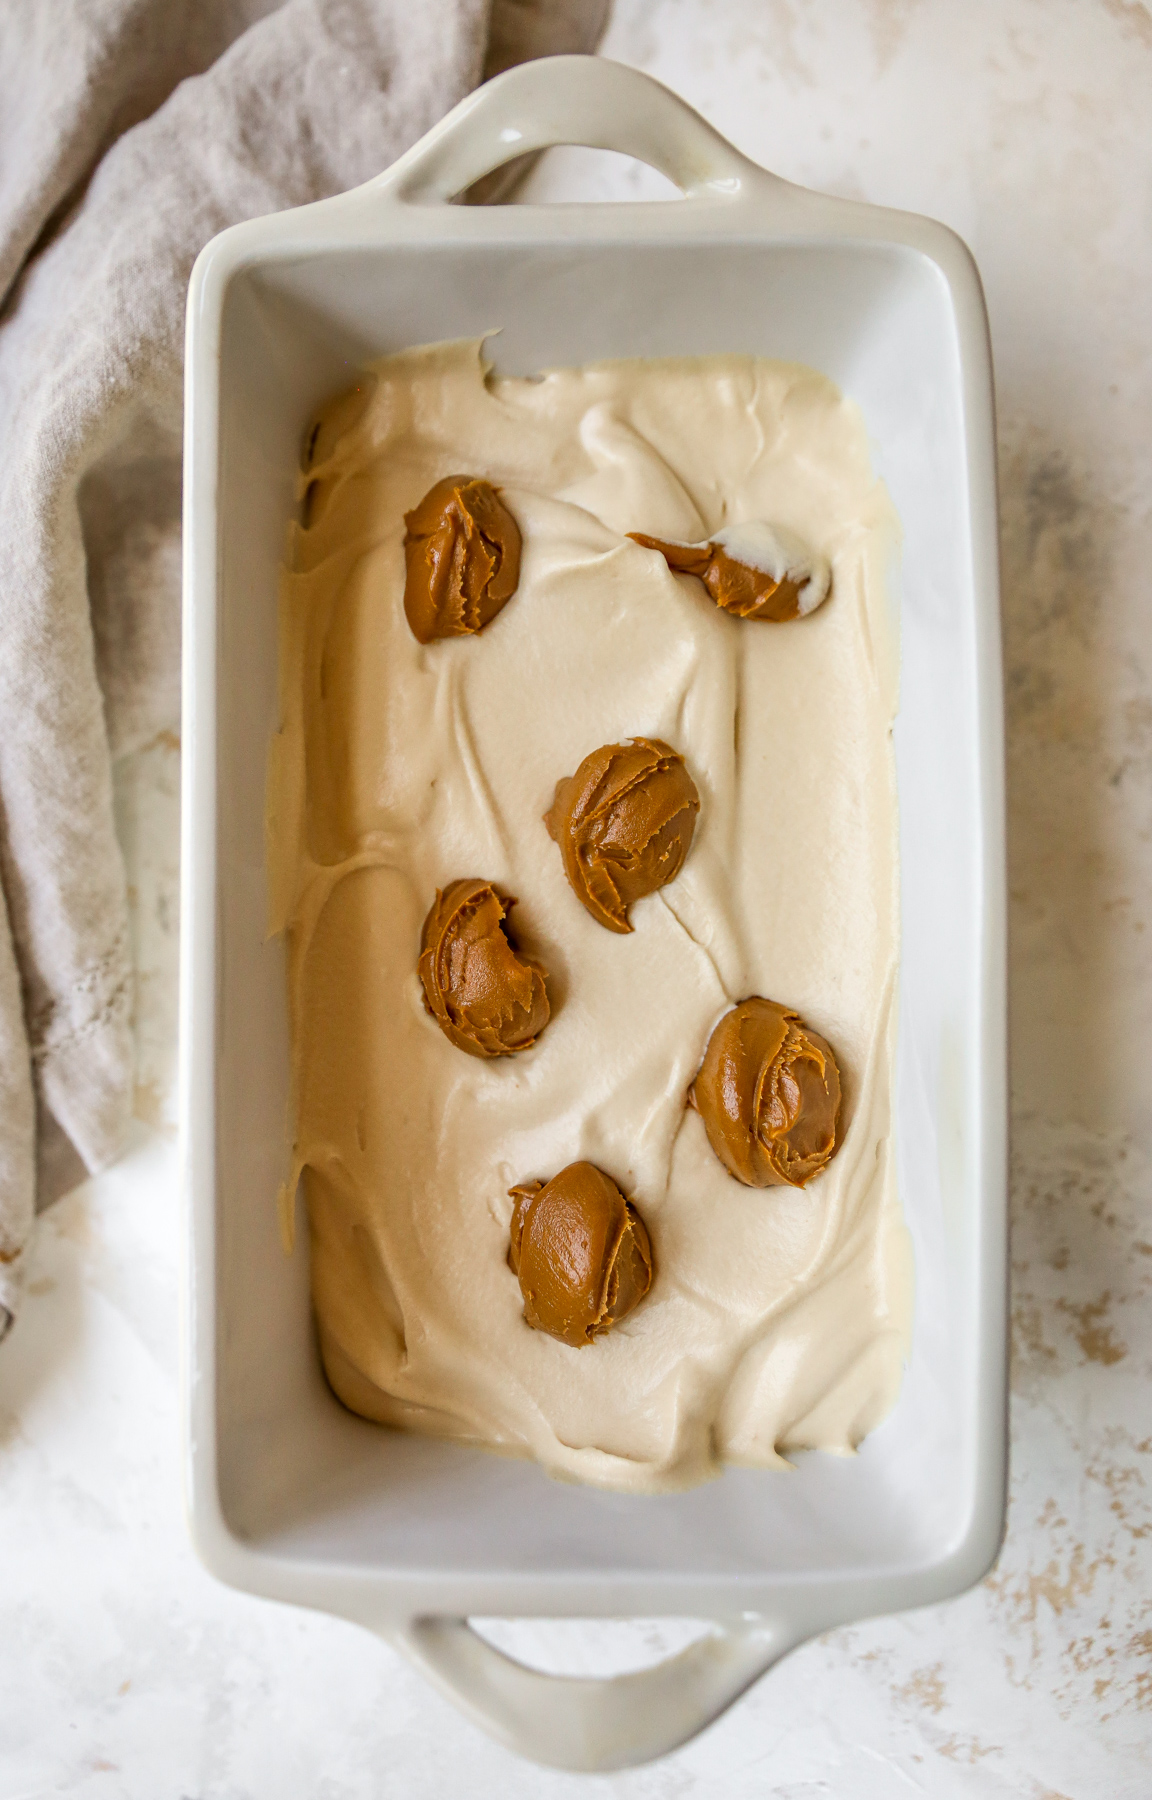
- Pour roughly half of the ice cream base into a loaf pan. Dollop a few teaspoons of the remaining cookie butter over the surface, followed by roughly half of the cookie crumbs.
- Using a butter knife, swirl the cookie butter and crumbs into the ice cream base. Don’t worry if the cookie butter doesn’t incorporate well because it’s thick – this will just make for larger swirls when it comes time to scoop – NOT a bad thing!
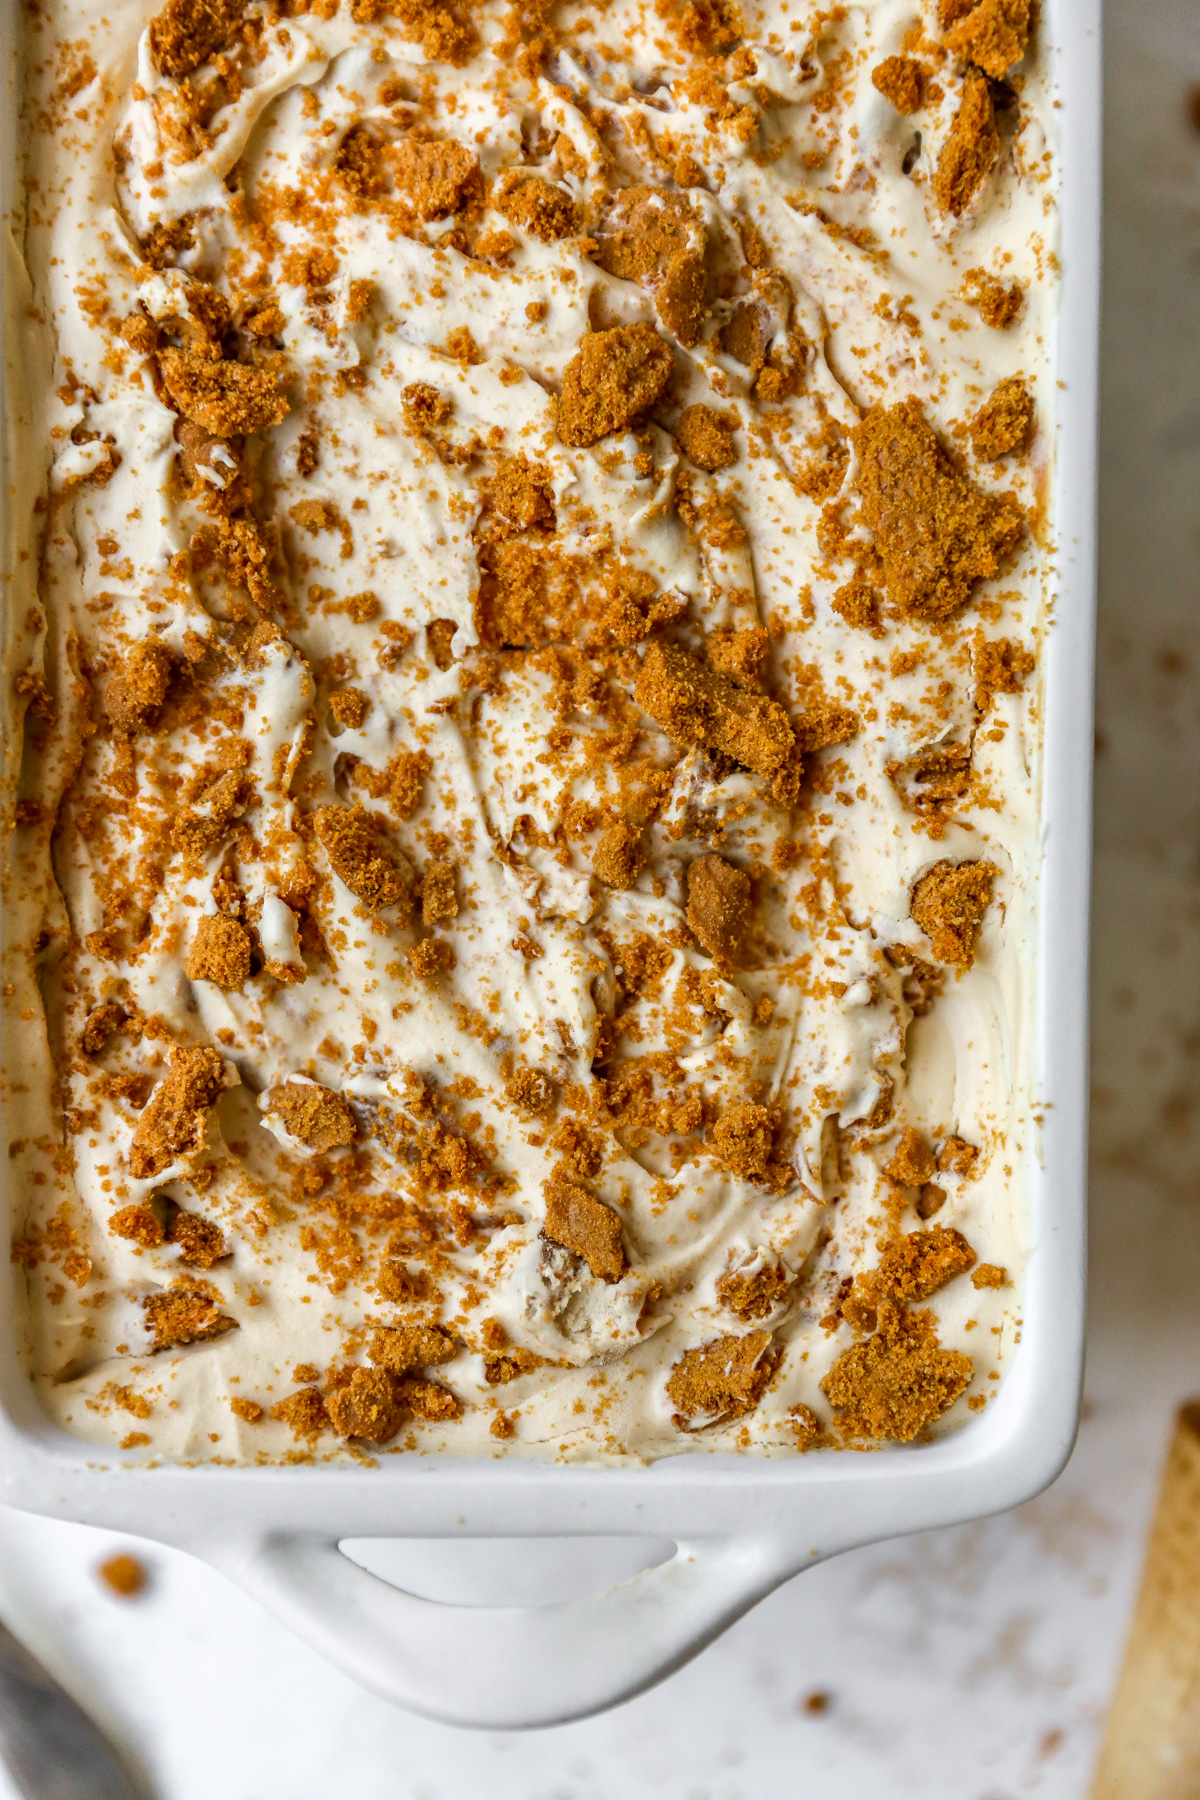
- Add the remaining ice cream base and repeat with more cookie butter and crumbs, swirling them into the top.
- Cover the pan with plastic wrap and transfer to the freezer to set for at least 4 hours. I like to do it as long as possible, so I often assemble the ice cream the night before. You can make the ice cream in advance – it will keep in the freezer for several weeks.
- When ready to serve, allow the ice cream to sit for about 10 minutes at room temperature to soften up slightly. Scoop and serve. For fun, I like to garnish with another sprinkling of cookie crumbs, but this is totally optional.
- Prep Time: 15 minutes (plus freezing time)
- Cook Time: 5 minutes
- Category: ice cream
Leave a Reply