I have a major weakness for anything PB & J flavored.
The combination has never fell short for me.
In fact, when I was pregnant with Kieran, I had intense PB & J sandwich cravings. I’m talking Wonder Bread slathered with creamy JIF and strawberry jelly. A sandwich that I hadn’t really eaten since I was a kid, ever since I traded in my Wonder Bread for something healthier and heartier and my Jif for more natural peanut butter. It didn’t matter, though. I HAD to have that exact sandwich. All items were purchased without shame and many a PB & J was had.
If I were pregnant now (which I am NOT), this ice cream would have been pure heaven. Heck, it’s pure heaven even when I’m not with child. How could it not be?
First things first, yes, there is browned butter in this recipe base. Go on, swoon with me.
It does just what you think it might: adds a nutty toastiness and richness to the ice cream. As if ice cream needs richness….but, just go with me here. Trust the process. Brown your butter and put it in your ice cream. You won’t be sorry.
The butter goes into my favorite no-churn ice cream base: sweetened condensed milk, vanilla, and fluffy whipped cream. Except this time, it also has peanut butter in the mix. All you do is mix the sweetened condensed milk, butter, vanilla, and peanut butter together until smooth and creamy.
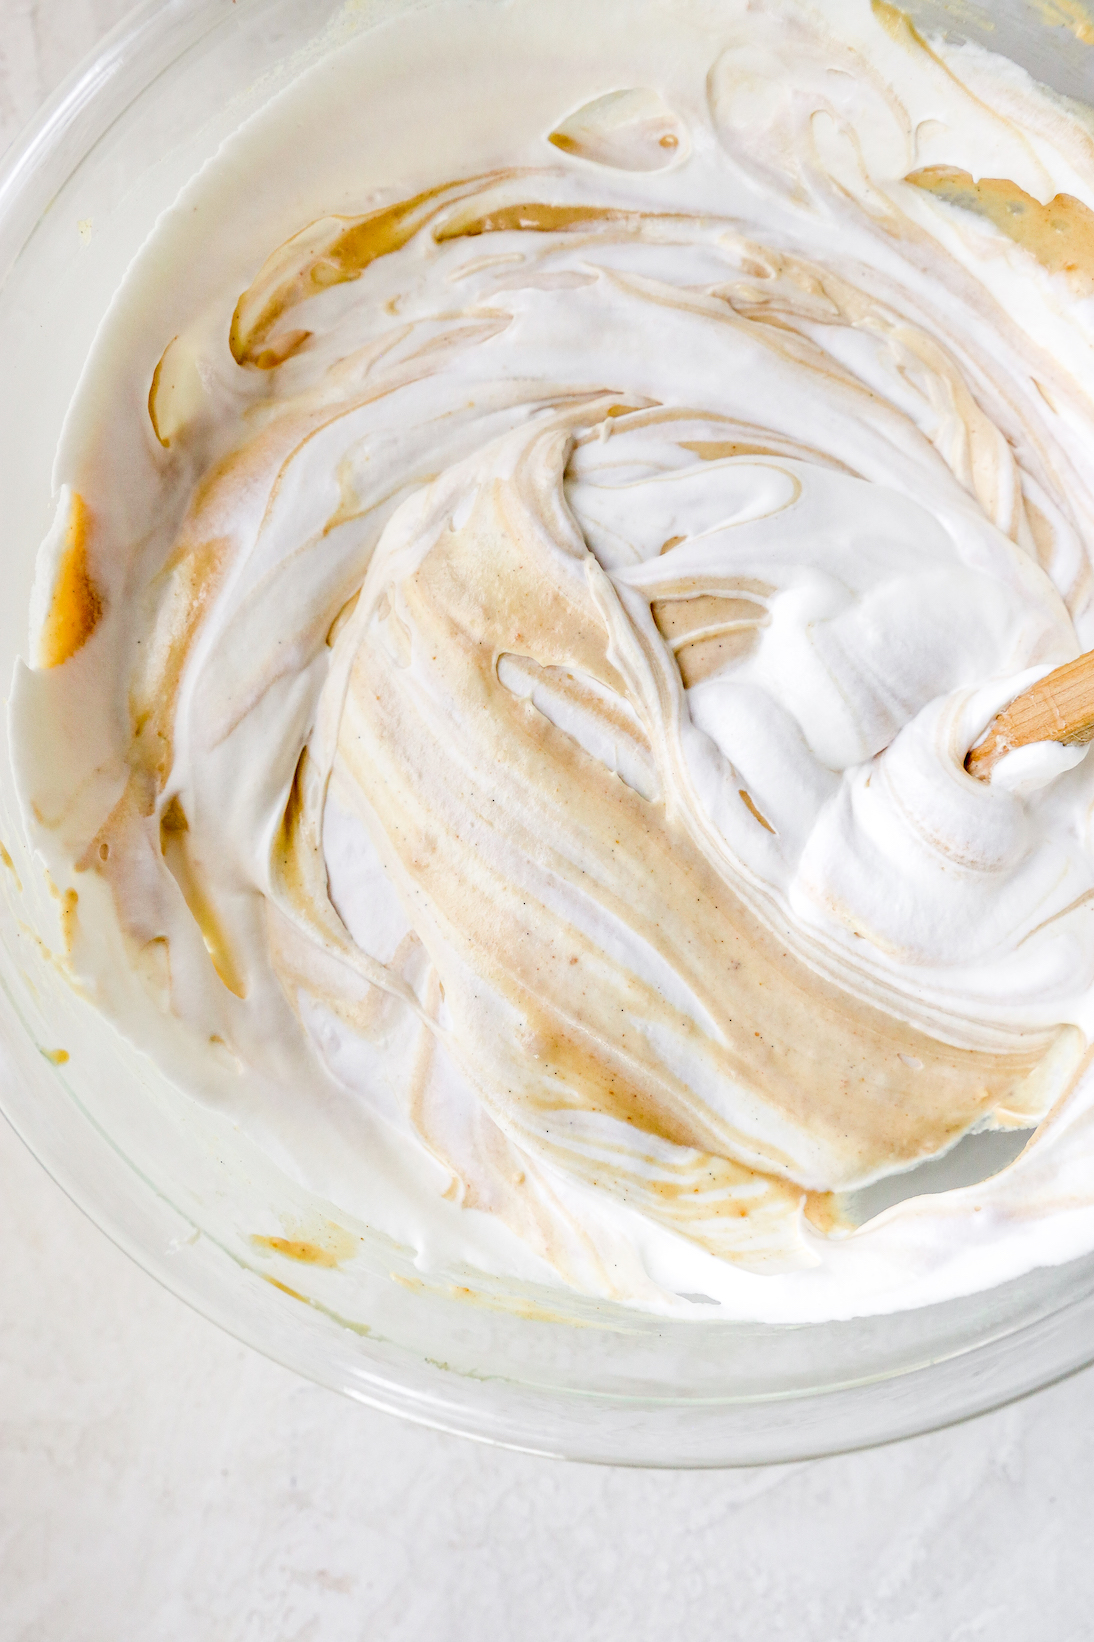
Then, you whip your cream to stiff peaks so that it will hold the air whipped into it, and gently and slowly fold it into the peanut butter mixture until everything is fluffy and uniform. If you taste it, it’s like the most amazing bite of peanut butter whipped cream ever.
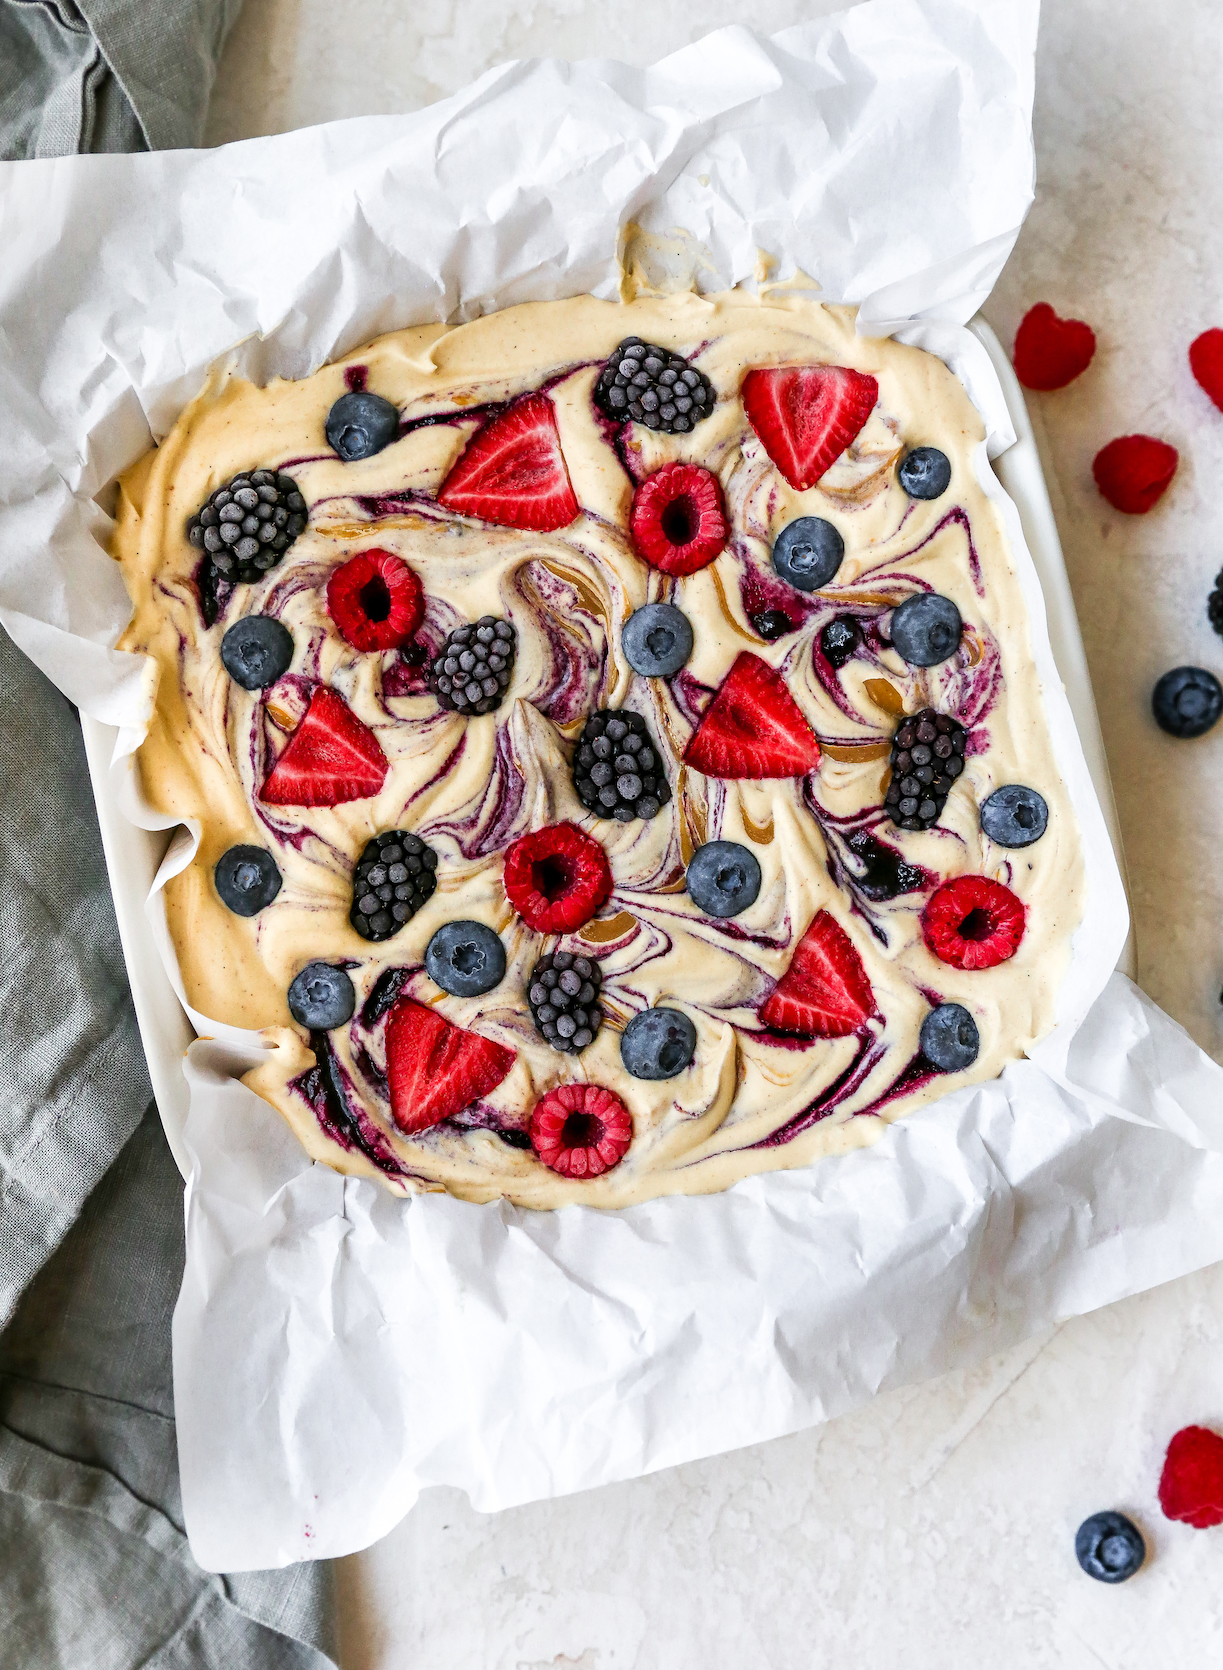
Spread the ice cream into your favorite baking dish or loaf pan and smooth out the top. Then, things get interesting again.
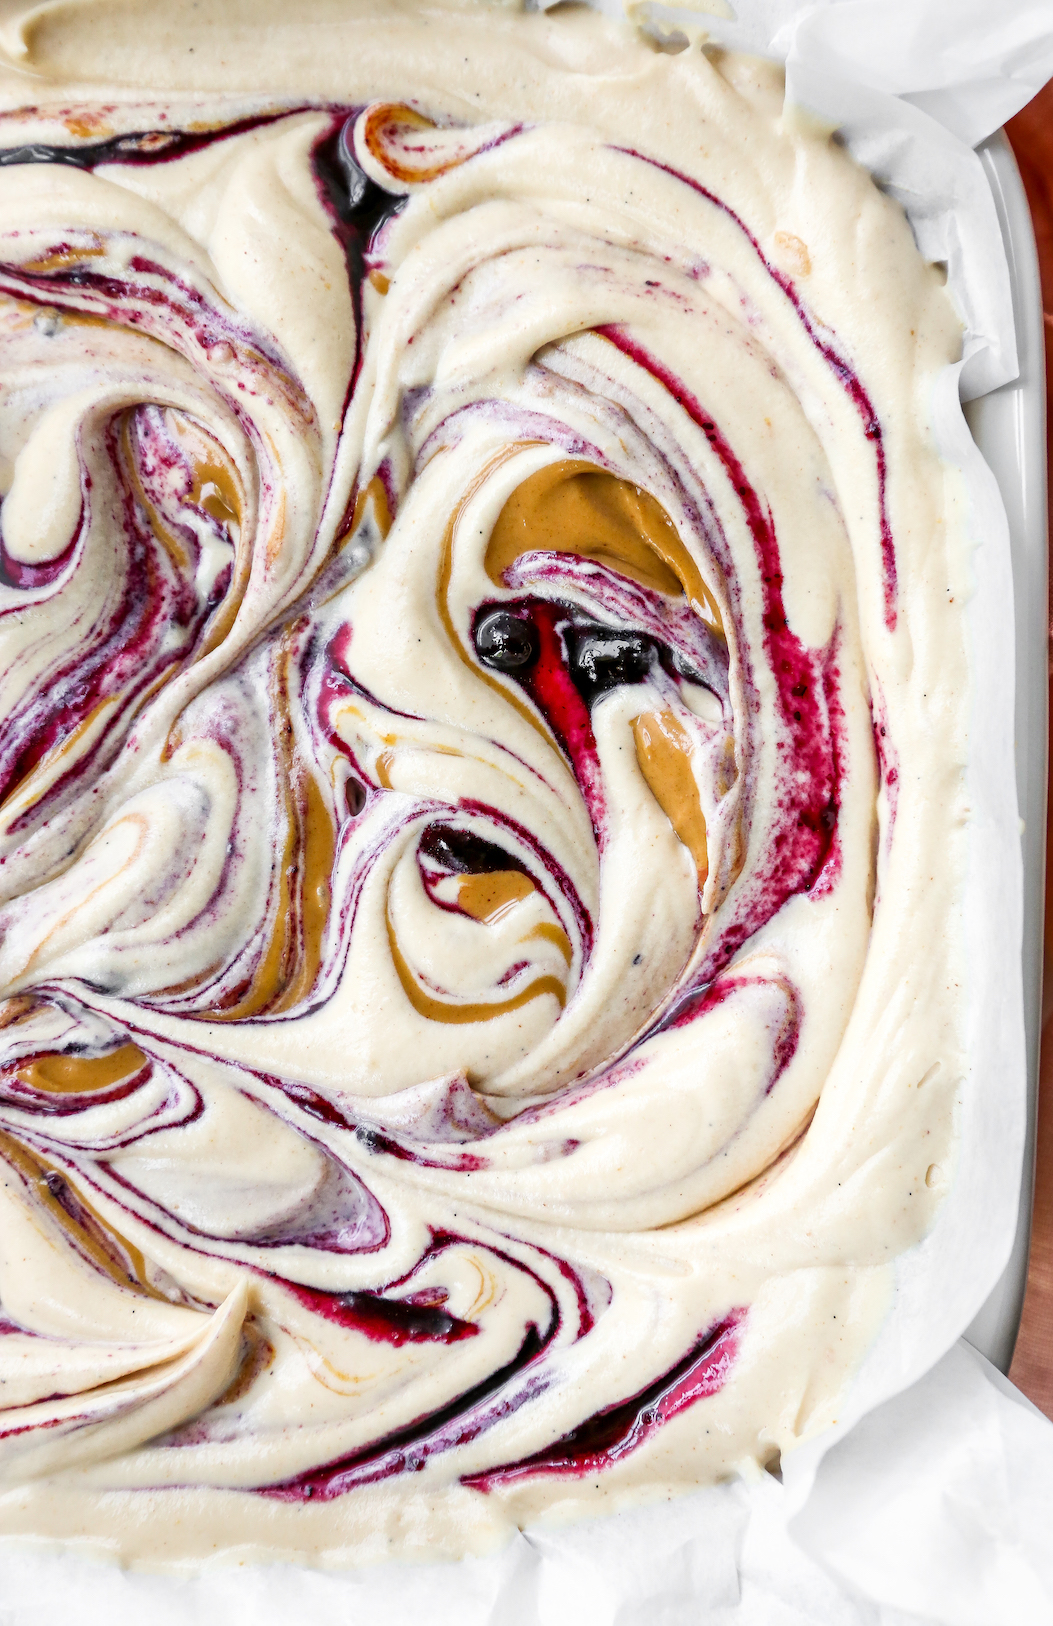
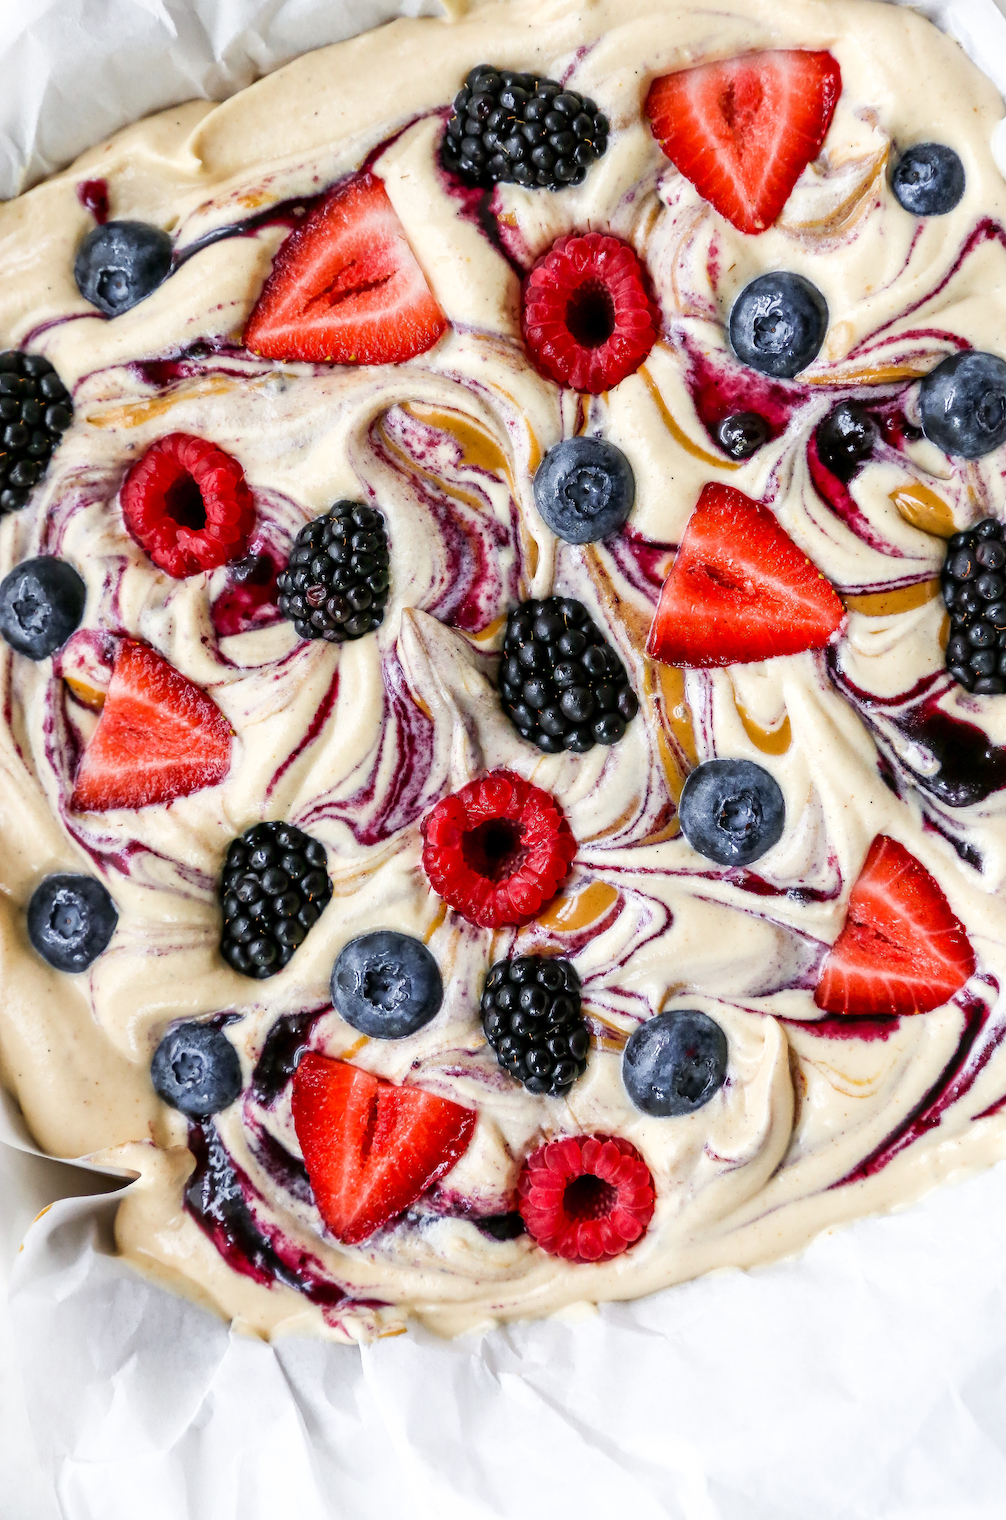
I like to dollop MORE peanut butter (why not?) and the jam all over the top of the ice cream and then swirl it in. You get big chunky swirls of frozen peanut butter and fruity jam. The jam, in my humble opinion, does wonders here. The rest of the ice cream ingredients are heavy and rich; the jam adds the best brightness and fruity sweetness to the mix. I love it more than I expected to!

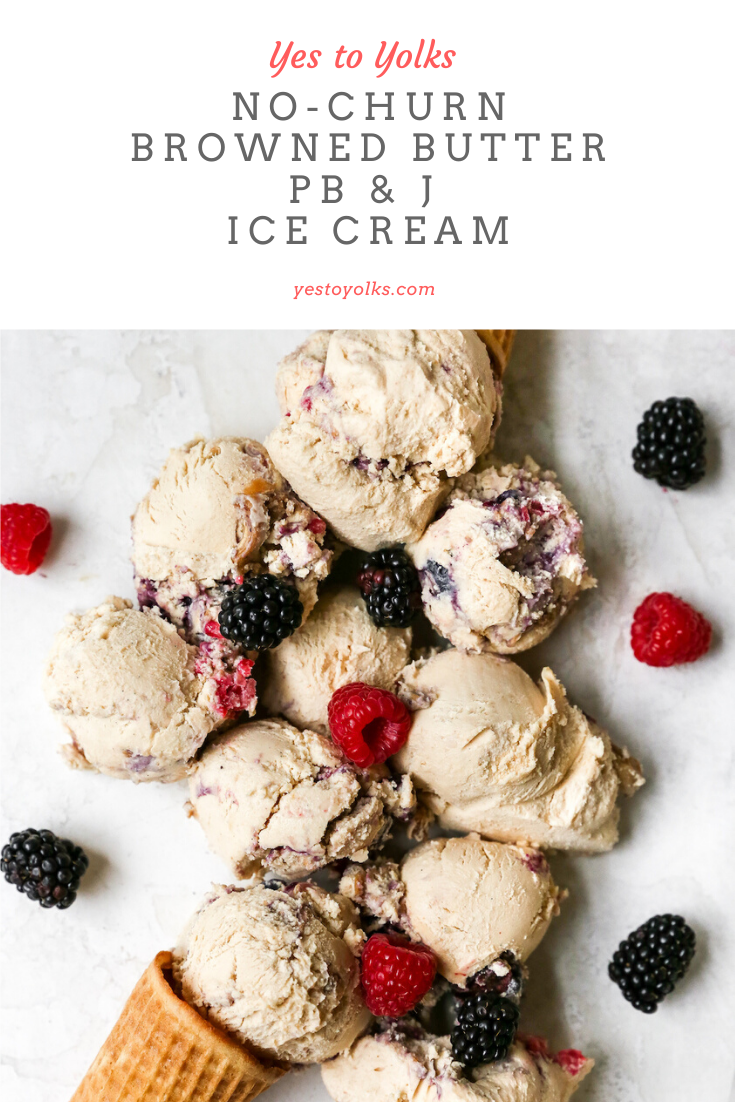
And then, to make things pretty and give an extra fruity pop, I like to press fresh berries into the surface. The impact! And the flavor! So wonderful.
The hardest part is letting this freeze until solid. At least four hours is needed for this – longer is better, though. I often make ice cream recipes like this the day before I want to serve them so that they can have overnight to set and truly freeze.
I promise you, though, waiting is truly the hardest part. The ice cream base comes together in no time and with very little effort. No churn for the win!
In fact, I can’t even remember the last time I used my ice cream machine since discovering the magic of no-churn ice cream.

I am a converted woman and I may never go back.

No-Churn Browned Butter PB & J Ice Cream
- Total Time: 20 minutes
Description
This No-Churn Browned Butter PB & J Ice Cream is summer decadence at its finest. First things first, there is BROWN BUTTER in this ice cream base. Go on, swoon with me. It adds a nutty richness that you just can’t get from anything else. The rest tastes like the best darn peanut butter and jelly sandwich you ever did have! The best part? This ice cream is no churn, which means no ice cream maker is required for this recipe and the effort put in is minimal. The resulting ice cream is nothing short of spectacular. Get your spoons ready!
Ingredients
- 1 stick unsalted butter
- 1 cup smooth peanut butter (not “natural”), divided
- 1 (14-oz) can sweetened condensed milk
- 2 cups heavy cream, cold
- 1 teaspoon vanilla bean paste (or extract)
- ½ teaspoon flaky sea salt
- ½ cup berry jam (any flavor you like)
- 1 cup mixed fresh berries
Instructions
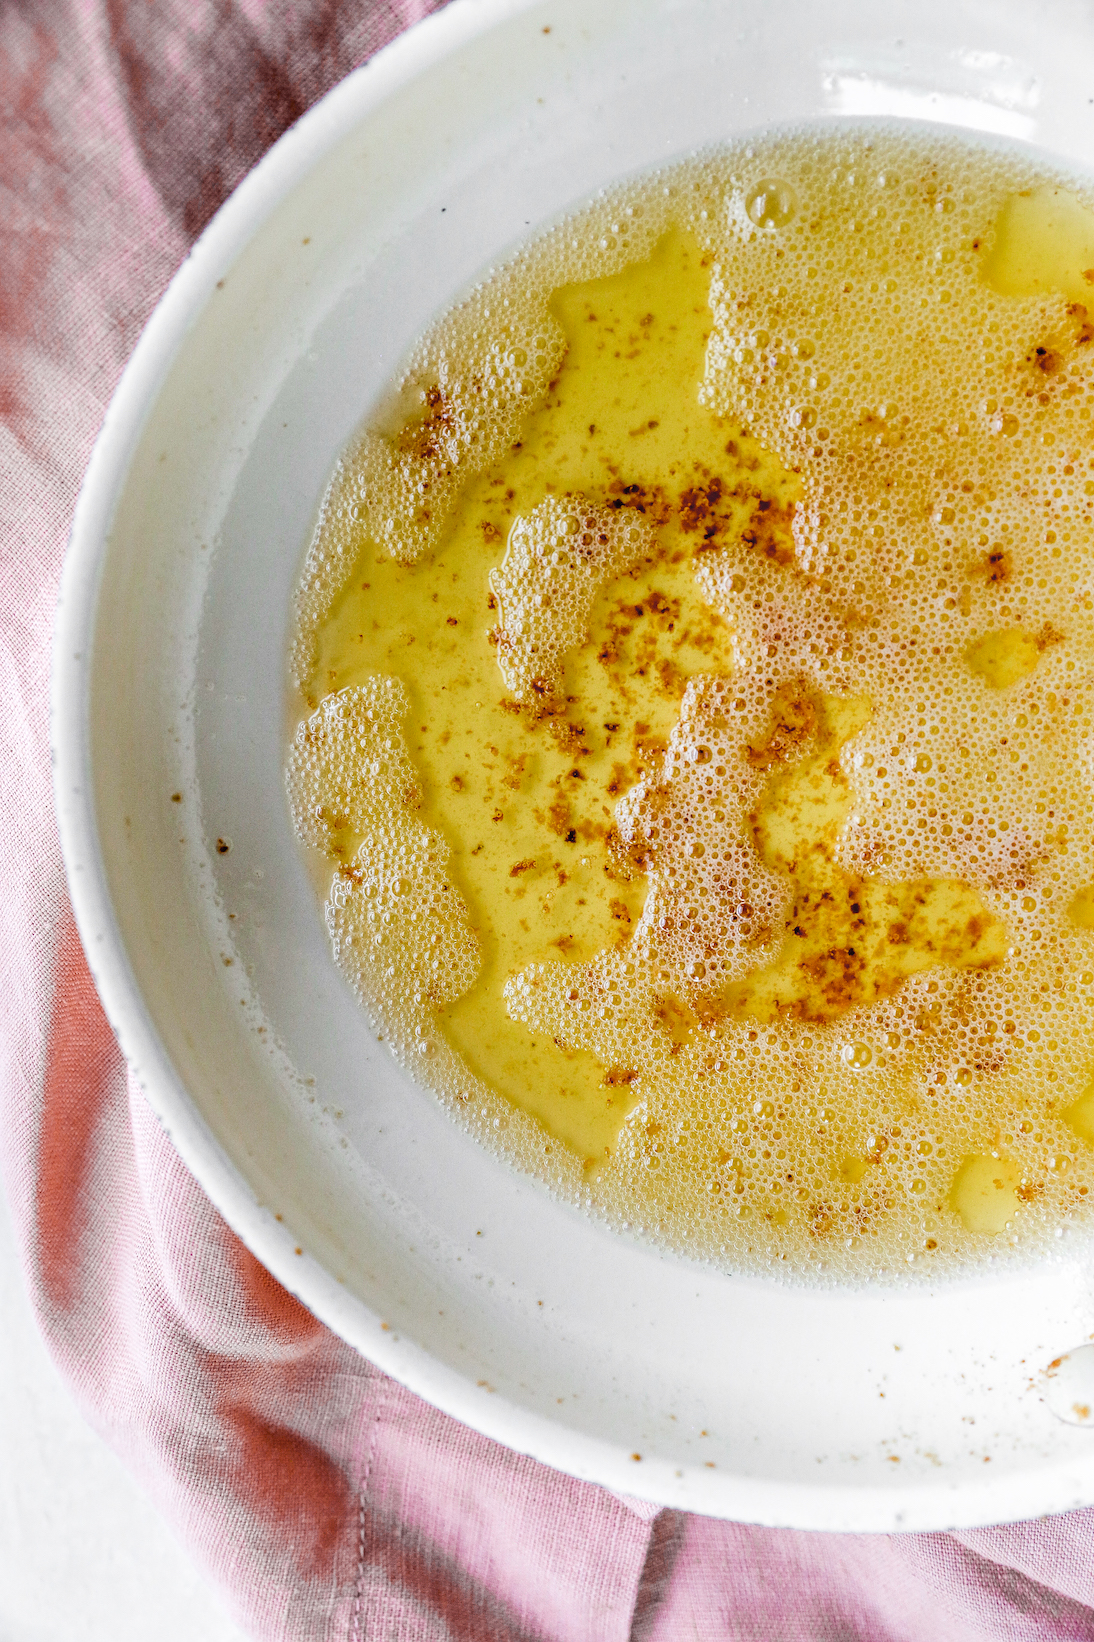
- Melt the butter over medium heat in a medium saucepan. Swirl the pan and cook for a few minutes, watching closely, until the butter is browned and fragrant.
- Pour the butter into a large heat-safe bowl and allow to cool slightly (make sure you scrape all the little brown bits out of the pan – this is where the flavor lives!).
- Mix ¾ cup of the peanut butter (reserve the rest for swirling into the ice cream later), the sweetened condensed milk, vanilla, and sea salt into the butter.
- In another bowl (using your stand/handheld mixer), whip the cold heavy cream until stiff peaks form.
- Gently fold the whipped cream, in batches, into the peanut butter base. Fold gently, being careful to not deflate the air from the cream as much as possible. This is what gives your ice cream a churned texture without having to use an ice cream maker.
- Line an 8 x 8 baking pan (or loaf pan) with parchment paper, allowing the sides to overhang a bit.
- Gently scoop the ice cream base into the prepared pan, smoothing out the top.
- Dollop spoonfuls of the remaining peanut butter over the top of the ice cream. Do the same with the berry jam. Using a butter knife or spatula, gently swirl the peanut butter and jam into the ice cream, being careful to not overmix. You want some bigger pockets of the peanut butter and jam in the ice cream.
- Gently press some fresh berries into the surface of the ice cream, spreading them out evenly.
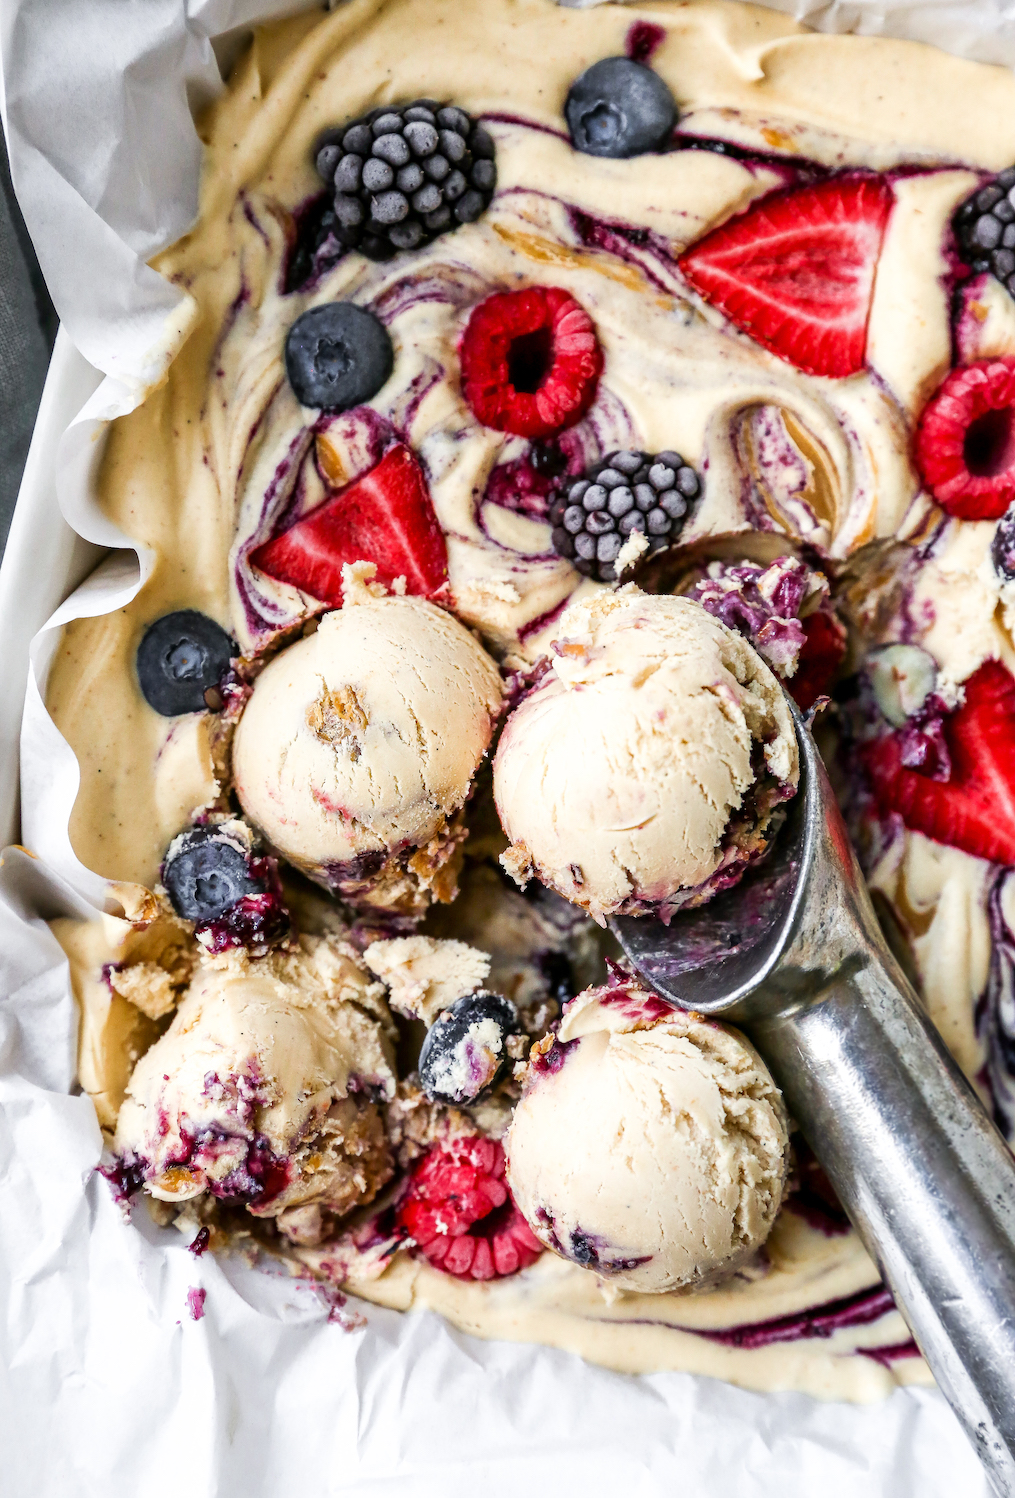
- Cover the dish with plastic wrap and place in the freezer for at least 4 hours (6-8 is ideal!).
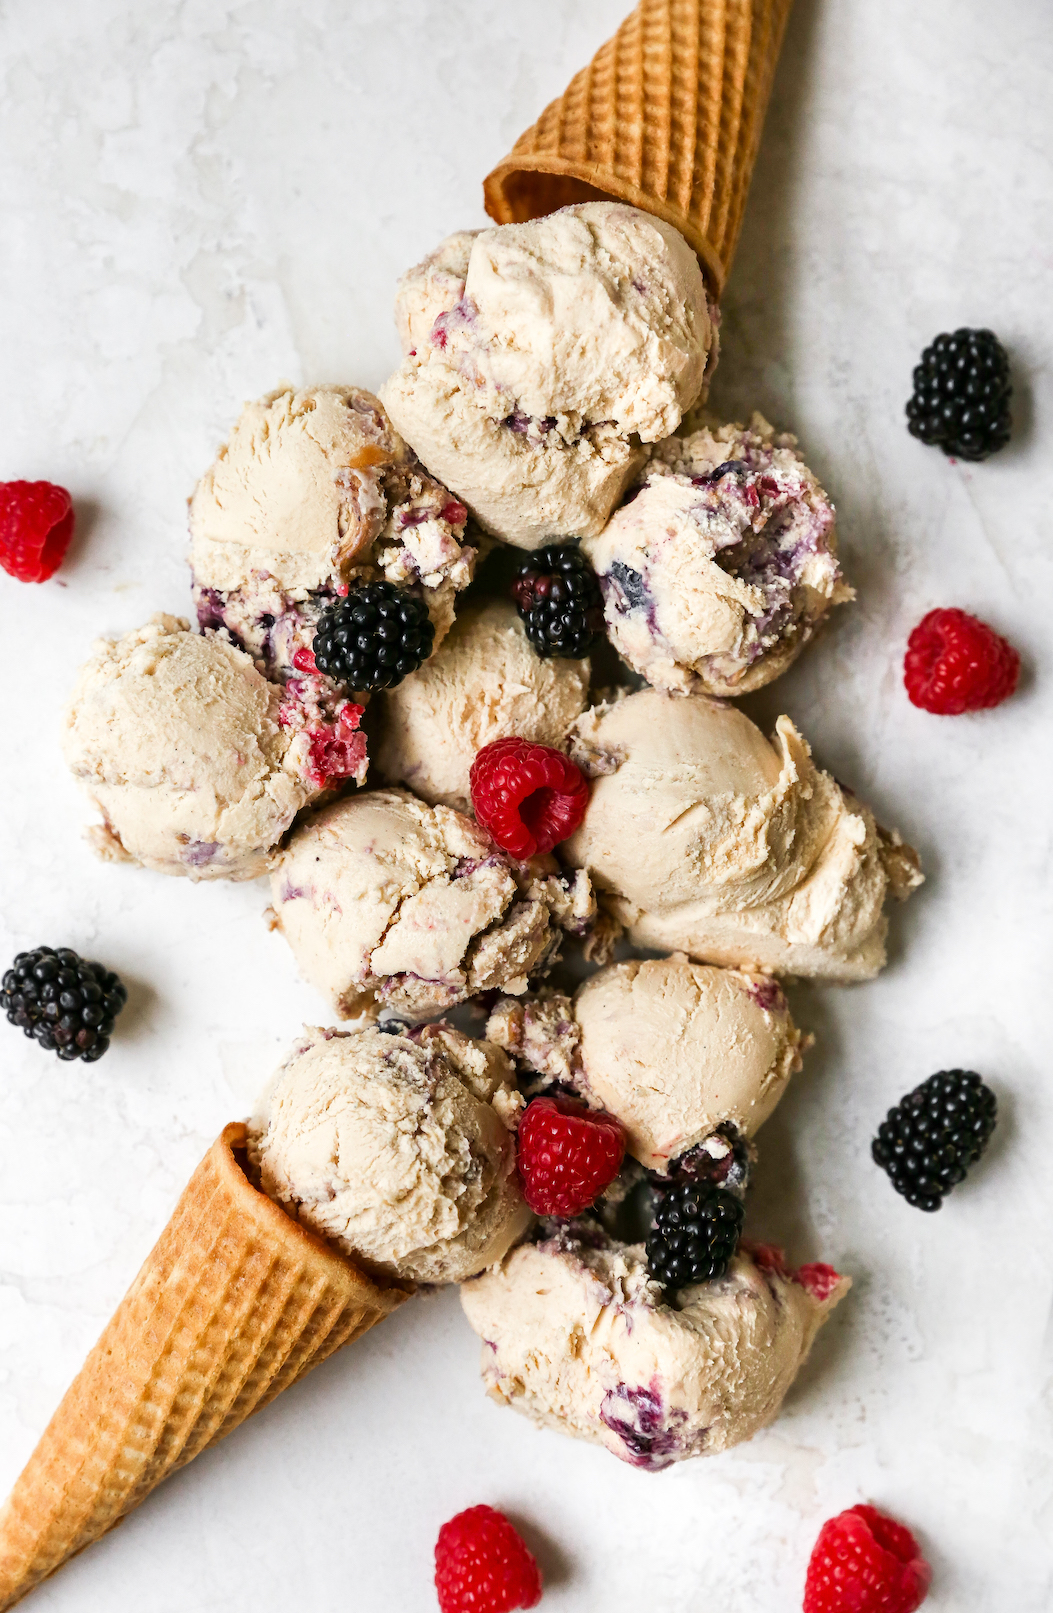
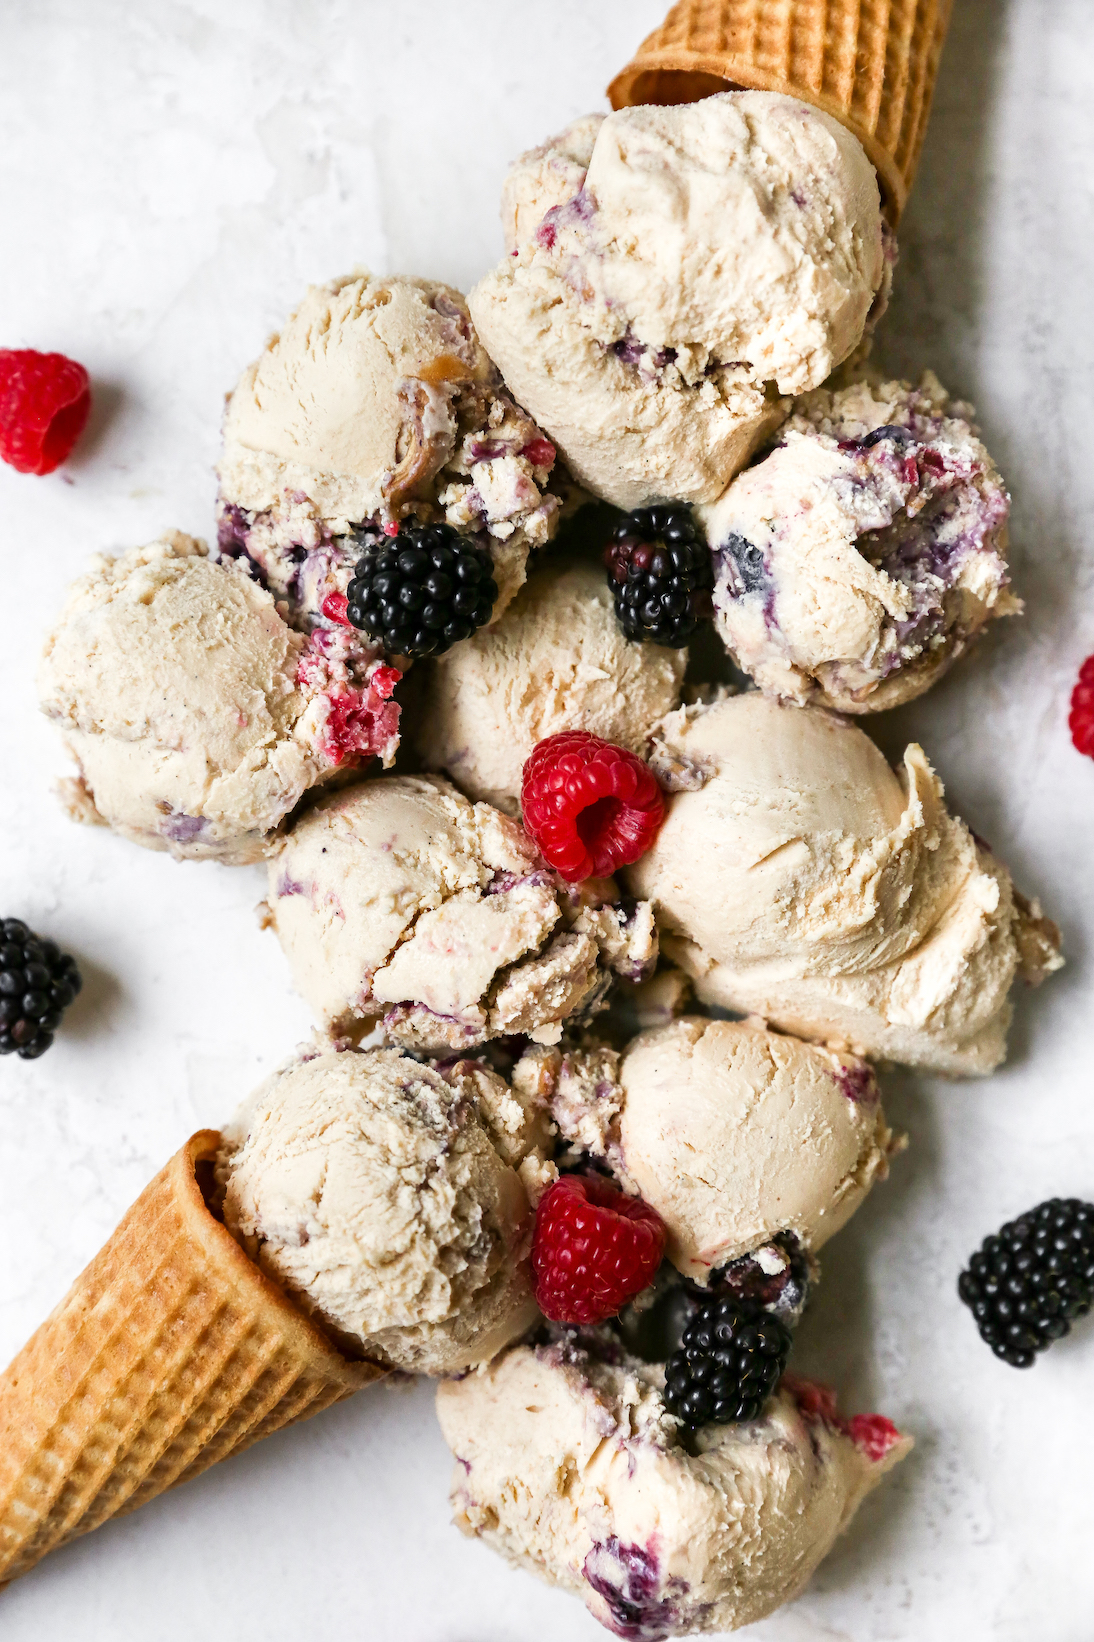
- To serve, let ice cream sit at room temperature for a few minutes to soften slightly and then scoop into bowls or cones and enjoy.
Notes
Inspired by/adapted from here.
- Prep Time: 10 minutes (including 4 hours of freezing time)
- Cook Time: 10 minutes
- Category: ice cream
[…] Whoa! I want a scoop! […]