These Garlic & Herb Butter Dinner Rolls are a revelation!
And they’re perfect for any holiday dinner table. The perfect carby accompaniment to anything you’re serving on the big day.
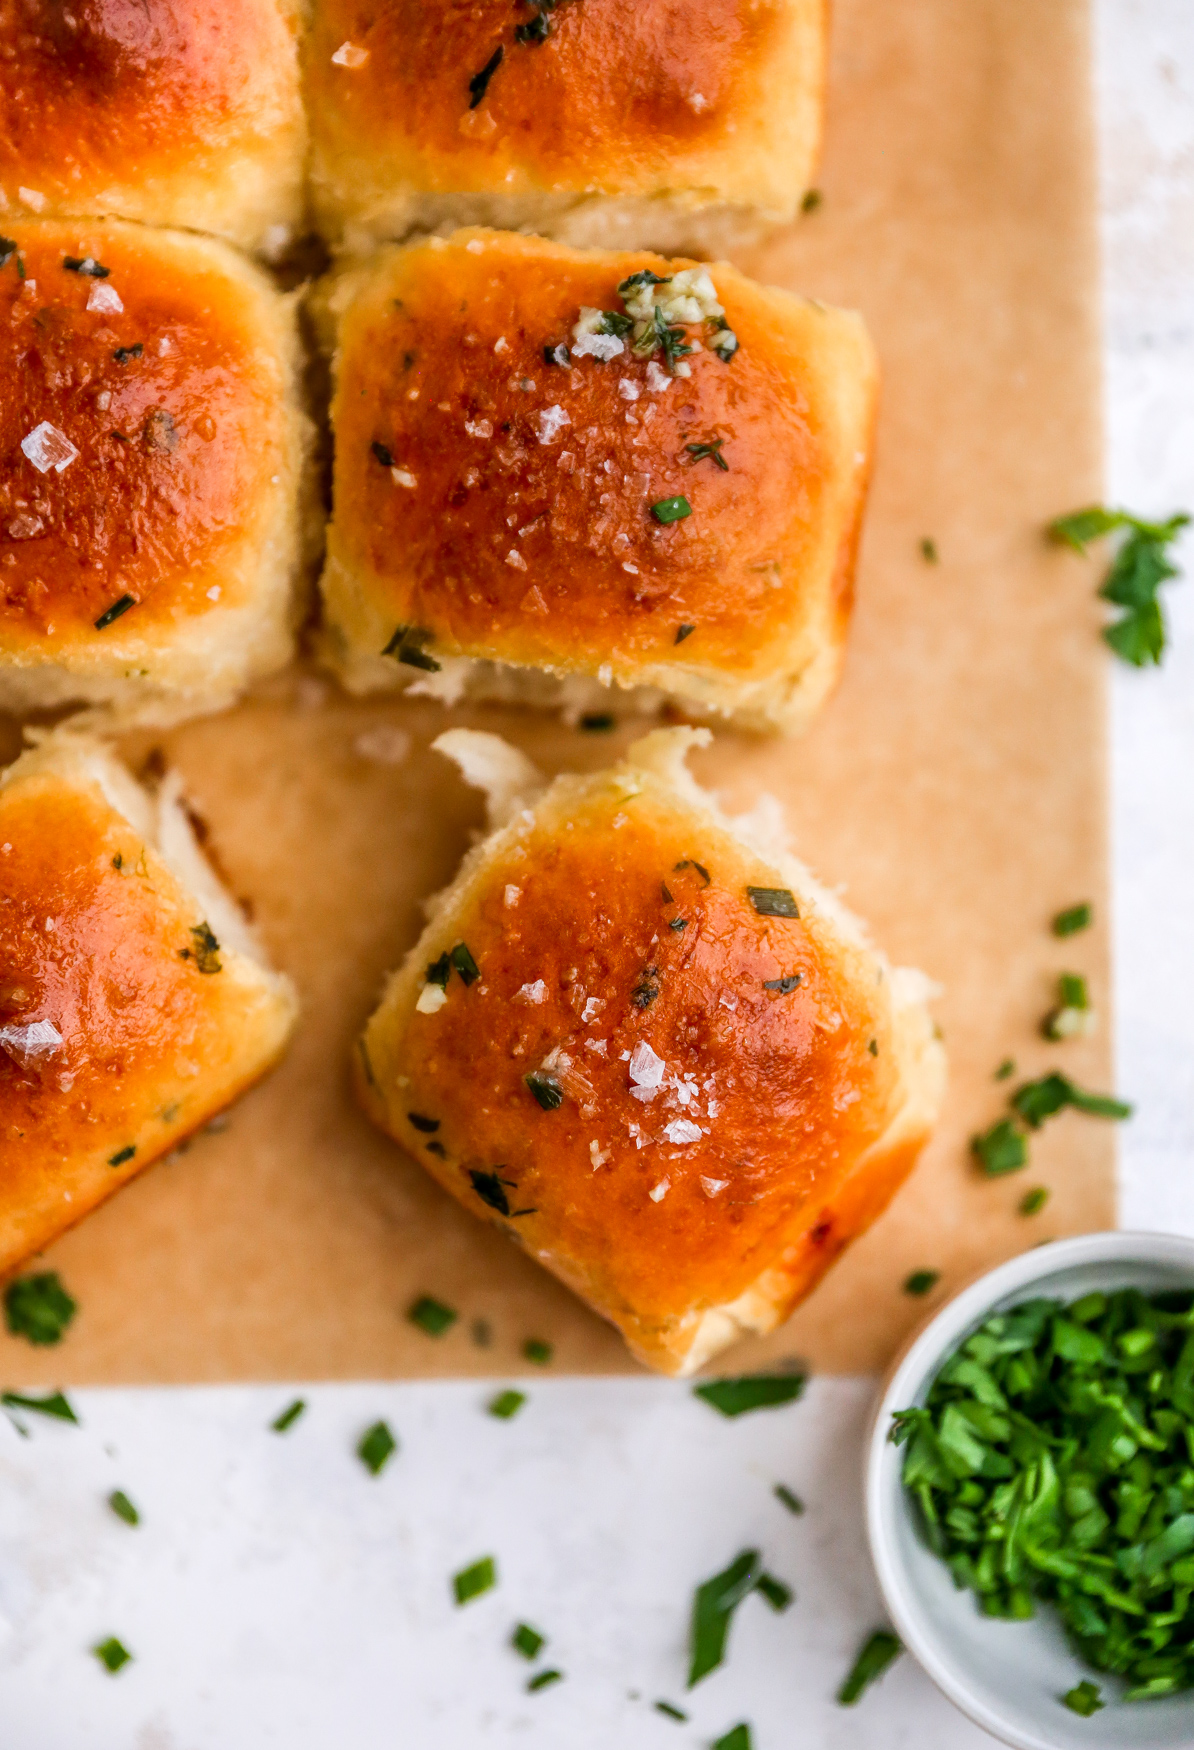
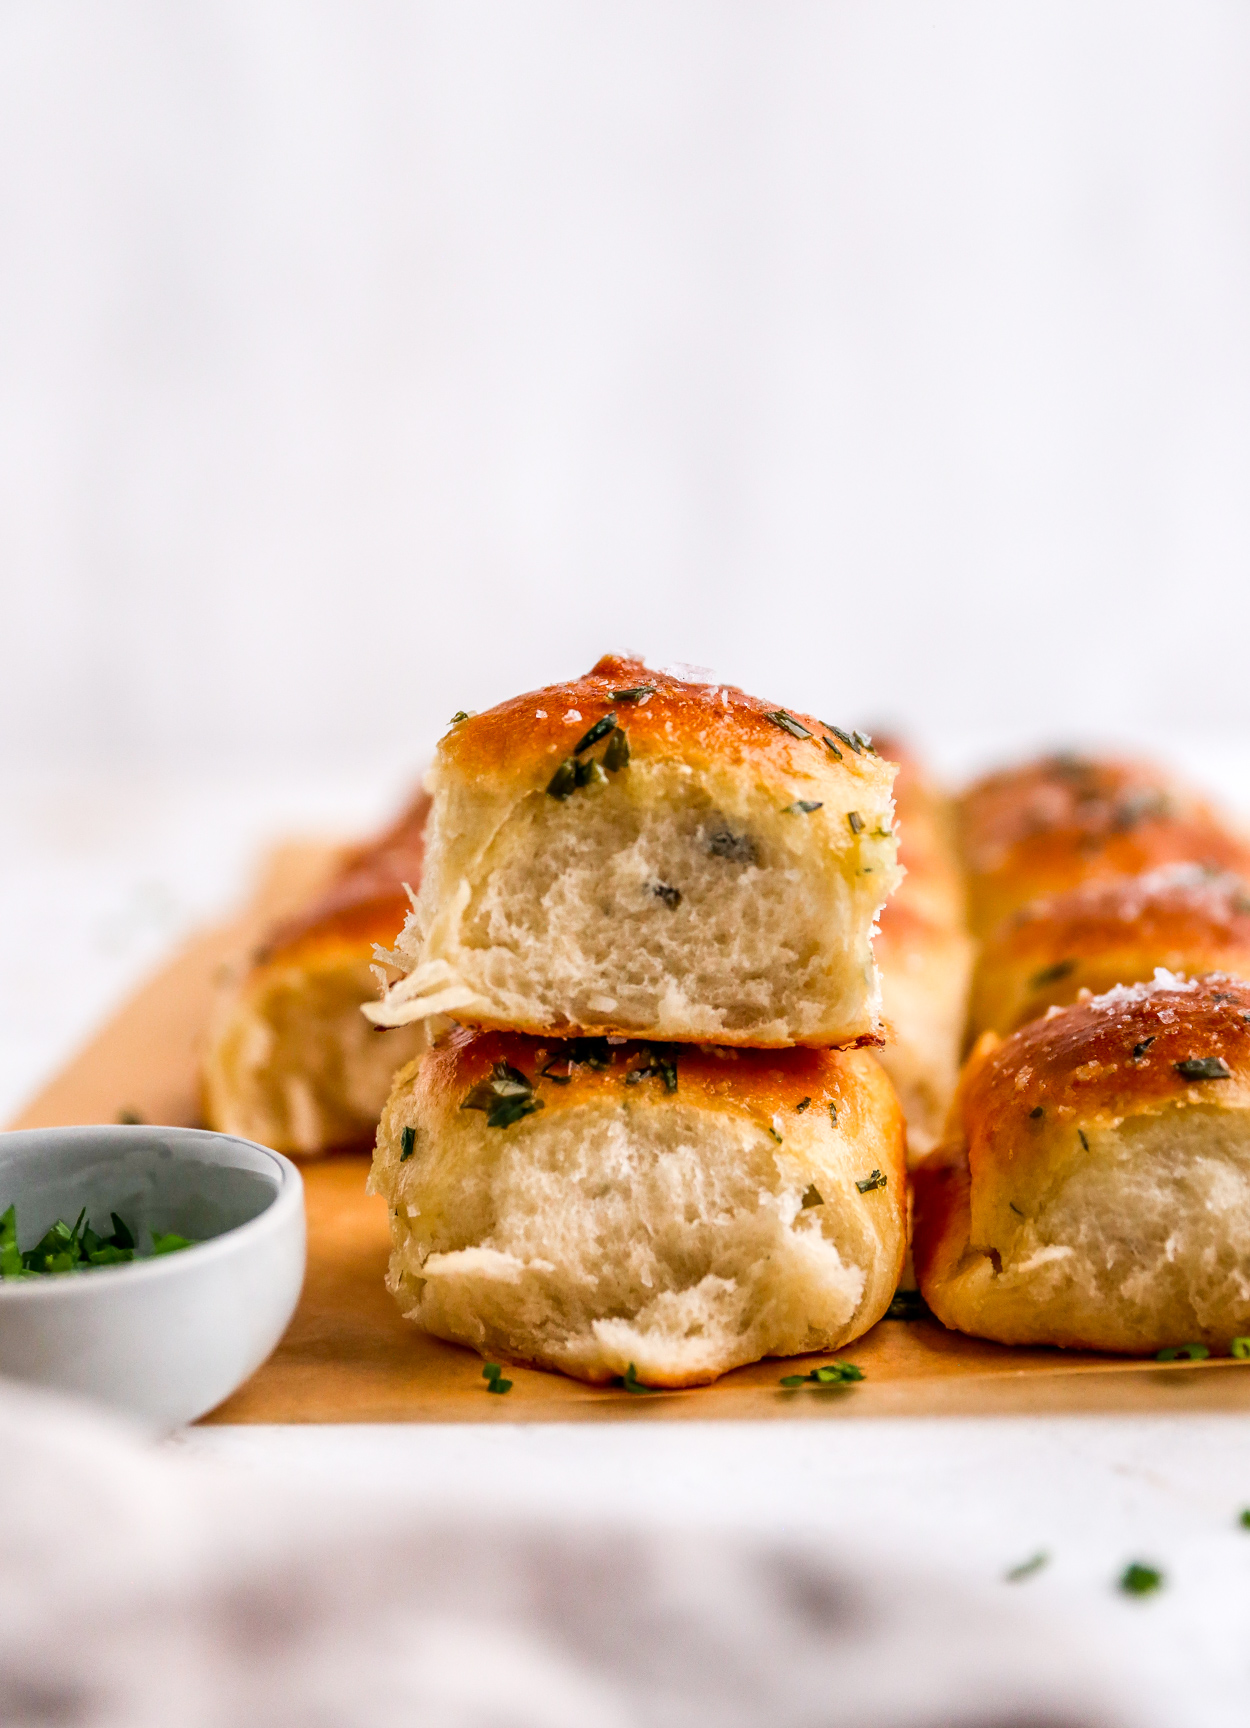
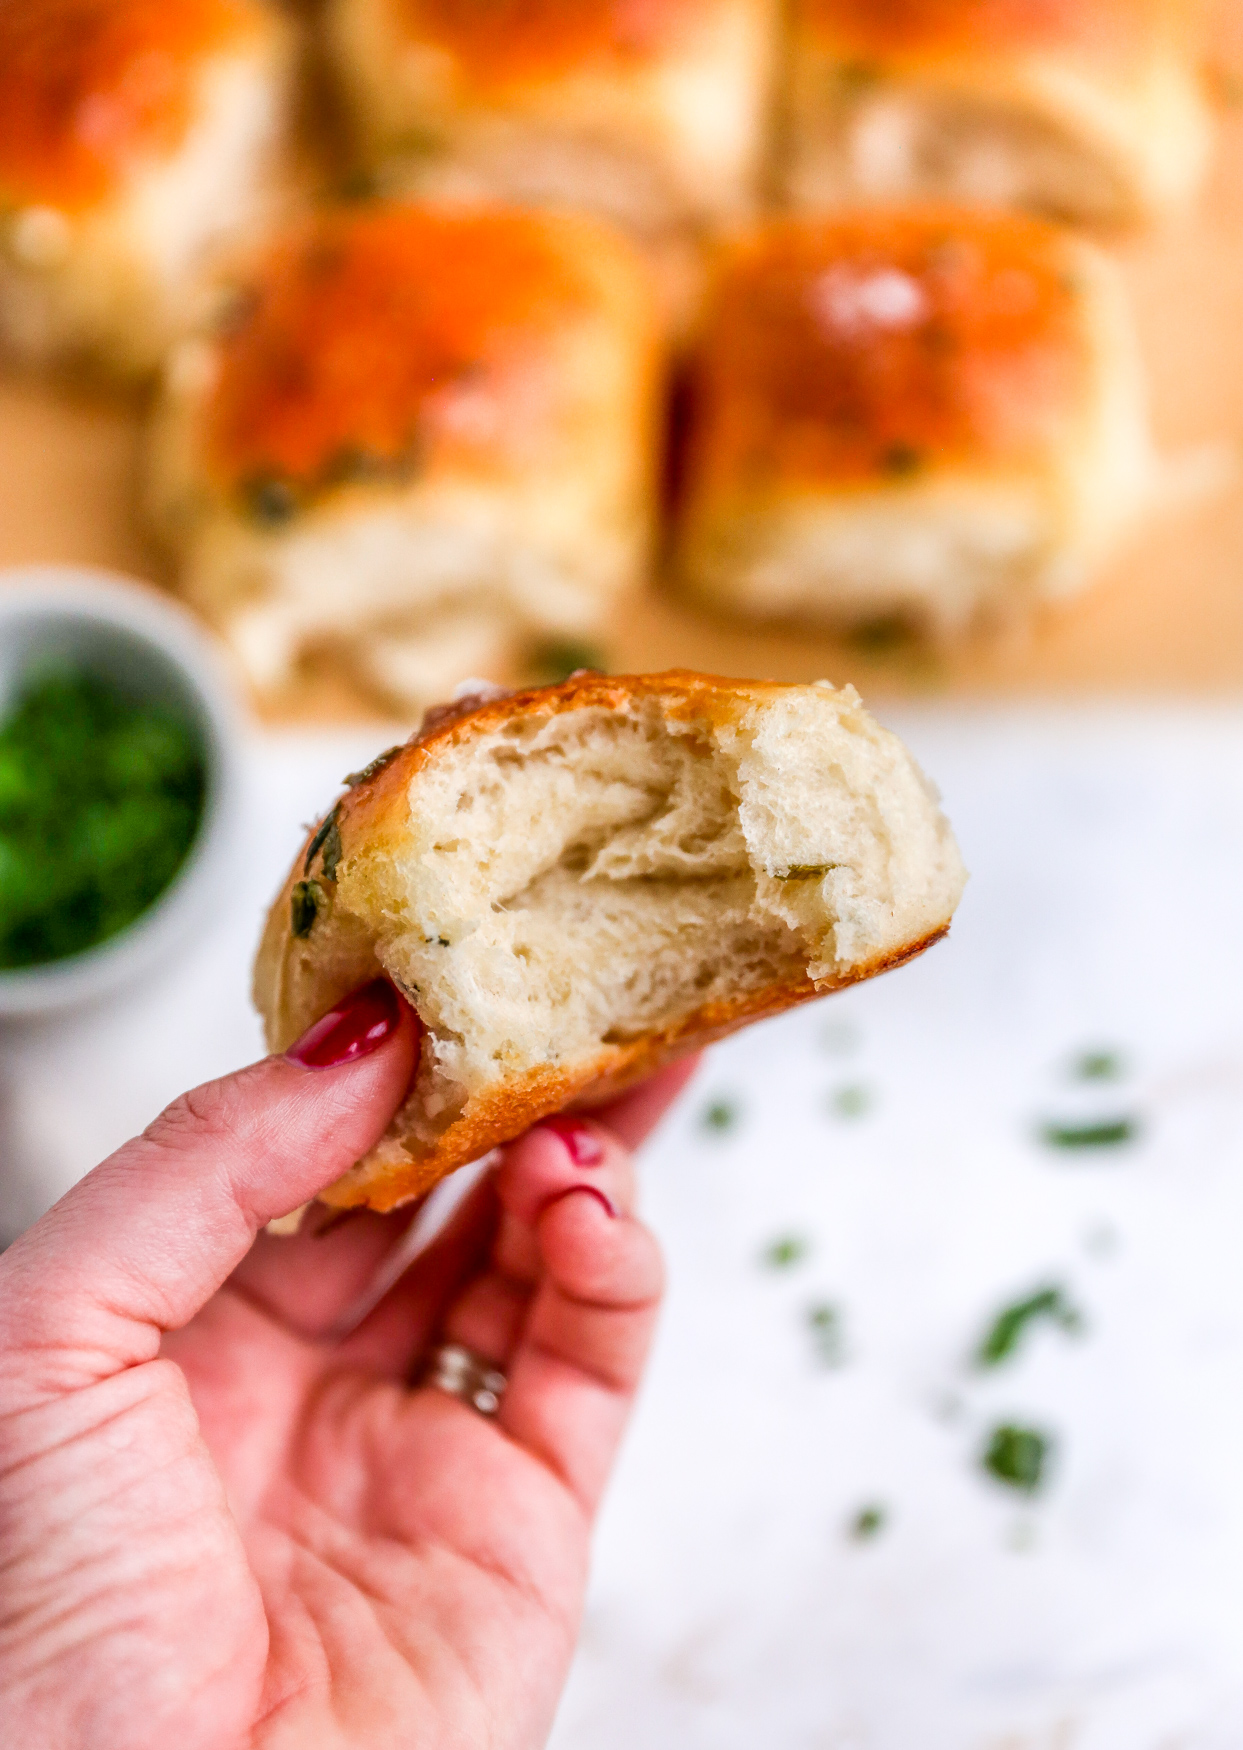
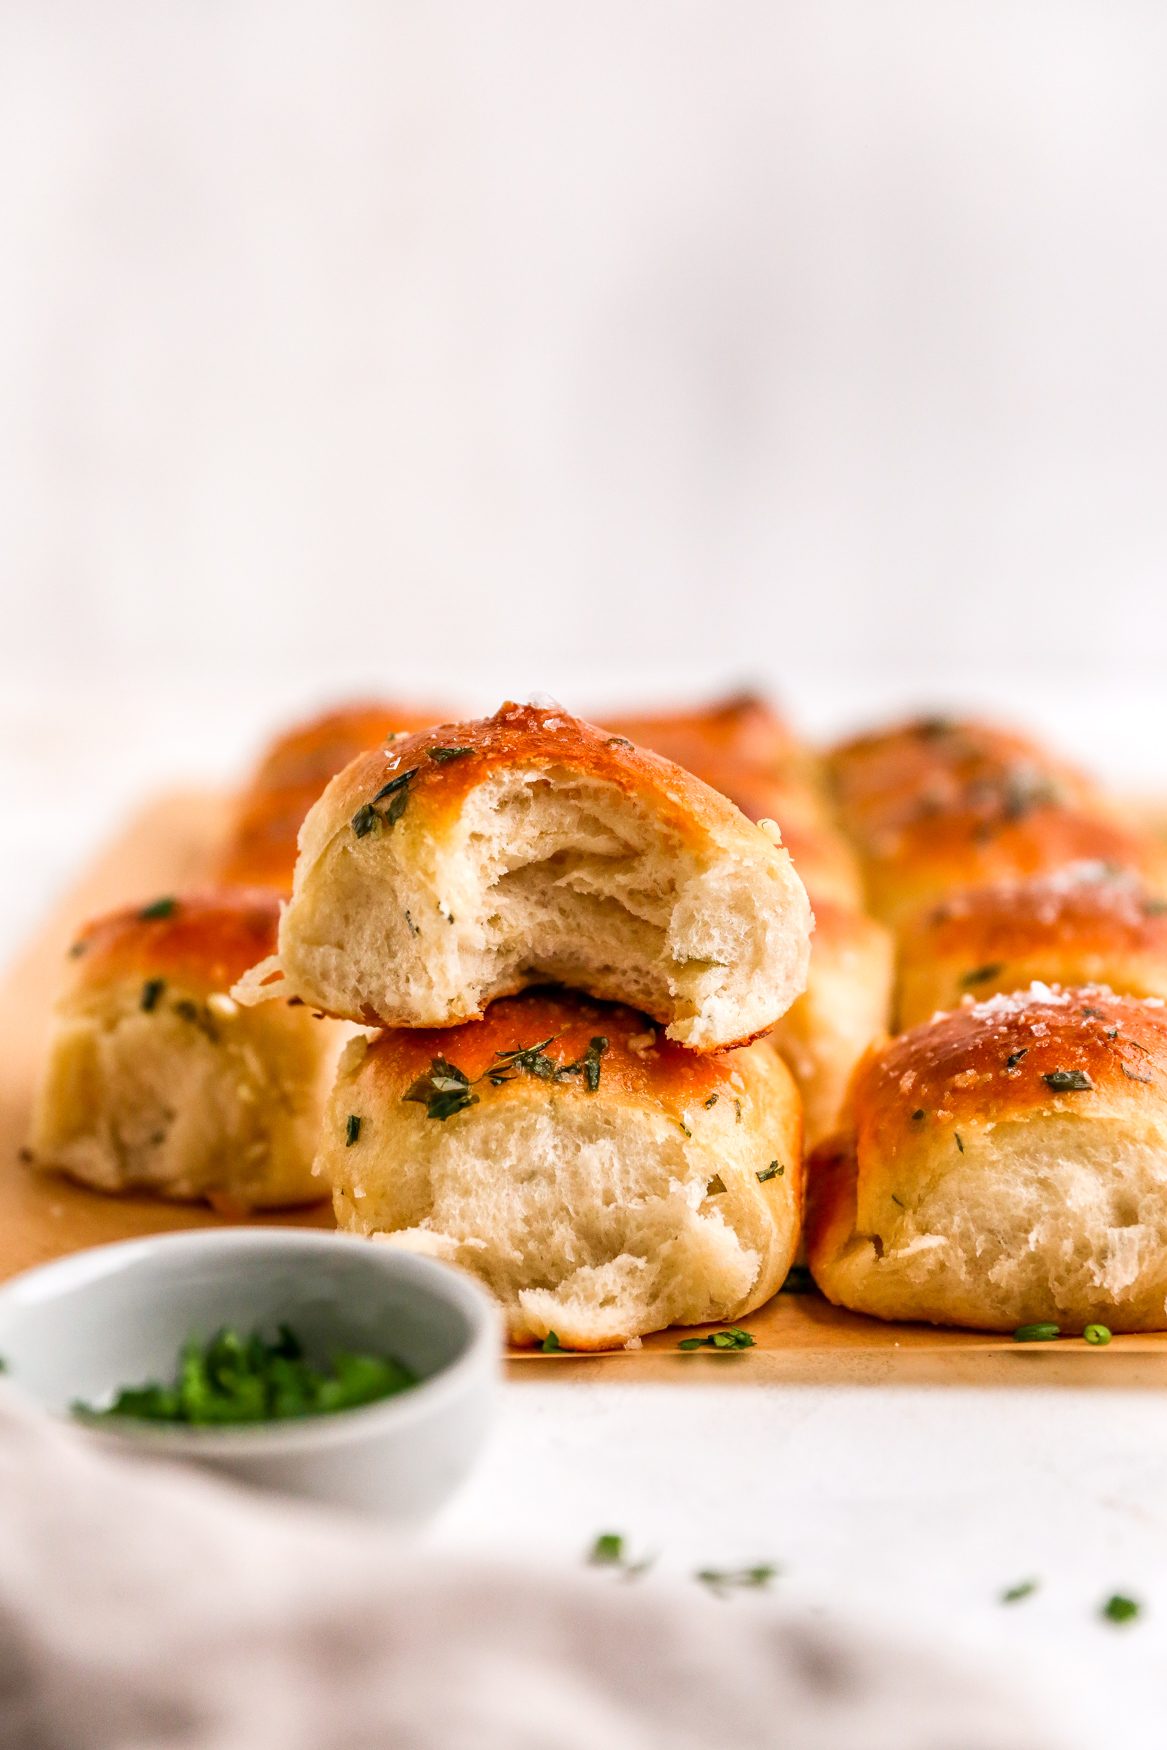
These Garlic & Herb Butter Dinner Rolls are buttery, garlicky, soft, and so crazy fluffy! They are so, so good. I can’t decide if I like these or my Honey Butter Dinner Rolls better! They’re both amazingly fluffy and soft and wonderful but with such different flavors.
These rolls feature a garlic and herb butter that gets mixed into the dough AND brushed on top of the rolls after baking – to really drive home that flavor. They’re like the best version of garlic bread you can imagine.

If you’re intimidated by making homemade bread or working with yeast, I assure you, it’s easier than you may think and you just have to trust the process.
I’m going to walk you through exactly how to make these, easy peasy!
Ingredients You’ll Need for Garlic & Herb Butter Dinner Rolls:
- Butter
- Fresh garlic
- Fresh herbs (I like a mix of parsley, chives, and thyme, but you can really use whatever you prefer)
- Water
- Sugar
- Instant yeast – you can also use active dry yeast. I outline how to make the swap below.
- Milk
- All-purpose flour
- Kosher salt
- Egg wash – for brushing over the rolls to give them that classic golden, glossy look after baking.
- Flaky sea salt – for sprinkling over the rolls after they’ve baked. Imperative flavoring step!

How to Make Garlic & Herb Butter Dinner Rolls:
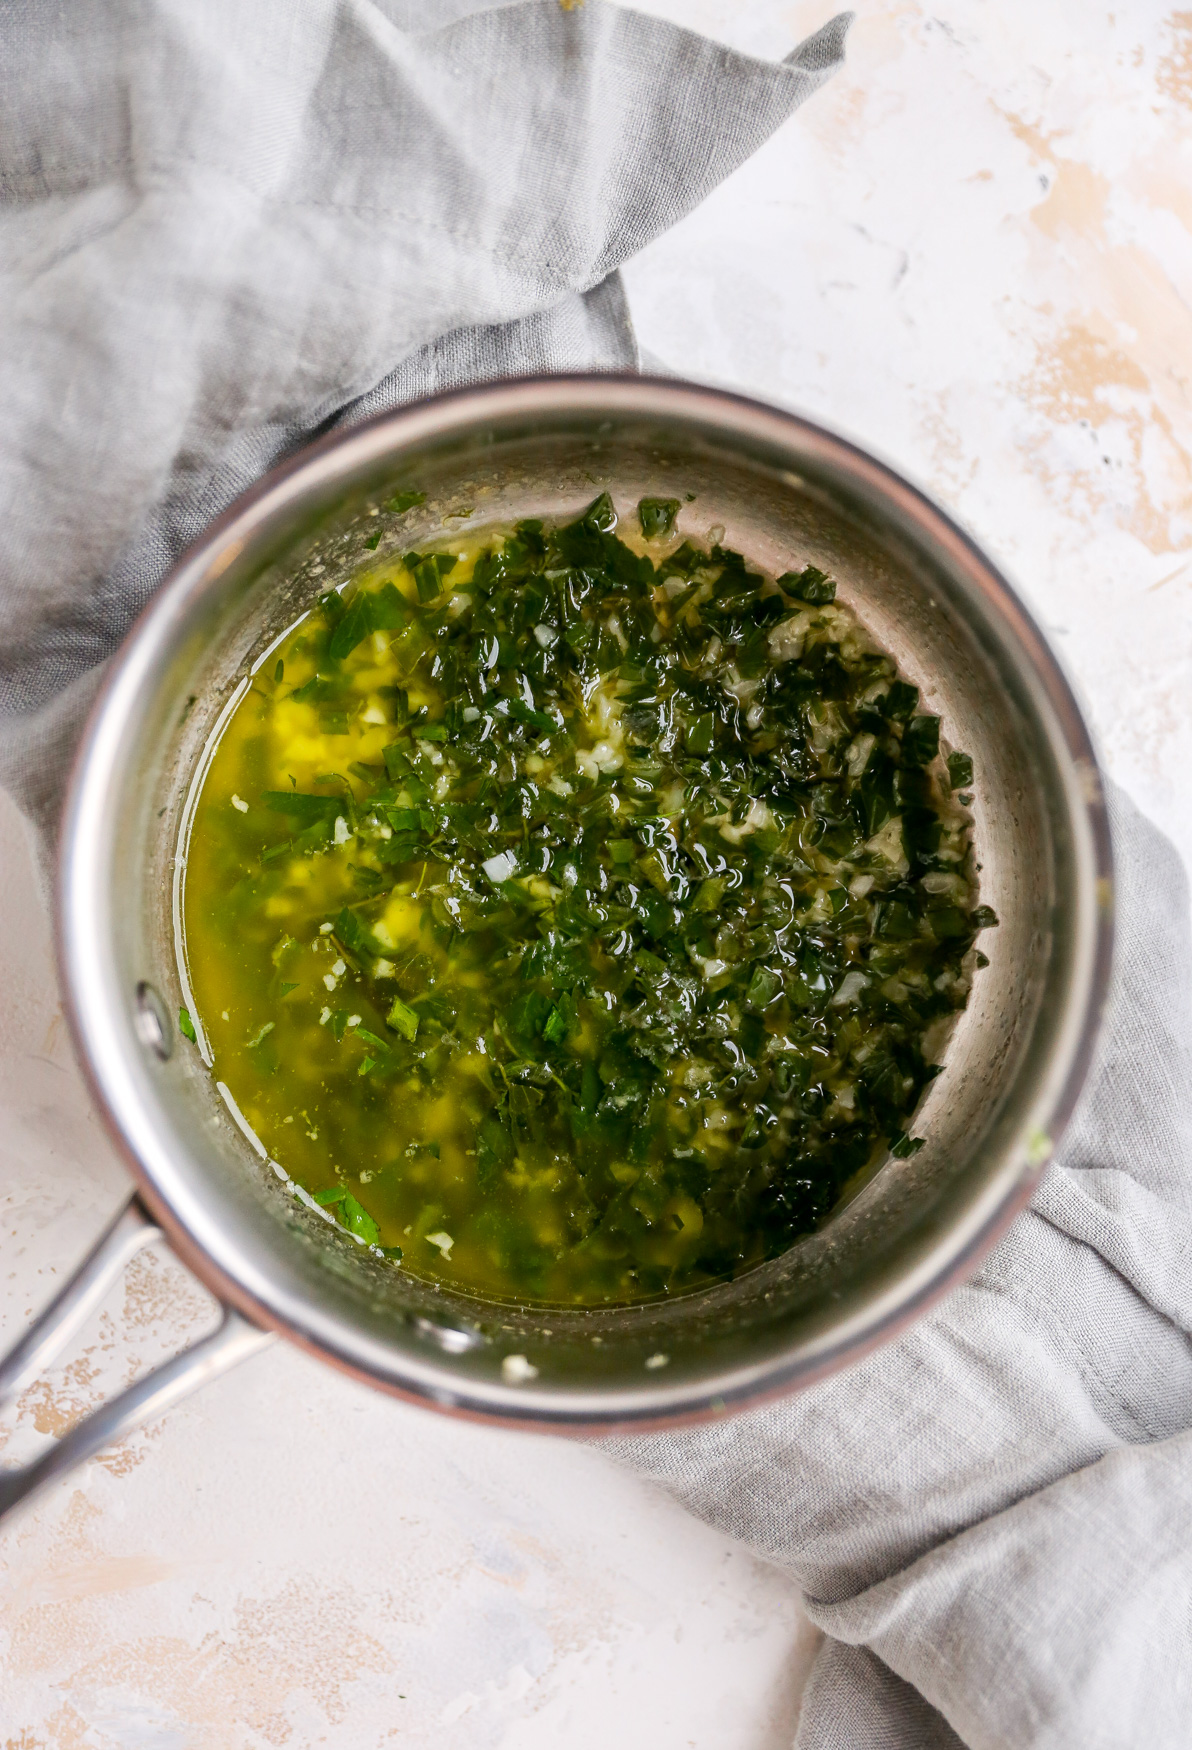
- Start by making your garlic and herb butter. Melt butter in a saucepan and add in lots of fresh garlic and herbs. Cook for a few minutes until fragrant and then set aside to cool.
- Start your dough by mixing together water, sugar, and yeast in a big bowl.
- Warm your milk.
- Combine the water-yeast mixture with your cooled garlic-herb butter and the milk.
- Stir in the dry ingredients – flour and a bit of kosher salt – and mix until the dough is thick, smooth, and elastic. We don’t want it to be too sticky.
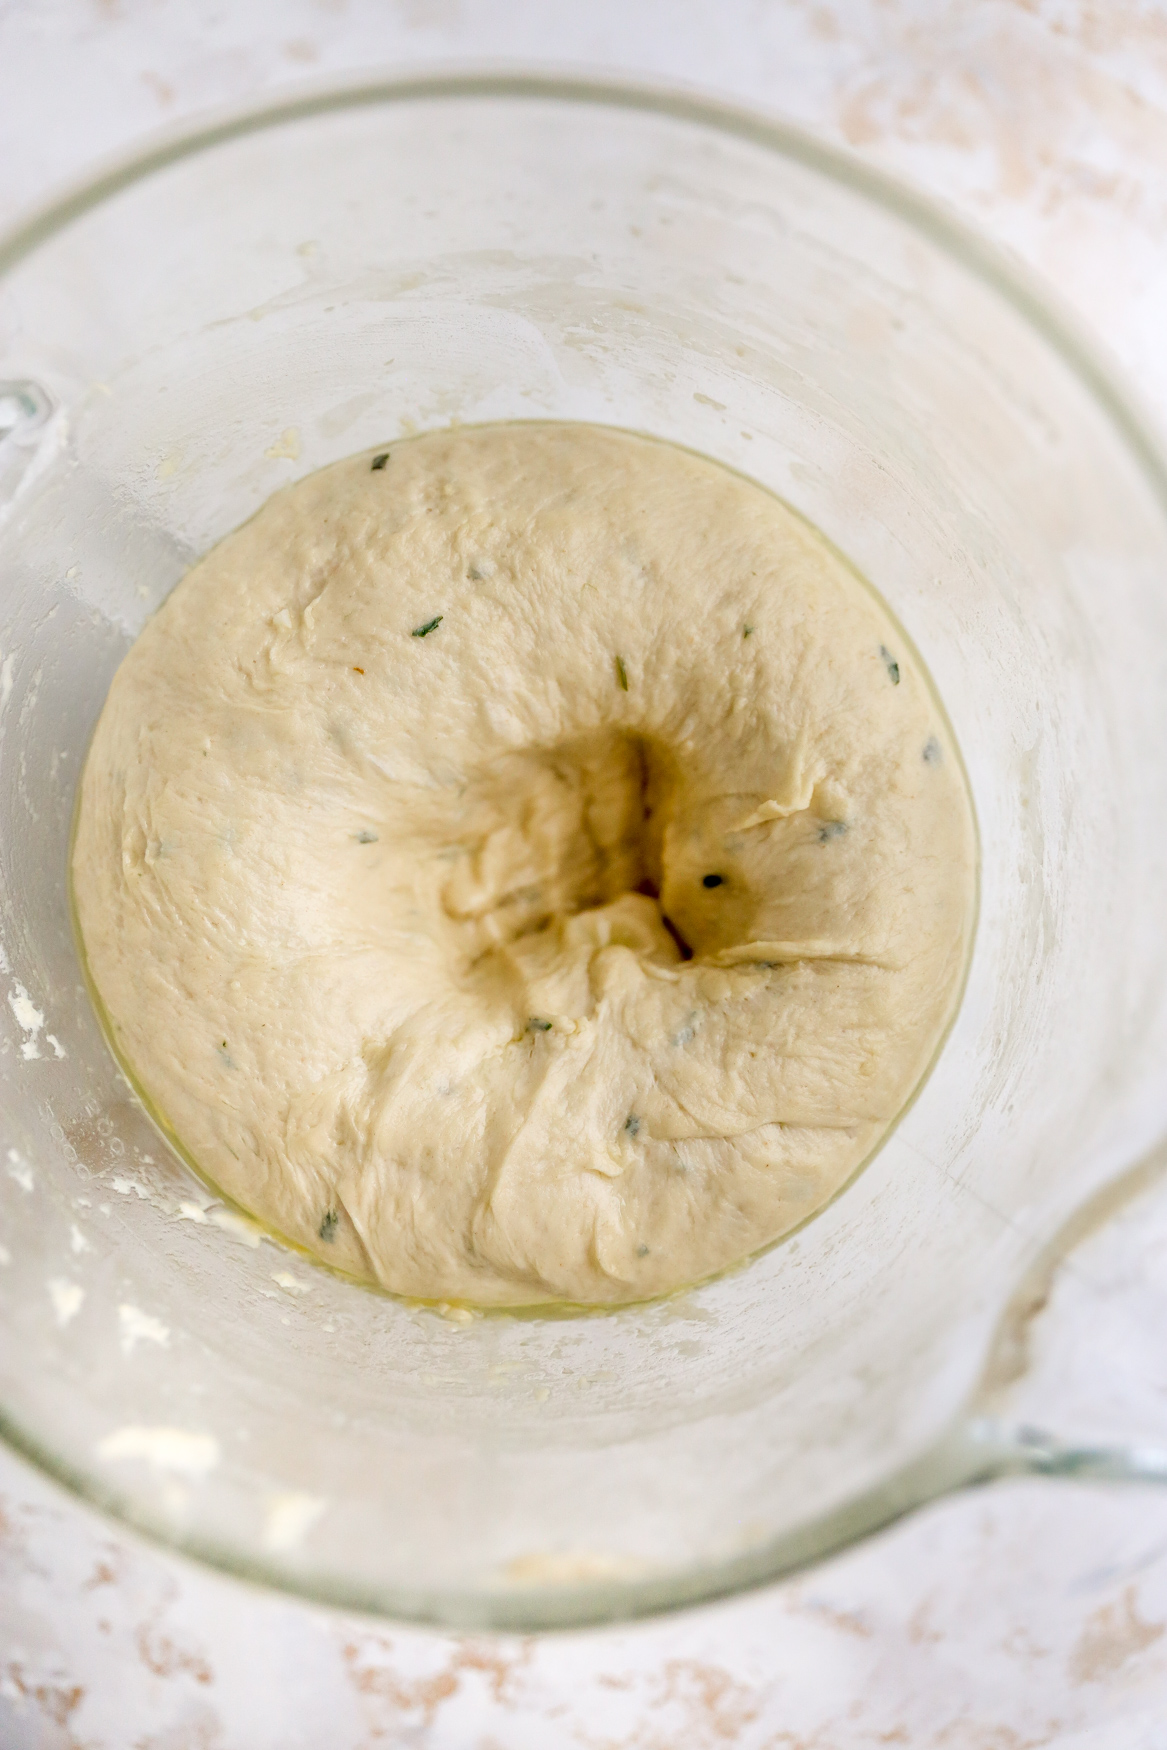
- Transfer the dough to a greased bowl and allow it to rise for 1 hour.
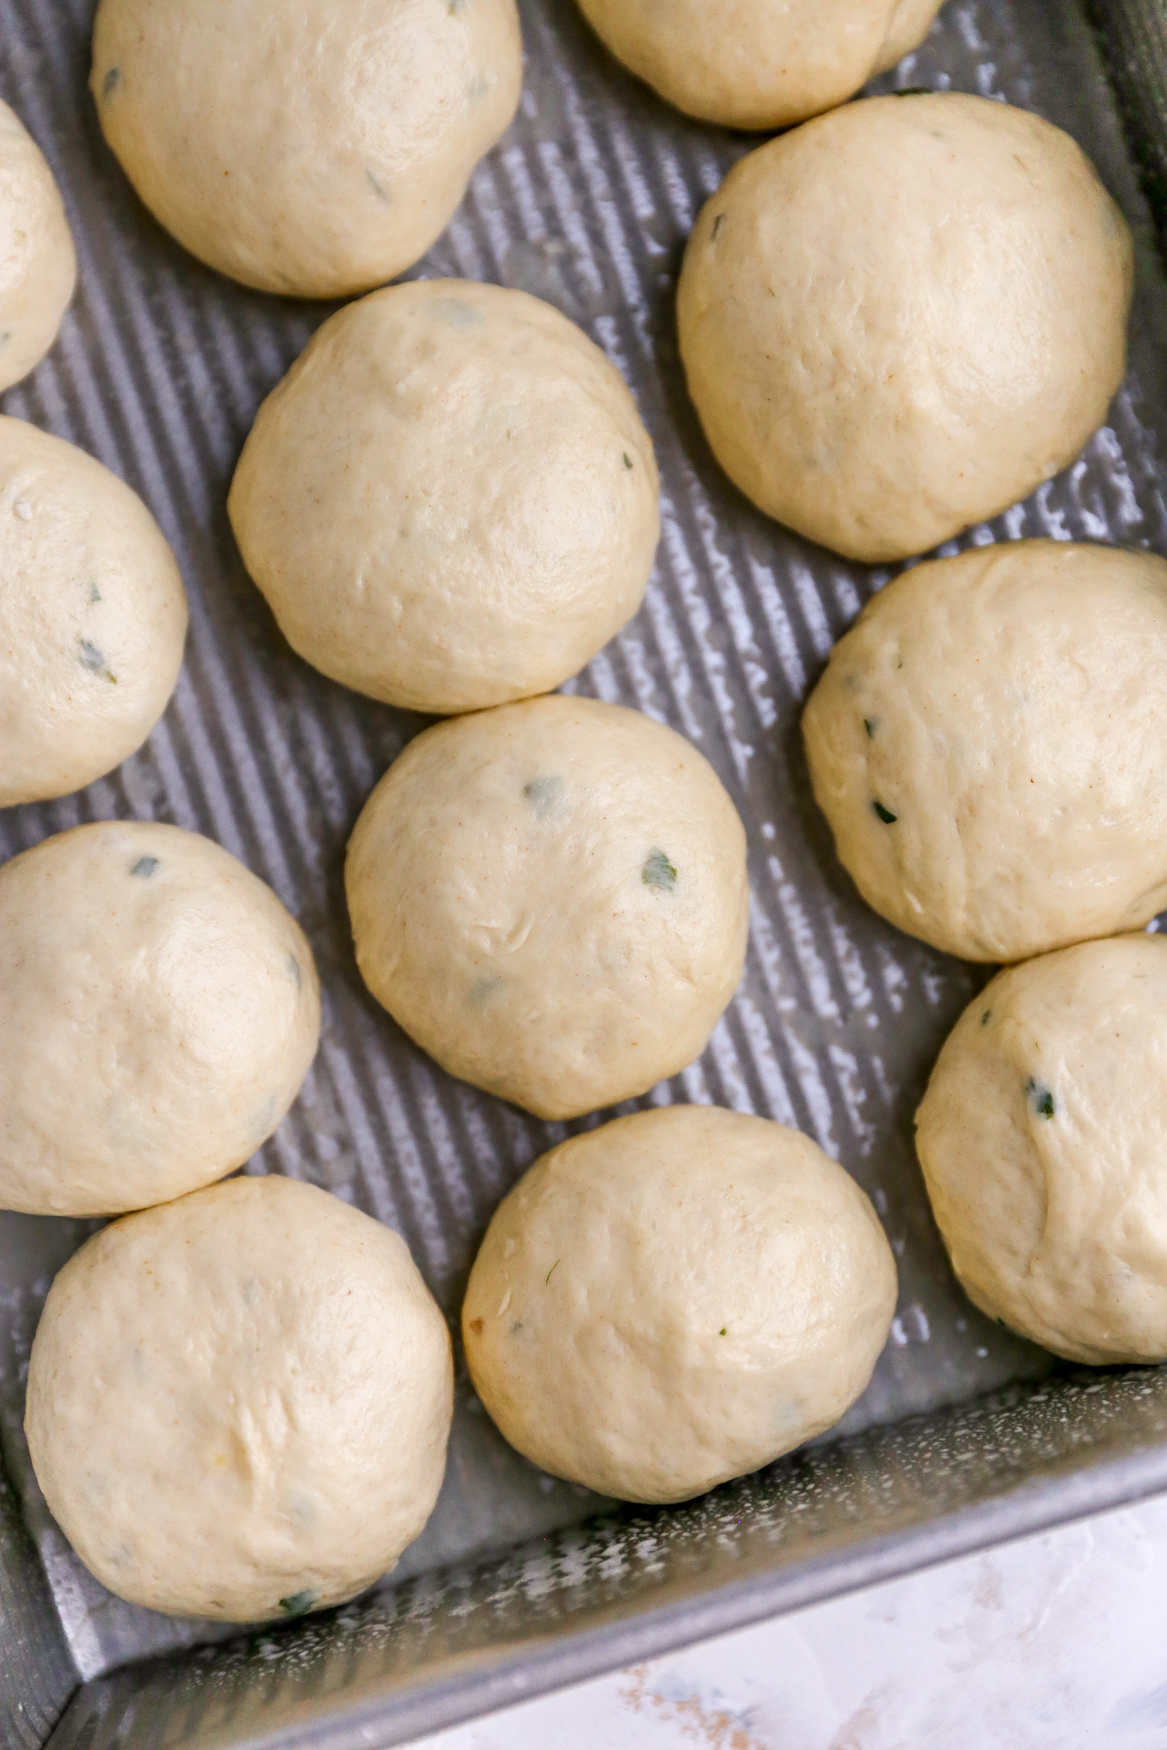
- Punch down the dough and divide it into 15 equal pieces. Roll each piece into a ball and place in a greased baking dish.
- Cover and allow the rolls to rise for another 30 minutes.
- Preheat the oven to 400F while you wait for the rolls to rise.
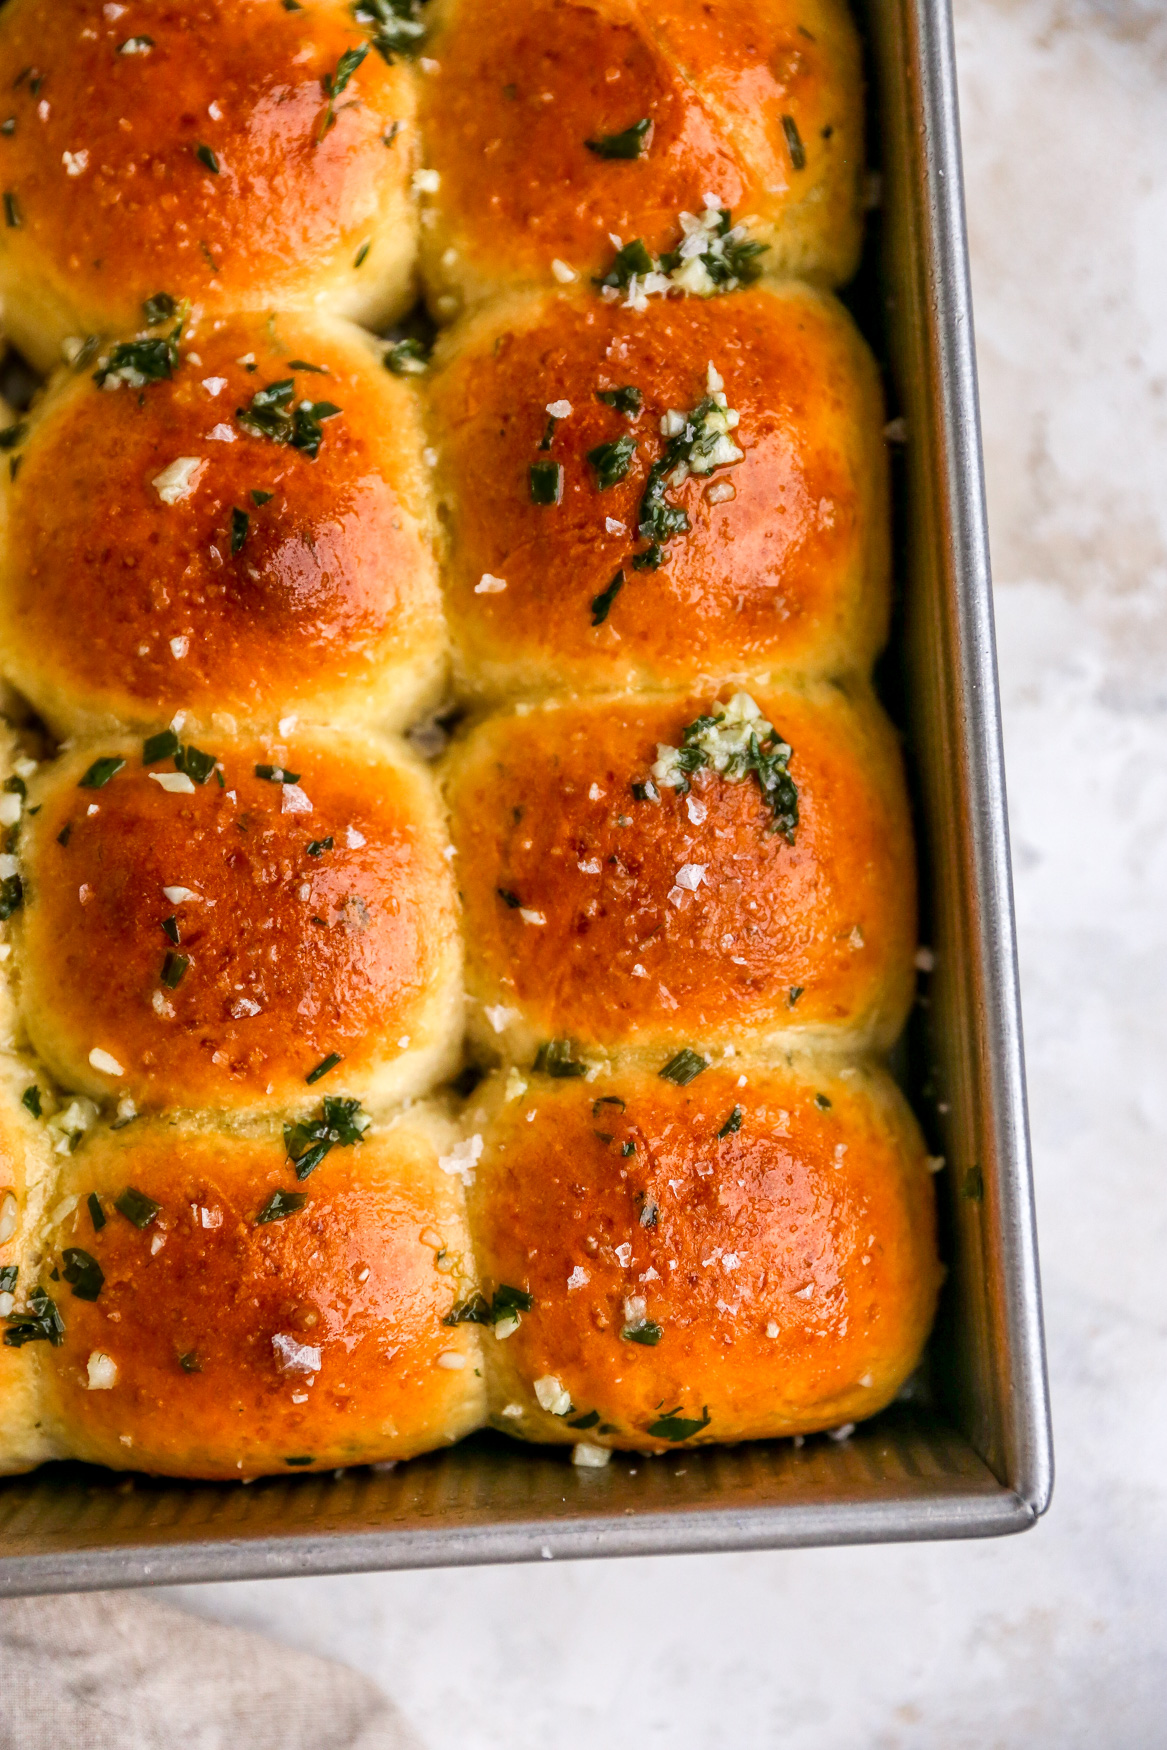
- Brush the risen rolls with egg wash and transfer to the oven for 20-25 minutes or until they are puffed and golden brown on top.
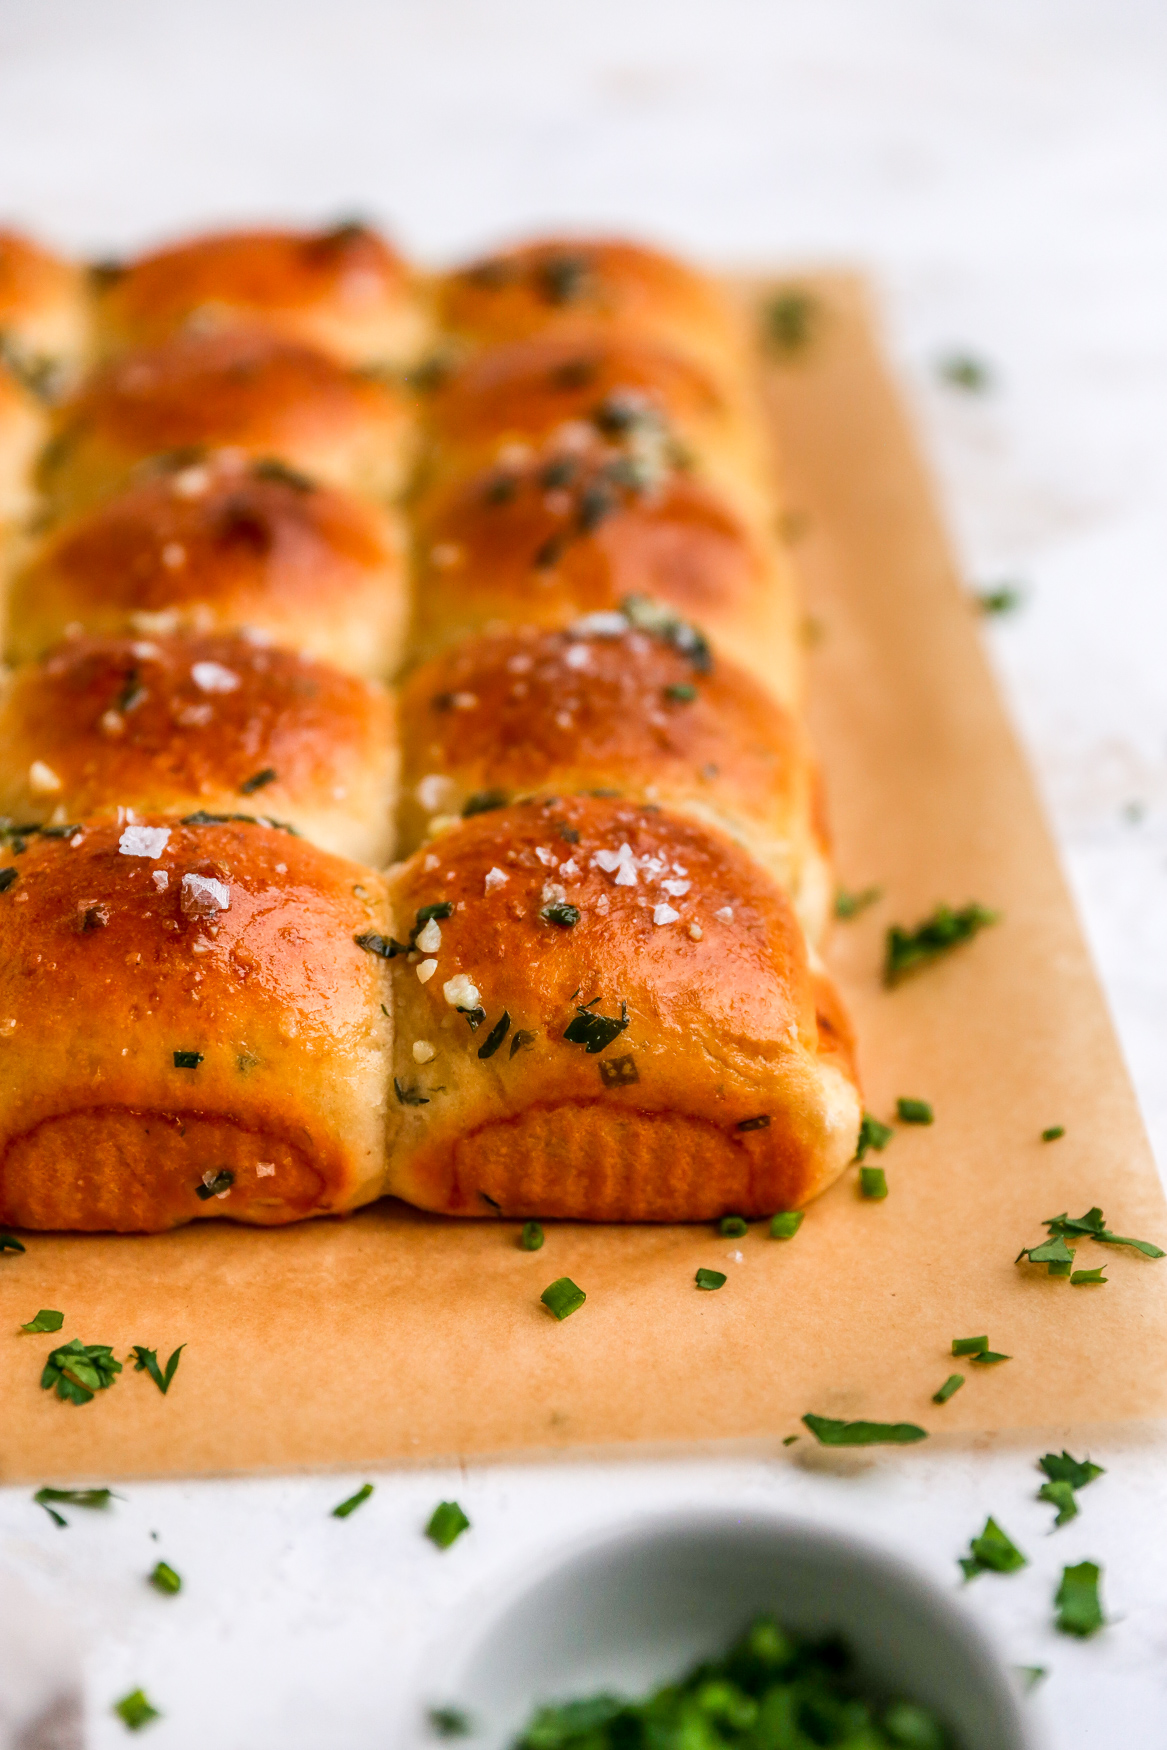
- Remove from the oven and immediately brush the rolls with the remaining garlic-herb butter. Sprinkle over flaky sea salt and serve while warm.
Tips & Tricks for these Garlic & Herb Butter Dinner Rolls:
- My best tip for making yeasted dough of any kind is to give yourself enough time. It’s important to make sure the yeast has enough time to do its job. I always bank on at least 2 hours of (mostly inactive) prep time for rolls like this.
- If you’re intimidated by working with yeast, I recommend starting with instant yeast over active dry yeast. You don’t have to worry about activating instant yeast, which can be daunting if you’re not used to working with it. You just add it to your other ingredients and are good to go.
- That said, if you do want to use active dry yeast, this recipe would work wonderfully with that. You will need to bloom (or activate) the yeast in the warm water and sugar mixture before proceeding with the other steps in the recipe. Allow the yeast to sit in the water for at least 5 minutes or until it is foamy. This means it is ready to go! With active dry yeast, you likely will need to increase the rise time by roughly 30 minutes as well.
- You can use any combination of fresh herbs that you prefer here. Sage or rosemary would be lovely, as an example.
- Make sure you don’t skip the egg wash step before baking. This is what gives the rolls their beautiful color and crispy tops.
- Flaky sea salt is imperative here. Sprinkling it over the finished rolls ensures that you can taste every ingredient. It also adds a fun textural crunch. Don’t skip it!
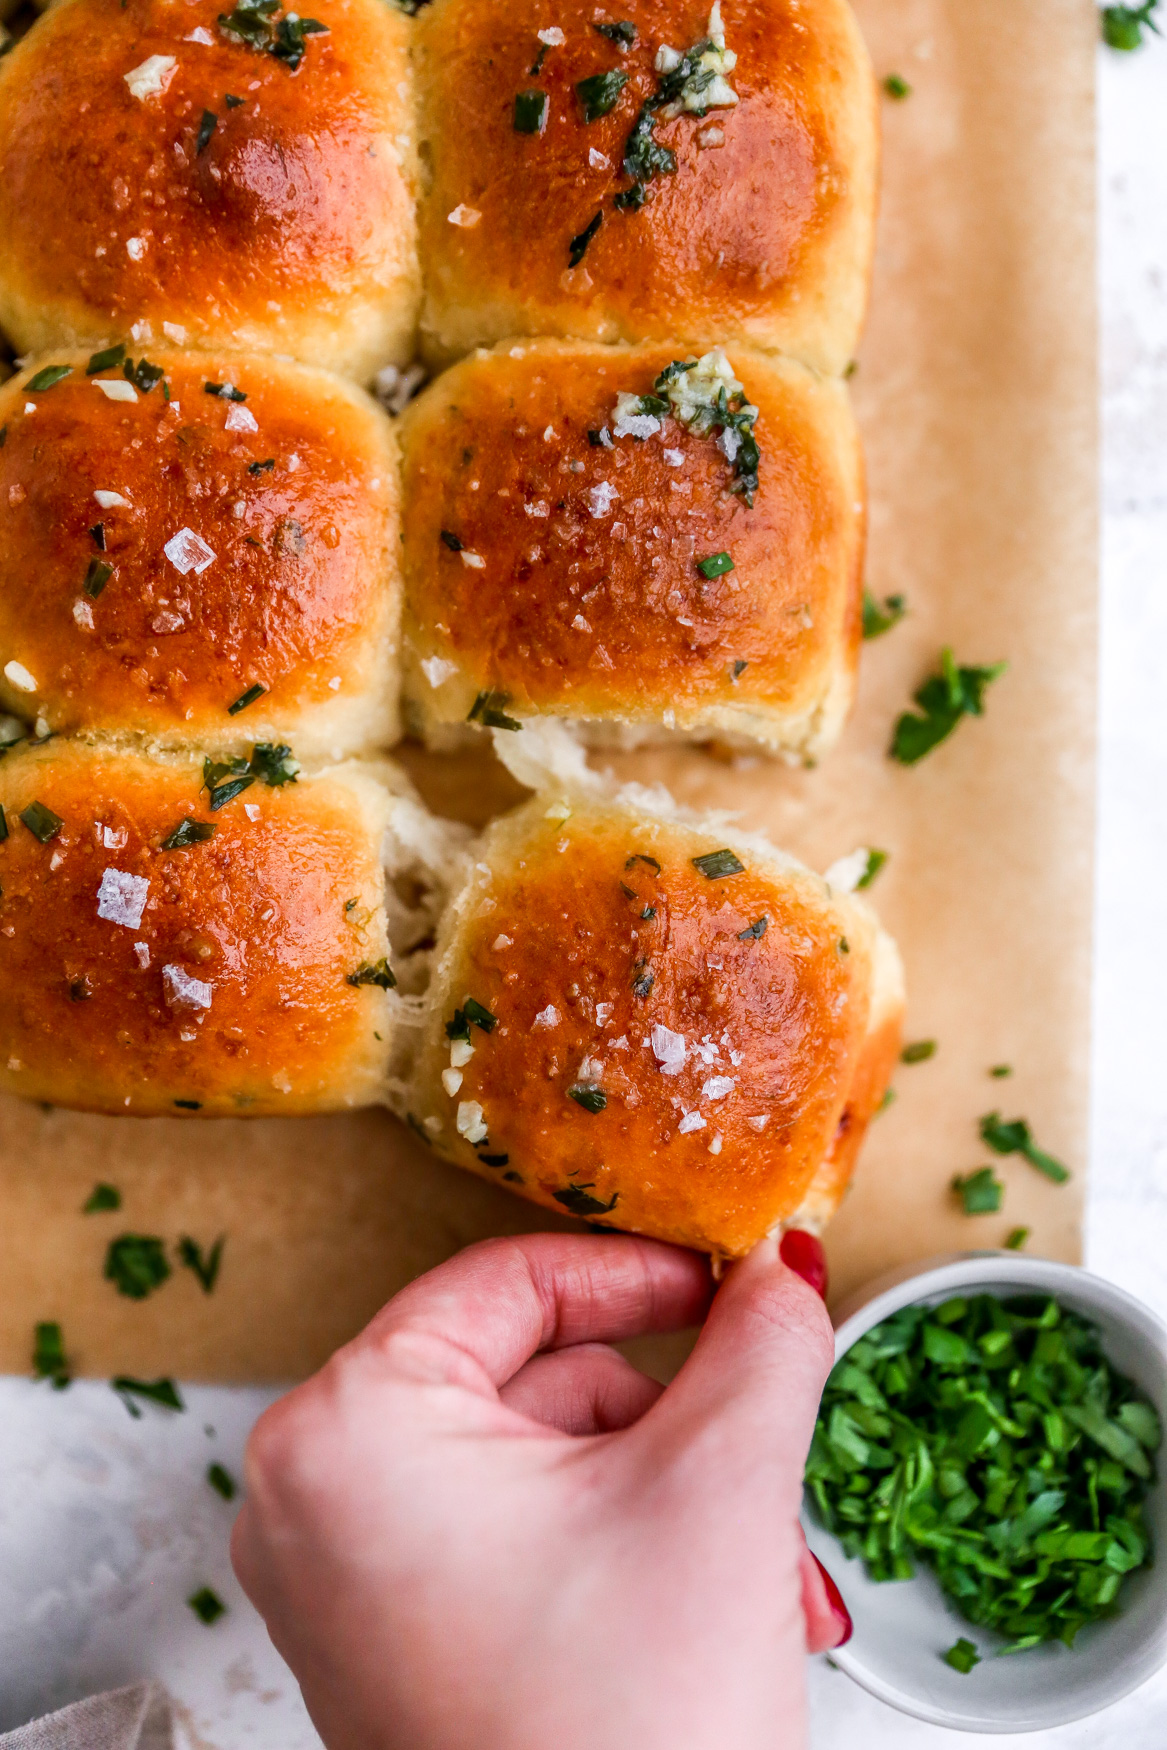
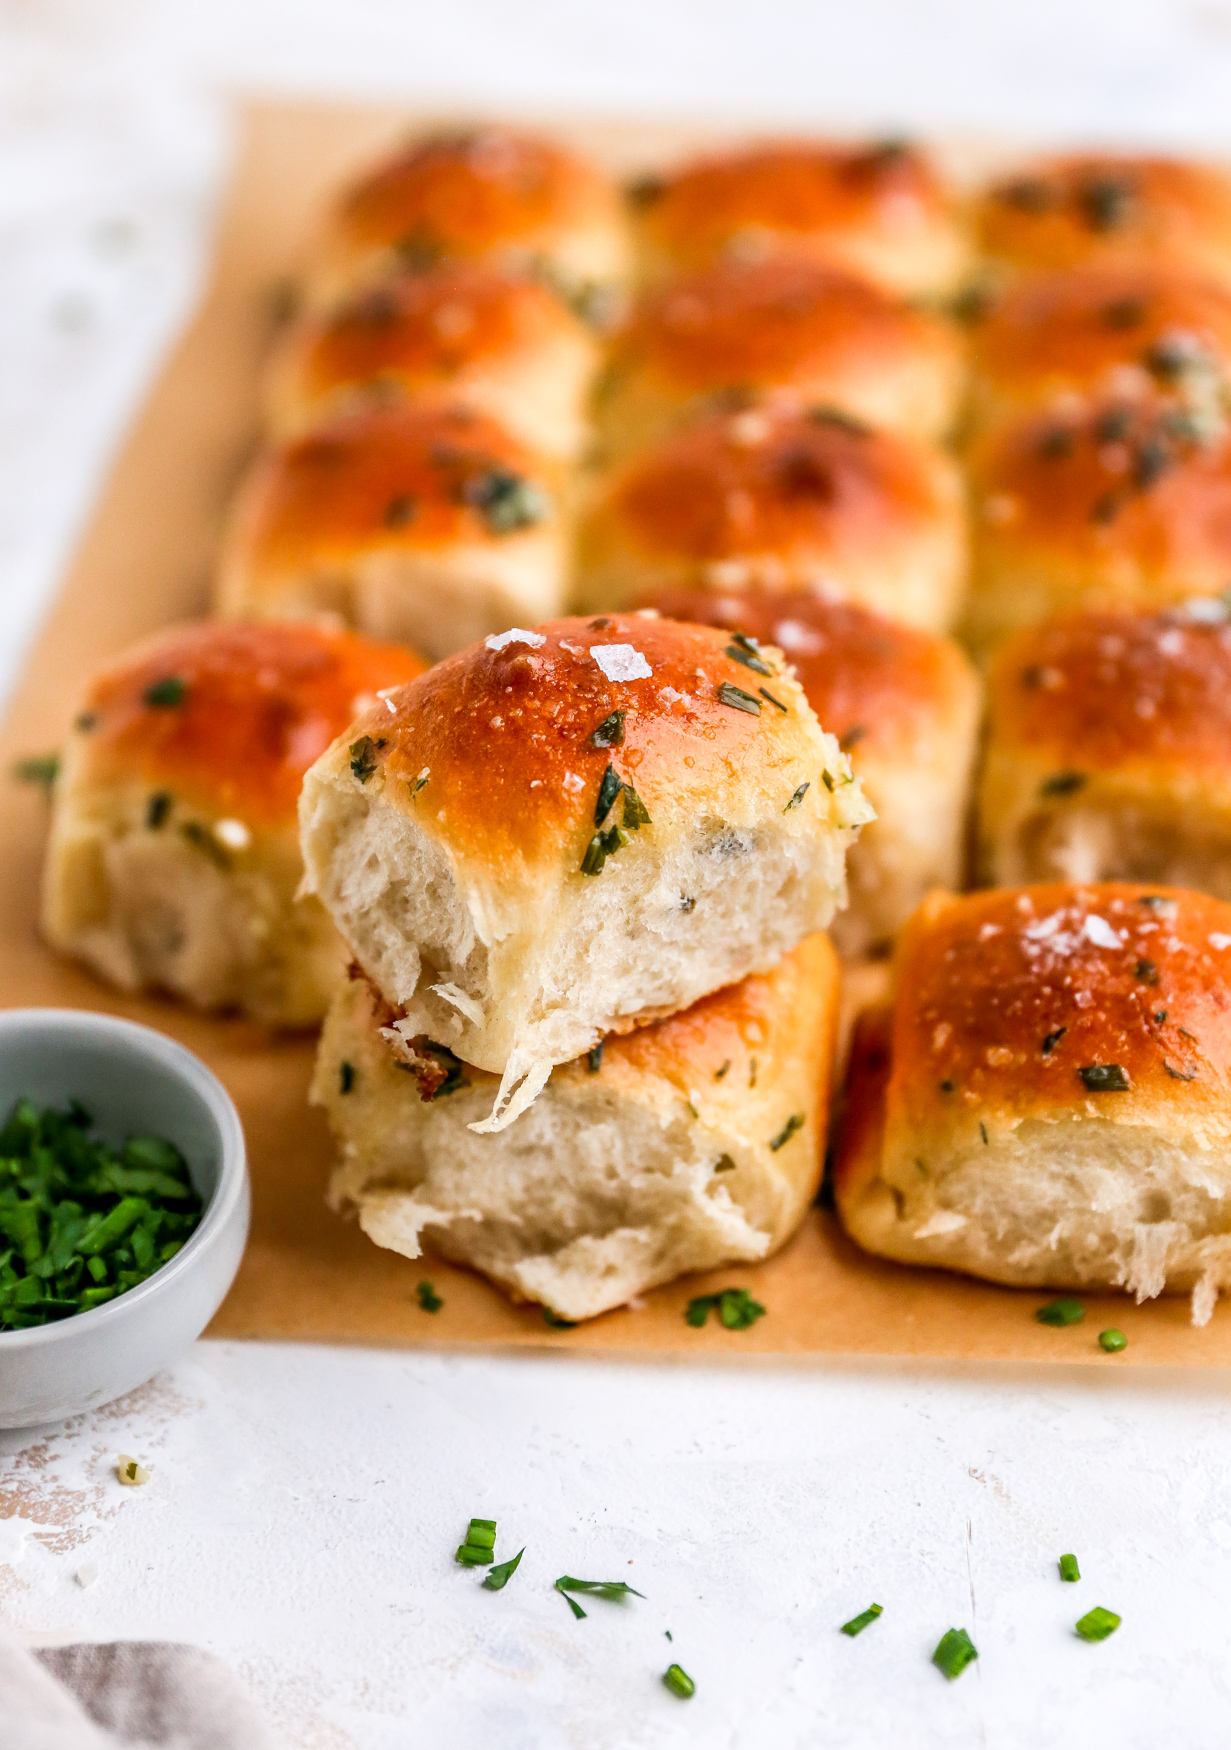
Gosh, I wish I had a plate of these in front of me right now. They’re little packages of carb heaven – fluffy, buttery, and full of garlicky flavor. They really do go with everything.
If you don’t get around to serving them this holiday, you must make them sometime for a family dinner or gathering! People will flip. Trust me. I’ve seen it happen first hand.

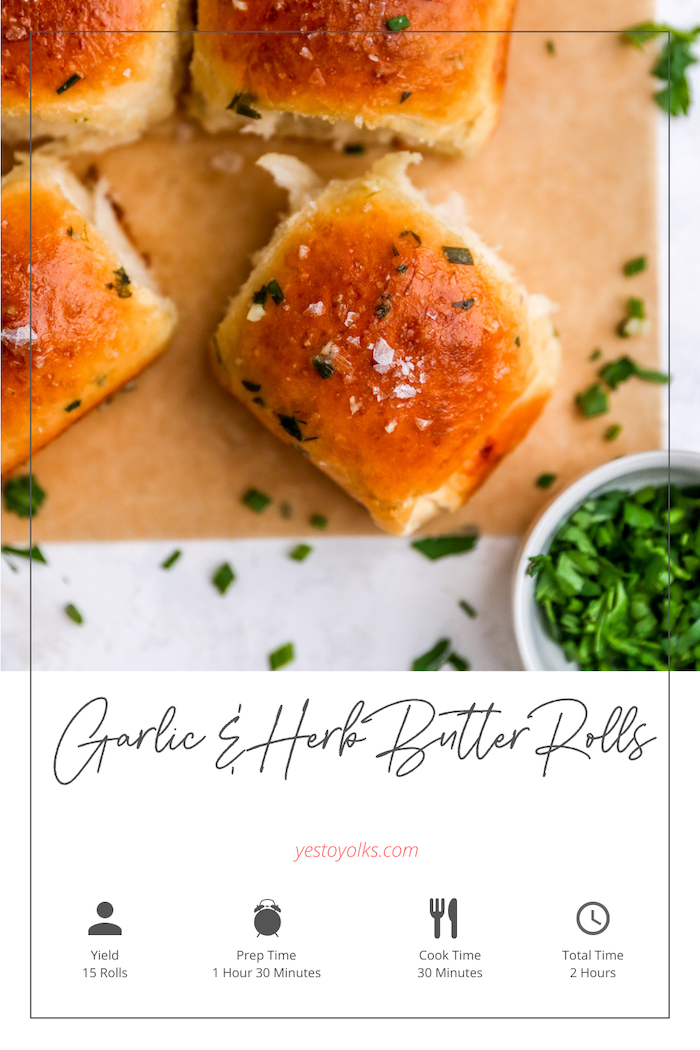
Garlic & Herb Butter Dinner Rolls
- Total Time: 2 Hours
- Yield: 15 rolls 1x
Description
These Garlic & Herb Butter Dinner Rolls are the perfect accompaniment to just about everything! They’re fluffy, soft, buttery, and loaded with fresh herbs and garlicky flavor. They’re also EASY to make, which is important around the holidays. Your family will love these fresh dinner rolls!
Ingredients
For the Garlic & Herb Butter:
- 6 tablespoons unsalted butter
- 3 garlic cloves, grated or pressed
- 1/3 cup fresh herbs (I do a mix of chives, parsley, and thyme)
For the Rolls:
- 1 cup warm water (between 110-115F)
- 2 tablespoons sugar
- 2 1/4 teaspoons of instant yeast (one packet)
- 3 tablespoons of the garlic & herb butter
- 1/2 cup milk (2% or whole)
- 3 1/2cups all-purpose flour (plus more for kneading)
- 1 teaspoon kosher salt
- Egg wash (for brushing on rolls before baking)
- Flaky sea salt
Instructions
For the Garlic & Herb Butter:
- Melt the butter in a small saucepan and then add in the grated garlic and herbs.
- Cook for a few minutes or until the garlic is very fragrant.
- Remove from heat and set aside to cool slightly.
Make the Dough:
- While the butter is cooling, combine the warm water and sugar in the bowl of a stand mixer (or in a large mixing bowl if you do not have a mixer). Mix until the sugar is dissolved. Stir in the yeast.
Place the milk in a microwave-safe measuring cup (you can also do this on the stove in a small pot). Microwave for 30 seconds, stir, and microwave again for another 30 seconds or until the milk is warm but not scalding hot (if it’s too hot, it will kill the yeast). - Add the milk and 3 tablespoons of the garlic-herb butter to the yeast mixture in the bowl and stir to combine. Reserve the rest of the butter for brushing over the rolls after baking.
- With the dough hook attachment, slowly add the flour to the wet ingredients (alternatively, stir in by hand). Once the flour is mostly incorporated, sprinkle in the salt.
- Mix the dough until it comes together. If it is sticking to the sides of the bowl, add a little more flour, about 2 tablespoons at a time, so that the dough pulls away from the sides of the bowl and is only slightly sticky.
- Mix the dough on low speed for about 2-3 minutes or until smooth. Alternatively, if mixing by hand, transfer the dough to a floured surface and knead by hand for about 5 minutes or until smooth and elastic.
- Form the dough into a smooth ball with your hands and then place it in a greased bowl.
- Cover with a towel and let the dough rise in a warm spot for 30 minutes (it will be closer to an hour if using active dry yeast – dough using instant yeast will proof faster), or until it has doubled in size. I like to do this in my turned-off oven.
Form the Rolls:
- Punch down the dough to remove excess air and transfer it to a lightly floured surface. Divide the dough into 15 equal pieces.
- Form each dough piece into a smooth, round ball and place in a well-greased 9 x 13-inch baking pan. The rolls will not fully touch each other in the pan. With 15 rolls, you should have 5 rows of 3.
- Once all the rolls are formed and in the dish, cover with a towel and allow to rise again for another 20-30 minutes. The rolls should double in size and be touching each other on all sides in the pan.
Bake the Rolls:
- Preheat the oven to 400°F while you wait for the rolls to rise the second time.
- Brush the risen rolls with egg wash (a beaten egg with a splash of water).
- Bake for 20-25 minutes or until the rolls are puffed and golden brown on top.
To Serve:
- When the rolls come out of the oven, brush them generously with the remaining garlic & herb butter mixture.
- Sprinkle the rolls with flaky sea salt and serve while warm.
Notes
If using active dry yeast instead of instant (both are great!), you will have to bloom the yeast in the warm water and sugar before proceeding with the other steps. Combine the warm water and sugar and then sprinkle the yeast over top. Allow to sit until the yeast is foamy, about 5 minutes, and then proceed with the rest of the steps in the recipe. The initial rise time will likely increase by about 30 minutes as well.
- Prep Time: 1 hour 30 minutes (mostly inactive time)
- Cook Time: 30 minutes
- Category: bread
They look filling and appetizing